
SuiteCRM is an open-source Customer Relationship Management (CRM) software solution that provides a 360-degree view of your customers and business. It is a fork of the popular open-source SugarCRM Community Edition.
In this tutorial, we are going to show you how to install SuiteCRM on your Ubuntu 20.04 VPS.
Table of Contents
Prerequisites
- Ubuntu 20.04 VPS
- SSH root access or a regular system user with sudo privileges
Step 1. Log in via SSH and update the system
Log in to your Ubuntu 20.04 VPS with SSH as a root user:
ssh root@IP_Address -p Port_number
Replace “IP_Address” and “Port_Number” with your server’s IP address and SSH port.
You can check whether you have the proper Ubuntu version installed on your server with the following command:
lsb_release -a
You should get the following output:
No LSB modules are available.
Distributor ID: Ubuntu
Description: Ubuntu 20.04.3 LTS
Release: 20.04
Codename: focal
Now, run the following command to update all installed packages to the latest available version.
apt update && sudo apt upgrade
Step 2: Install Apache Webserver
Execute the following command to install Apache webserver:
apt install apache2
To start Apache and to enable it to auto-start on server boot, run these commands:
systemctl enable apache2
systemctl start apache2
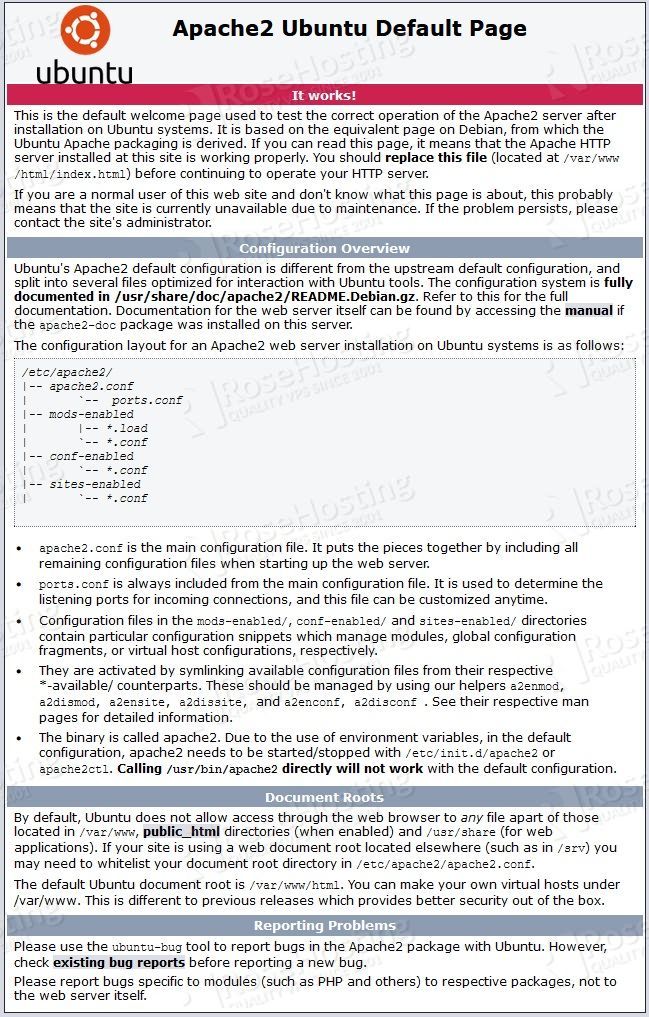
To confirm that you have properly installed Apache2, you can open your preferred web browser and type your server IP address and you should be able to view the Apache2 Ubuntu Default Page.
Step 3: Install PHP and extensions
To install PHP and the required PHP extensions, run the following command:
apt install php php-cli php-common php-curl php-mbstring php-gd php-mysql php-soap php-xml php-imap php-intl php-opcache php-json php-zip
Step 4: Install MariaDB
MariaDB is available in the Ubuntu 20.04 default OS repository. You can install it by running the following command:
apt install mariadb-server
By default, the MariaDB service will start automatically after installing it in your system. You can verify it with the following command:
systemctl status mariadb
You should get the following output:
● mariadb.service - MariaDB 10.3.32 database server
Loaded: loaded (/lib/systemd/system/mariadb.service; enabled; vendor preset: enabled)
Active: active (running)
Docs: man:mysqld(8)
https://mariadb.com/kb/en/library/systemd/
Main PID: 968 (mysqld)
Status: "Taking your SQL requests now..."
Tasks: 30 (limit: 2240)
Memory: 114.8M
CGroup: /system.slice/mariadb.service
└─968 /usr/sbin/mysqld
Once the installation is complete, issue the following command to secure your installation. This is optional, but strongly recommended:
mysql_secure_installation
This script will set the MariaDB root password, disable remote root login and remove anonymous users. We suggest answering every question with the character ‘Y’ for yes.
Step 5: Create a Database for SuiteCRM
First, Log in to your MariaDB console with the following command:
mysql -u root -p
Provide your MariaDB root password when prompt then create a database and user using the following command:
MariaDB [(none)]> CREATE DATABASE suitecrmdb;
MariaDB [(none)]> GRANT ALL PRIVILEGES ON suitecrmdb.* TO 'suitecrm'@'localhost' IDENTIFIED BY 'strong-password';
Next, flush the privileges and exit from the MariaDB console with the following command:
MariaDB [(none)]> FLUSH PRIVILEGES;
MariaDB [(none)]> EXIT;
Step 6: Download SuiteCRM on Ubuntu 20.04
Download the latest stable version by executing the following command on your server.
wget https://suitecrm.com/files/147/SuiteCRM-8.0/608/SuiteCRM-8.0.3.zip
Then create a suitecrm directory unzip it to the /var/www/html/suitecrm directory.
unzip SuiteCRM-8.0.3.zip -d /var/www/html/suitecrm
Then run the following command to set the correct permissions:
chown -R www-data:www-data /var/www/html/suitecrm/
Step 7: Create an Apache configuration file
To create a new configuration file for the Drupal website, we can create a new Apache configuration file:
nano /etc/apache2/sites-available/suitecrm.conf
A basic Apache configuration file looks similar to this:
<VirtualHost *:80>
   ServerAdmin webmaster@your-domain.com
   ServerName your-domain.com
   DocumentRoot /var/www/html/suitecrm/public
   <Directory /var/www/html/suitecrm/public>
       AllowOverride All
       Order Allow,Deny
       Allow from All
   </Directory>
   ErrorLog ${APACHE_LOG_DIR}/suitecrm_error.log
   CustomLog ${APACHE_LOG_DIR}/suitecrm_access.log combined
</VirtualHost>
Don’t forget to change the domain name next to ServerAdmin and ServerName (your-domain.com) in order to make it work with your unique registered domain name.
Save and close the file then activate the SuiteCRM virtual host with the following command:
a2ensite suitecrm.conf
Restart the Apache service and you are ready:
systemctl restart apache2
Step 8: Install SuiteCRM on Ubuntu 20.04
To run the web installer go to http://your-domain.com/#/install and you will see the license terms:
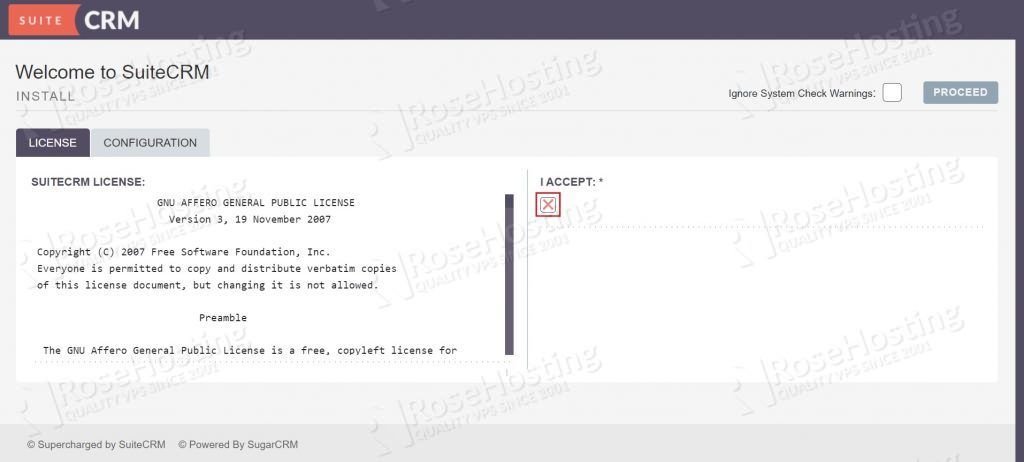
You have to accept the license by checking the I ACCEPT checkbox.
The next step is to add the base system configuration:
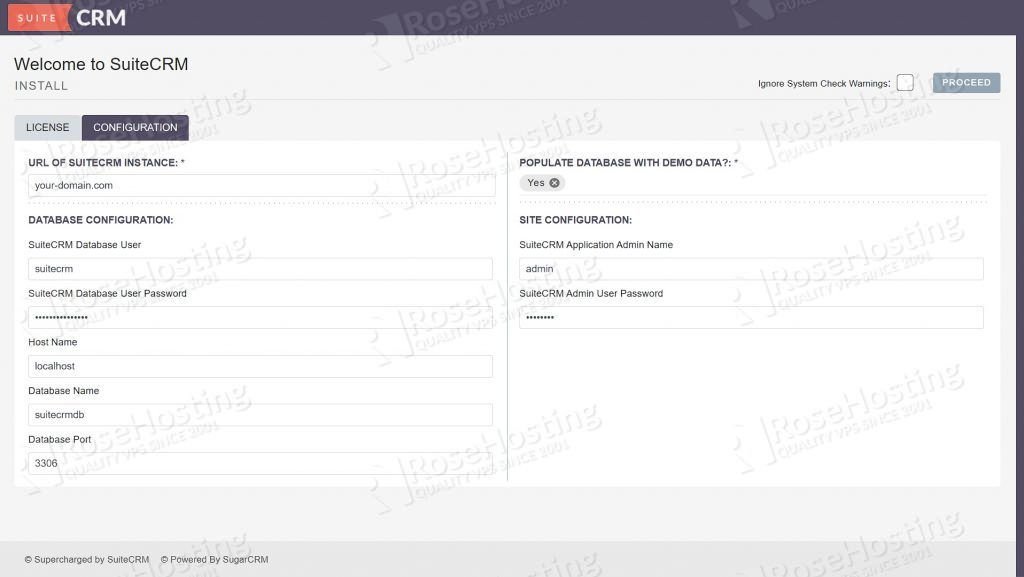
After you have set correct values for all the configurations you can click on Proceed.
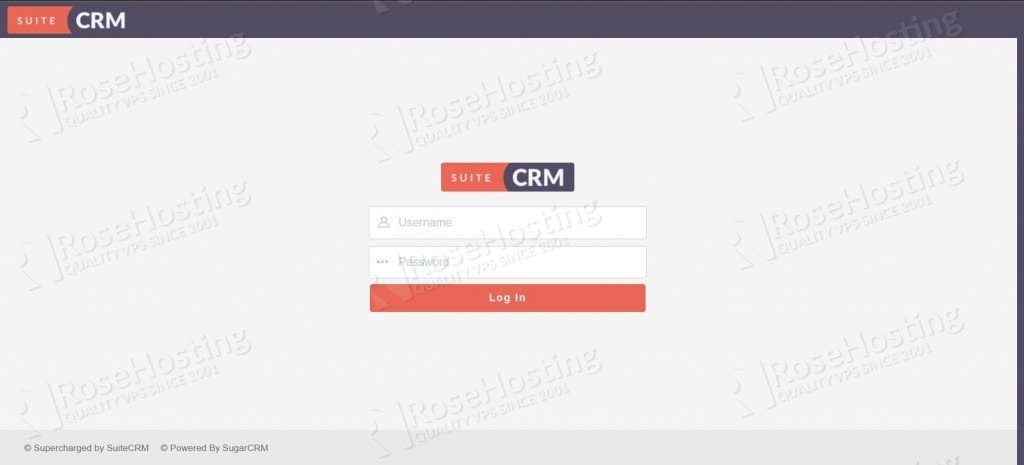
Once the install process finishes you will be re-directed to the login page.
That is it. The SuiteCRM installation is now complete. Of course, you don’t have to do any of this if you use one of our SuiteCRM Hosting services, in which case you can simply ask our expert Linux admins to install SuiteCRM for you. They are available 24×7 and will take care of your request immediately.
PS. If you liked this post on how to install GitLab on Ubuntu 20.04, please share it with your friends on the social networks using the buttons below or simply leave a reply. Thank you.
isn’t mariadb_secure_installation supposed to be mysql_secure_installation
Thanks for letting us know about that, this has been fixed.