
In this tutorial, we are going to show you how to install GitLab on your Ubuntu 20.04 VPS. Gitlab is a platform with a wide range of features that cover the application’s life cycle. It uses Git repository manager for version control so you can easily host your Git repositories, it also offers a CI/CD integration as well as code review.

In collaboration with your team, you can easily plan, build, secure and deploy software much faster and more efficiently. This makes Gitlab a perfect option for DevOps and DevSecOps projects of any scale with a choice of creating, importing, or using templates for new projects.
Table of Contents
Prerequisites
Before we start with the installation there are a few requirements that need to be fulfilled:
- A VPS with at least 4GB of RAM (Our SSD 4 VPS plan)
- Fresh install of Ubuntu 20.04
- User privileges: root or non-root user with sudo privileges
- Pointed A record of domain or subdomain to your server IP address
Step 1. Update the System
Fresh installation of Ubuntu 20.04 requires the latest software updates. Execute the following command to update the system to its latest version:
sudo apt update -y && apt upgrade -y
Step 2. Install dependencies
After you update the system, you should now install the needed dependencies for the Gitlab installation.
sudo apt-get install -y curl openssh-server ca-certificates tzdata perlNext, you need to install postfix for the notification emails that you would be sent from GitLab. Note, you should have a domain or subdomain pointed to your server before continuing with the installation.
sudo apt-get install -y postfixIf the configuration screen appears during the installation you can select the ‘Internet site’ option and enter the external DNS ‘mail name’ of your server in the next screen. For the next options, you can use the defaults by pressing enter.
Step 3. Install GitLab
If the previous installations were successful you now continue with your installation by adding the GitLab package repository with the following command.
curl https://packages.gitlab.com/install/repositories/gitlab/gitlab-ee/script.deb.sh | sudo bashYou are now ready to install GitLab, but before continuing, make sure again that you set up the DNS correctly for your domain or subdomain because you will be using it for the automatic installation. You can now run your GitLab installation with the command.
sudo EXTERNAL_URL="https://example.domain.com" apt-get install gitlab-eeNote that you should change the EXTERNAL_URL value with your domain or subdomain that you previously set up before starting the installation. During the installation, GitLab will automatically request a certificate from Let’s Encrypt if you used https:// in the EXTERNAL_URL value, you can also install with HTTP or use your own certificate.
A random password will be generated for the root user during the installation, you can find the path for the password file at the end of the installation. Usually, you should be able to find the password file at /etc/gitlab/initial_root_password. Remember that this password will be stored only for 24 hours.
After the installation is finished you can check the service status with the command.
sudo gitlab-ctl statusAnd you should get similar output if all the services are running.
run: crond: (pid 50291) 9059s; run: log: (pid 47093) 9462s
run: gitaly: (pid 50515) 9043s; run: log: (pid 46688) 9675s
run: gitlab-exporter: (pid 50330) 9057s; run: log: (pid 47359) 9356s
run: gitlab-workhorse: (pid 50261) 9060s; run: log: (pid 47163) 9423s
run: grafana: (pid 50463) 9047s; run: log: (pid 49444) 9136s
run: logrotate: (pid 120962) 2510s; run: log: (pid 46614) 9707s
run: nginx: (pid 47288) 9386s; run: log: (pid 47207) 9412s
run: node-exporter: (pid 50310) 9059s; run: log: (pid 47338) 9374s
run: postgres-exporter: (pid 50451) 9047s; run: log: (pid 47800) 9287s
run: postgresql: (pid 46828) 9647s; run: log: (pid 46845) 9643s
run: prometheus: (pid 50346) 9056s; run: log: (pid 47406) 9325s
run: puma: (pid 47097) 9458s; run: log: (pid 47105) 9455s
run: redis: (pid 46642) 9694s; run: log: (pid 46653) 9691s
run: redis-exporter: (pid 50338) 9057s; run: log: (pid 47379) 9342s
run: registry: (pid 50278) 9060s; run: log: (pid 47272) 9390s
run: sidekiq: (pid 47115) 9442s; run: log: (pid 47127) 9439s
Now you should be able to access your GitLab application from your browser with the domain or subdomain that you previously set up.
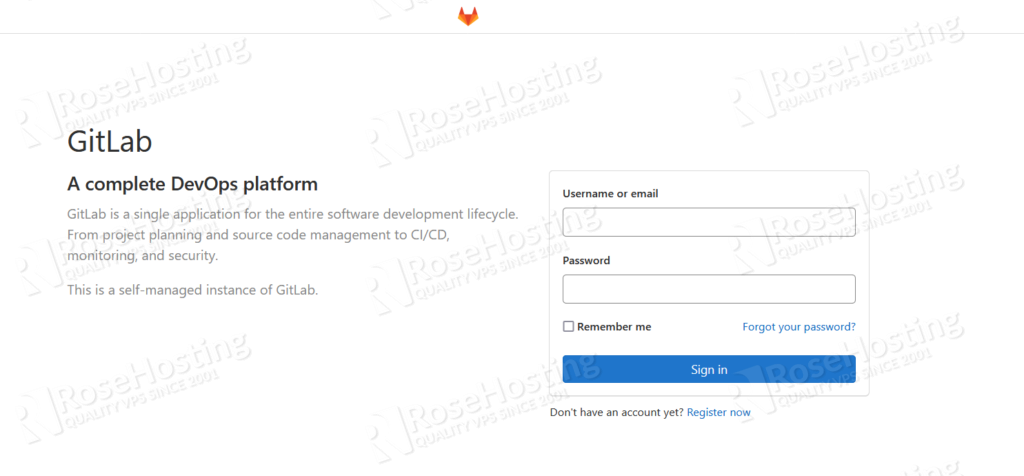
You can log in with root and the randomly generated password from /etc/gitlab/initial_root_password.
You can start, stop or restart all the GitLab components with the following commands.
sudo gitlab-ctl start

sudo gitlab-ctl stop

sudo gitlab-ctl restart
You can also start, stop or restart individual components of GitLab. For example, if you want to restart grafana you can do that with the following command.
# sudo gitlab-ctl restart grafana
ok: run: grafana: (pid 151924) 1s
By default, GitLab will allow new user signups, for secure access it is advised to disable it. You can disable it from the GitLab web console – Menu > Admin -> Uncheck the Sign-up enabled box.

Of course, you don’t have to install GitLab on Ubuntu 20.04. If you find it difficult, by using our Linux hosting plans, you can simply ask our expert Linux admins to install GitLab on Ubuntu 20.04 for you. They are available 24×7 and will take care of your request immediately.
PS. If you liked this post on how to install GitLab on Ubuntu 20.04, please share it with your friends on the social networks using the buttons below or simply leave a reply. Thank you.