ERPNext is an open-source ERP solution designed to help businesses manage various operational aspects, such as finance, inventory, sales, purchasing, production, and human resource management. Unlike traditional ERP systems that are often expensive and rigid, ERPNext offers high flexibility at a more affordable cost, making it suitable for small to large businesses. ERPNext is built using Python and MySQL as the database backend. The underlying web application framework is called Frappe and is a separate platform for developing and deploying rich web applications. ERPNext features a Model-View-Controller architecture, which, combined with metadata modeling tools, provides flexibility. This allows users to customize the system to meet their unique business goals without requiring custom programming. In this article, we will show you how to install ERPNext on AlmaLinux 10.
Table of Contents
Prerequisites
- A fresh AlmaLinux 10 VPS with at least 4GB of RAM.
- SSH root access, or a user with sudo privileges.
Conventions
# – given commands should be executed with root privileges either directly as a root user or by use of sudo command
$ – given commands should be executed as a regular user
Step 1. Add System User
In this article, we will use ‘erpnext’ as the system user that runs ERPNext. Let’s create this user and add it to the wheel group. We will use this user to run sudo commands, that’s why we need to add it to the wheel group.
# useradd -m erpnext -G wheel
Now, we can give the user a password.
# passwd erpnext
You will be asked to create a password; please ensure you use a strong one.
Step 2. Install Redis
In ERPNext, Redis is primarily used for caching and improving performance, especially within the Frappe Framework. We cannot skip this step. First, let’s install the EPEL release.
# dnf install https://dl.fedoraproject.org/pub/epel/epel-release-latest-10.noarch.rpm
Then, we can install other packages.
# dnf update
# dnf groupinstall 'Development Tools' -y
Create the file /etc/yum.repos.d/redis.repo with the following contents.
[Redis]
name=Redis
baseurl=http://packages.redis.io/rpm/rockylinux9
enabled=1
gpgcheck=1
Save the file, then exit, and run these commands.
# curl -fsSL https://packages.redis.io/gpg > /tmp/redis.key
# rpm --import /tmp/redis.key
# dnf install redis
Finally, run and enable Redis
# systemctl enable --now redis
Step 3. Install NodeJS
ERPNext requires NodeJS runtime environment and npm. ERPNext requires at least NodeJS version 18. In this step, we will install Node.js and npm using NVM to obtain the latest version.
# su - erpnext
$ curl -o- https://raw.githubusercontent.com/nvm-sh/nvm/v0.40.3/install.sh | bash
Then, source the bash configuration file to make NVM available in the current shell session:
# source ~/.bashrc
Run the following command to install Node.js on Linux using NVM:
$ nvm install node
$ npm install --global yarn
Then, exit from user ‘erpnext’
$ exit
Step 4. Install Nginx and Supervisor
To run ERPNext in production mode, we will need to install these services. Simply run the command below to install them.
# dnf install nginx supervisor
Next, we can edit the nginx user in /etc/nginx/nginx.conf.
# nano /etc/nginx/nginx.conf
Find this line
user nginx;
and replace it with this:
user erpnext;
Save the changes and then enable both Nginx and Supervisor
# systemctl enable --now nginx supervisord
Do not skip the step above, or else you will get error 404 messages when accessing ERPNext later.
Step 5. Install Python and MariaDB
You can not skip this step. Both Python and MySQL or MariaDB are required. Let’s execute this command to install them.
# dnf install python python-devel mariadb-server
Now, install pip3 and wheel dependencies with the newly installed Python 3.10 version:
# python3 -m pip install --upgrade pip setuptools wheel
# systemctl enable --now mariadb
Once MariaDB is running, we can create a password for the user root.
# mysql_secure_installation
NOTE: RUNNING ALL PARTS OF THIS SCRIPT IS RECOMMENDED FOR ALL MariaDB
      SERVERS IN PRODUCTION USE!  PLEASE READ EACH STEP CAREFULLY!

In order to log into MariaDB to secure it, we'll need the current
password for the root user. If you've just installed MariaDB, and
haven't set the root password yet, you should just press enter here.

Enter current password for root (enter for none):
OK, successfully used password, moving on...

Setting the root password or using the unix_socket ensures that nobody
can log into the MariaDB root user without the proper authorisation.

You already have your root account protected, so you can safely answer 'n'.

Switch to unix_socket authentication [Y/n]
Enabled successfully!
Reloading privilege tables..
 ... Success!


You already have your root account protected, so you can safely answer 'n'.

Change the root password? [Y/n]
New password:
Re-enter new password:
Password updated successfully!
Reloading privilege tables..
 ... Success!


By default, a MariaDB installation has an anonymous user, allowing anyone
to log into MariaDB without having to have a user account created for
them.  This is intended only for testing, and to make the installation
go a bit smoother.  You should remove them before moving into a
production environment.

Remove anonymous users? [Y/n] y
 ... Success!

Normally, root should only be allowed to connect from 'localhost'.  This
ensures that someone cannot guess at the root password from the network.

Disallow root login remotely? [Y/n] y
 ... Success!

By default, MariaDB comes with a database named 'test' that anyone can
access.  This is also intended only for testing, and should be removed
before moving into a production environment.

Remove test database and access to it? [Y/n] y
 - Dropping test database...
 ... Success!
 - Removing privileges on test database...
 ... Success!

Reloading the privilege tables will ensure that all changes made so far
will take effect immediately.

Reload privilege tables now? [Y/n] y
 ... Success!

Cleaning up...

All done!  If you've completed all of the above steps, your MariaDB
installation should now be secure.

Thanks for using MariaDB!
Step 6. Install ERPNext
As mentioned earlier, we will use a new system user to run ERPNext. Let’s switch to that user and get started.
# su - erpnext
$ pip3 install --user frappe-bench
$ bench init frappe-bench --frappe-branch version-15
Then, we can create a website.
$ cd frappe-bench
$ bench new-site yourdomain.com
Ensure that you replace ‘yourdomain.com’ with your actual domain name, which points to your server. The command above will prompt you for the MySQL root password. You will also create a new administrator password in this step.
[erpnext@rh frappe-bench]$ bench new-site erpnext.rosehosting.com
MySQL root password:

Installing frappe...
Updating DocTypes for frappe        : [========================================] 100%
Set Administrator password:
Re-enter Administrator password:
Updating Dashboard for frappe
erpnext.rosehosting.com: SystemSettings.enable_scheduler is UNSET
*** Scheduler is disabled ***
Then, we can enable the scheduler.
$ bench --site yourdomain.com enable-scheduler
Again, do not forget to replace ‘yourdomain.com’ with your actual domain name that points to your server.
The next step, once the scheduler is enabled, is to install the ERPNext app:
$ bench get-app erpnext --branch version-15
$ bench --site yourdomain.com install-app erpnext
Step 7. ERPNext in Production Mode
Run these commands to get nginx and supervisord running with ERPNext configuration.
$ sudo ln -s pwd/config/supervisor.conf /etc/supervisord.d/frappe-bench.ini
$ sudo ln -s pwd/config/nginx.conf /etc/nginx/conf.d/frappe-bench.conf
Then, execute these commands
$ bench setup supervisor
$ bench setup nginx
Finally, we can restart the services.
$ sudo systemctl restart supervisord nginx
$ sudo supervisorctl start all
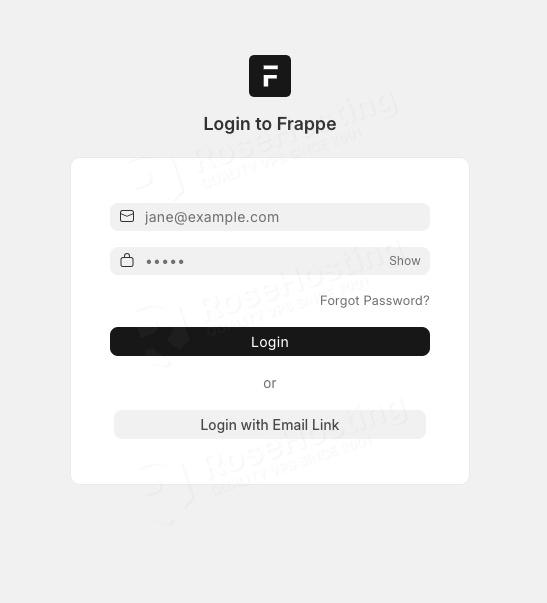
At this point, you should be able to access ERPNext at http://yourdomain.com. You can log in to the backend using the administrator’s username and the password you specified in the previous step.
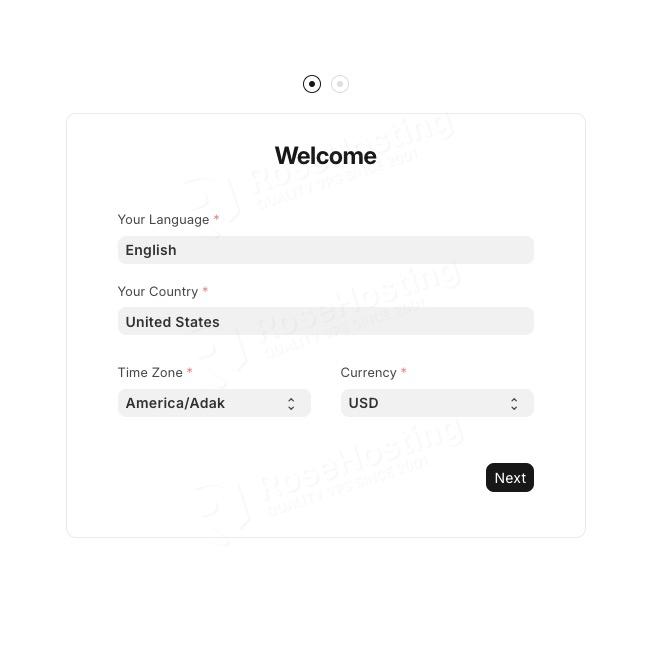
Once logged in, you will be prompted to configure your language, time zone, country, and currency. Click Next to continue.
Then, you need to set up your account and complete the setup
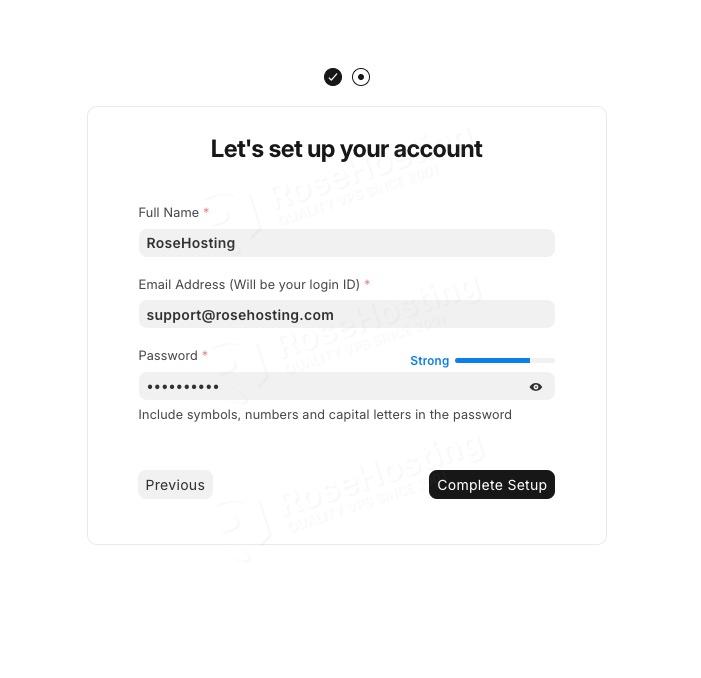
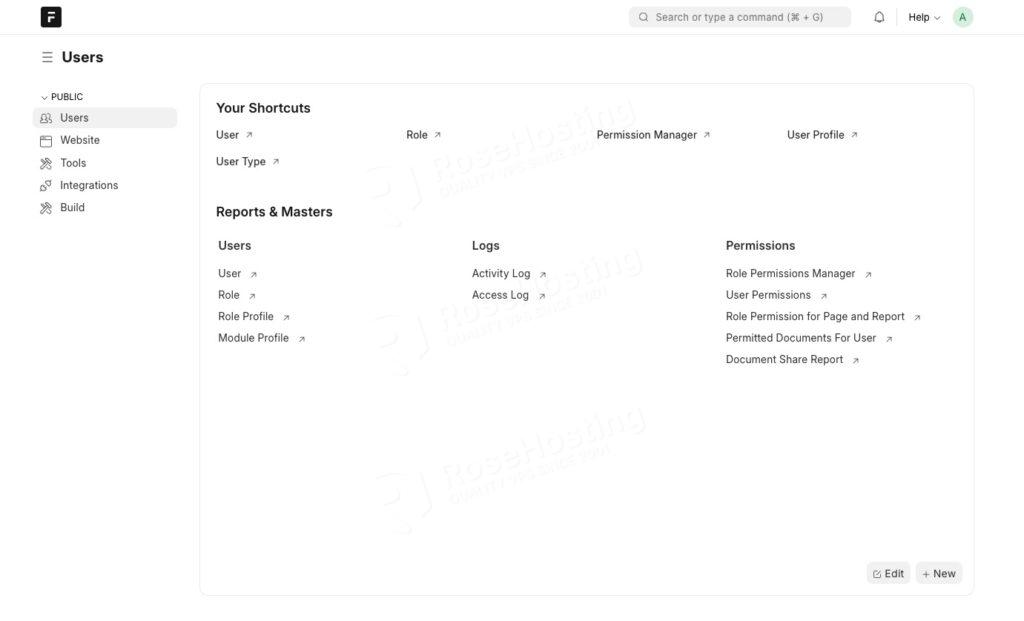
Finally, you will be taken to the backend, and you can now start customizing your ERPNext website.
Congratulation! You have successfully installed ERPNext on your AlmaLinux VPS. For more information about ERPNext, please refer to the ERPNext website.
If you are one of our web hosting customers and use our managed Linux Hosting, you don’t have to install ERPNext on AlmaLinux 10. Our Linux admins will set up and configure an ERPNext VPS for you. They are available 24×7 and will take care of your request immediately. You just need to drop a ticket to get ERPNext installed on your server.
If you liked this post on how to install ERPNext on AlmaLinux 10, please share it with your friends or leave a comment below. Thanks.