
In the tutorial, we will explain how to install Joomla on Debian 13 OS. Joomla is a free and open-source CMS (content management system) written in PHP used to build and manage websites and other online applications. Creating content with Joomla has never been easier with the latest versions, and it allows users to easily create and publish web content, blogs, e-commerce stores, forums, etc. Joomla has a large community of developers, it is highly flexible, has security features, and many more reasons for users to use it. In this blog post, we will install Joomla with the LAMP stack.
Installing Joomla on Debian 13 is a straightforward process that may take up to 15 minutes. Let’s get started!
Table of Contents
Prerequisites
- Debian 13 VPS Hosting
- User privileges: root or non-root user with sudo privileges
- A valid domain name pointed to the server
Step 1. Update the system
Before we start with the installation of the LAMP stack, we need to update the packages to their latest available versions. To do that, execute the following command:
sudo apt update -y && sudo apt upgrade -y
Step 2. Install LAMP stack
First of the LAMP stack will be the Apache web server. To install the Apache web server, execute the following command:
sudo apt install apache2 -y
Once installed, start and enable the Apache service:
sudo systemctl start apache2 && sudo systemctl enable apache2
Check the status of the service:
sudo systemctl status apache2
You should get the following output:
root@host:~# sudo systemctl status apache2
● apache2.service - The Apache HTTP Server
     Loaded: loaded (/usr/lib/systemd/system/apache2.service; enabled; preset: enabled)
     Active: active (running) since Sun 2025-08-10 03:03:35 CDT; 17s ago
 Invocation: 31d3ae28142e456594a9ee9c059f1b72
       Docs: https://httpd.apache.org/docs/2.4/
   Main PID: 6900 (apache2)
      Tasks: 55 (limit: 4640)
     Memory: 5M (peak: 5.5M)
        CPU: 87ms
     CGroup: /system.slice/apache2.service
             ├─6900 /usr/sbin/apache2 -k start
             ├─6902 /usr/sbin/apache2 -k start
             └─6903 /usr/sbin/apache2 -k start

Aug 10 03:03:35 host.test.vps systemd[1]: Starting apache2.service - The Apache HTTP Server...
Next in the LAMP stack will be PHP, along with its extensions. To install it, execute the command below:
sudo apt install php8.4 libapache2-mod-php8.4 php8.4-mbstring php8.4-mysql php8.4-fpm php8.4-xml php8.4-curl -y
To verify the PHP installation, execute the following command:
php -v
You should receive the following output:
root@host:~# php -v
PHP 8.4.11 (cli) (built: Aug  3 2025 07:32:21) (NTS)
Copyright (c) The PHP Group
Built by Debian
Zend Engine v4.4.11, Copyright (c) Zend Technologies
    with Zend OPcache v8.4.11, Copyright (c), by Zend Technologies
And the last of the LAMP stack will be the MariaDB database service. To install MariaDB, execute the following command:
sudo apt install mariadb-server -y
Once installed, start and enable the MariaDB service:
sudo systemctl start mariadb && sudo systemctl enable mariadb
Check the status of the service:
sudo systemctl status mariadb
You should get the following output:
root@host:~# sudo systemctl status mariadb
● mariadb.service - MariaDB 11.8.2 database server
     Loaded: loaded (/usr/lib/systemd/system/mariadb.service; enabled; preset: enabled)
     Active: active (running) since Sun 2025-08-10 03:06:03 CDT; 18s ago
 Invocation: 3ba3606c3cc54e048bb62c2b53040915
       Docs: man:mariadbd(8)
             https://mariadb.com/kb/en/library/systemd/
   Main PID: 12485 (mariadbd)
     Status: "Taking your SQL requests now..."
      Tasks: 15 (limit: 30624)
     Memory: 123.9M (peak: 128.6M)
        CPU: 6.771s
     CGroup: /system.slice/mariadb.service
             └─12485 /usr/sbin/mariadbd
Step 3. Create a Joomla database and user
To create a Joomla database, Joomla user, and assign the correct permissions, execute the following commands:
CREATE USER 'joomlaUser'@'localhost' IDENTIFIED BY 'YourStrongPassword';

CREATE DATABASE joomlaDB;

GRANT ALL PRIVILEGES ON joomlaDB.* TO 'joomlaUser'@'localhost';

FLUSH PRIVILEGES;

EXIT;
Step 4. Download and install Joomla
First, we need to download and extract the Joomla installation files:
mkdir -p /var/www/html/joomla

cd /var/www/html/joomla

wget https://downloads.joomla.org/cms/joomla5/5-3-2/Joomla_5-3-2-Stable-Full_Package.zip?format=zip -O /var/www/html/joomla/joomla.zip

unzip joomla.zip

rm joomla.zip
Set the right permissions for files and folders.
chown -R www-data:www-data /var/www/html/joomla/

find . -type d -exec chmod 755 {} \;

find . -type f -exec chmod 644 {} \;
Step 5. Create Apache Virtual Host File
To create the Apache configuration file, execute the following command:
sudo touch /etc/apache2/sites-available/joomla.conf
Open the file and paste the following lines of code
<VirtualHost *:80>
ServerName yourdomain.com
DocumentRoot /var/www/html/joomla


<Directory /var/www/html/joomla>
AllowOverride All
</Directory>


ErrorLog ${APACHE_LOG_DIR}/error.log
CustomLog ${APACHE_LOG_DIR}/access.log combined

<VirtualHost>
Save the file and close it.
Enable the Apache configuration files for Joomla along with the rewrite module.
sudo a2enmod rewrite

sudo a2ensite joomla.conf
Check the Apache2 syntax:
apachectl -t
You should receive the following output:
root@host:/var/www/html/joomla# apachectl -t
Syntax OK
If the syntax is OK, restart the Apache service.
systemctl restart apache2
That’s it. Now you can access and finish the Joomla installation at http://yourdomain.com
Step 6. Finish Joomla Installation
To finish the Joomla installation, access your domain you configured in the previous step: http://yourdomain.com.
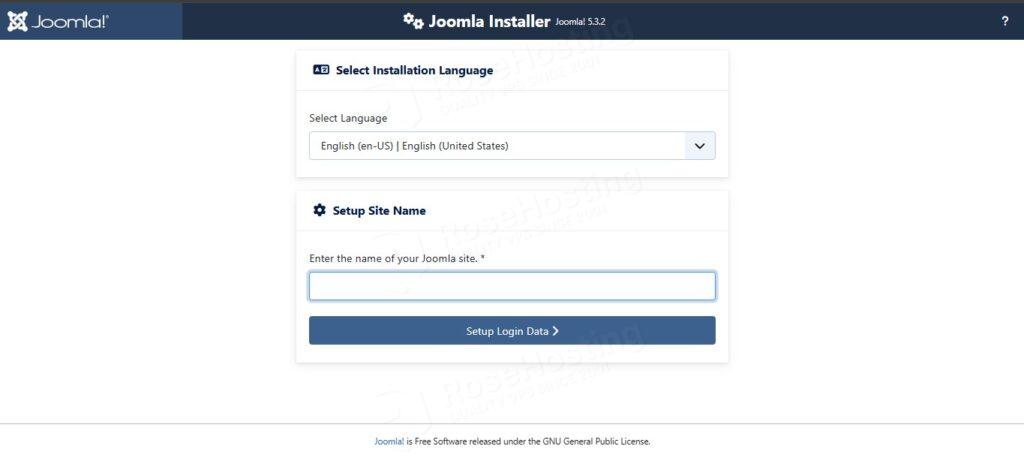
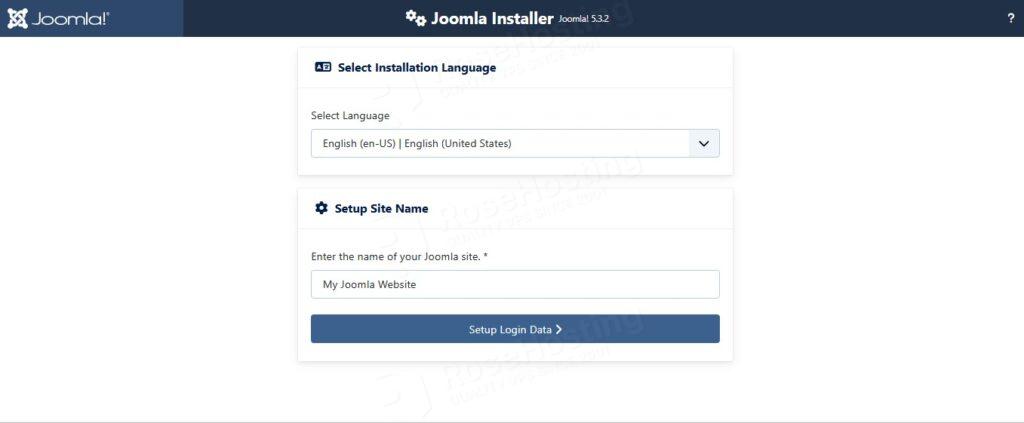
Fill in the input for your website name and click on the “Setup Login Data >” button.
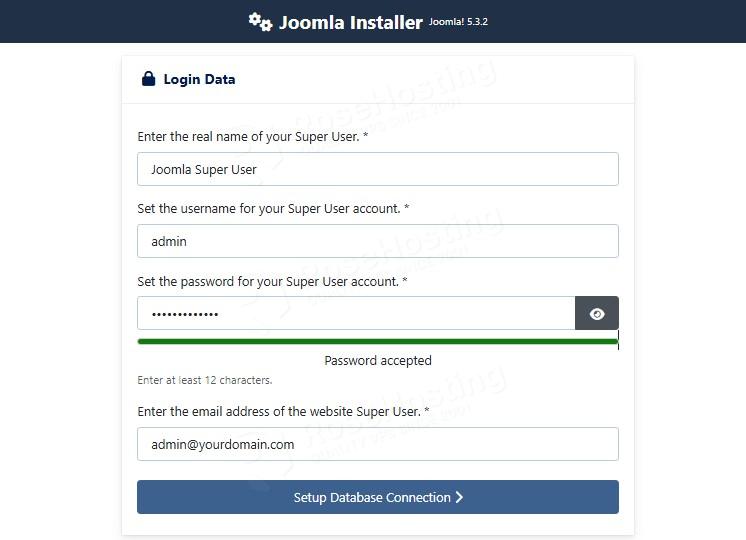
Next, add the super user name, admin, and a strong password. Then click on the “Setup Database Connection >”.
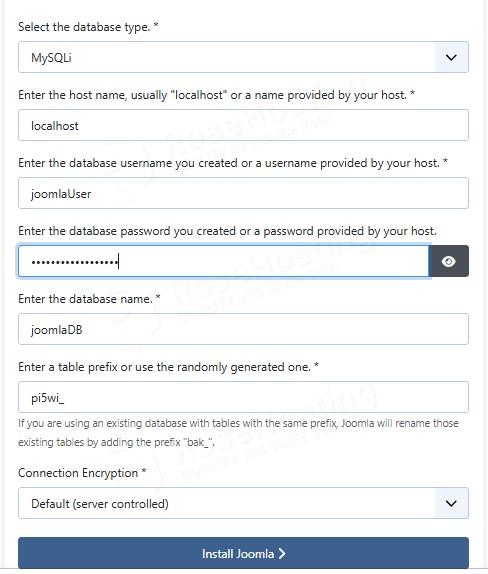
In this window, we have to enter the database user, database name, and database password we set in Step 3 of this tutorial. Once the inputs are filled, click on the “Install Joomla >” button.
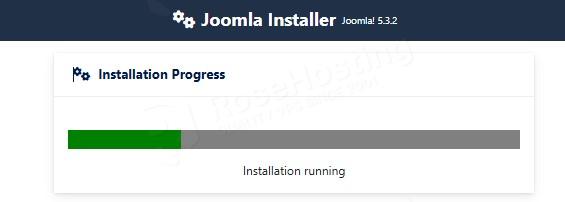
The installation will start, and it will be finished in a couple of seconds:
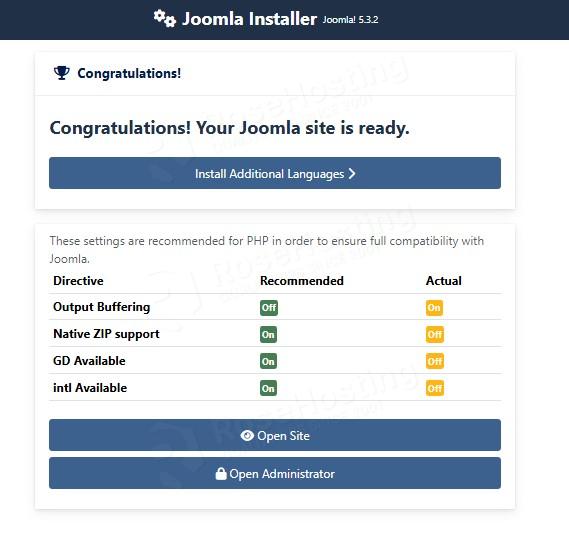
On this window, you can choose to install additional languages, open the Site, or the Admin dashboard. Let’s open the administrator dashboard since the installation is done.
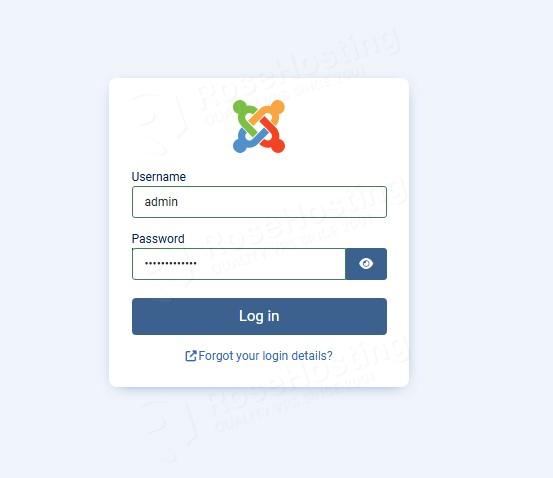
Use the admin credentials you set during the installation process, then click on the “Log in” button:
You will be redirected to the Joomla Admin dashboard:
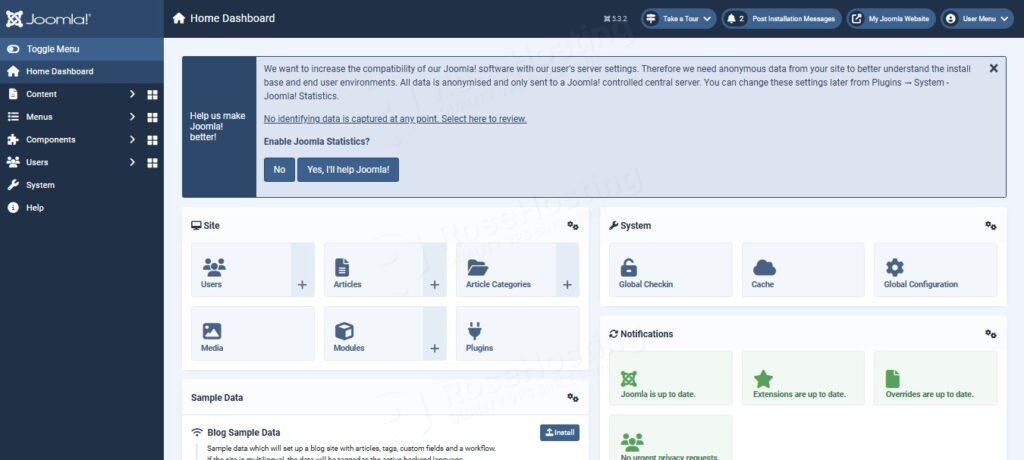
Congratulations! You successfully installed Joomla on Debian 13 OS
Of course, you do not have to install it on your own if you have difficulties and are not familiar with Linux. Simply sign up for one of our Joomla hosting plans and submit a support ticket. Our admins are available 24/7 and will help you with any aspect of installing Joomla.
If you liked this post on installing Joomla on Debian 13, please share it with your friends on social networks or simply leave a reply below. Thanks.