
In this tutorial, we are going to explain how to install GitLab on Debian 13 OS. GitLab is an AI-powered software development platform that combines development (Dev), Security, and Operations to streamline the entire software delivery pipeline. It offers a range of features, including CI/CD (Continuous Integration and Continuous Delivery), Flexibility and Control, Built-in Security, and, as mentioned above, AI-powered capabilities. GitLab provides tools for version control, issue tracking, project planning, automated deployments, etc. This blog post will cover the installation and configuration of GitLab.
Installing GitLab on Debian 13 is straightforward and may take up to 20 minutes. Let’s get started!
Table of Contents
Prerequisites
- A server running Debian 13 OS
- User privileges: root or non-root user with sudo privileges
- A valid domain with a pointed A record to the server IP address
Step 1. Update the System
Before we start with the installation of GitLab, we will update the system packages to their latest versions. To do that, execute the following command:
sudo apt update -y && sudo apt upgrade -y
Step 2. Install Gitlab
Before we start with the installation process, we need to install some necessary packages:
sudo apt install curl apt-transport-https ca-certificates tzdata perl -y
Once the prerequisites are installed, the next step is to add the GitLab repo, since it is not available in Debian 13’s default repo. To do that, execute the following command:
    curl -fsSL https://packages.gitlab.com/gitlab/gitlab-ce/gpgkey | sudo gpg --dearmor -o /usr/share/keyrings/gitlab-ce-archive-keyring.gpg
    echo "deb [signed-by=/usr/share/keyrings/gitlab-ce-archive-keyring.gpg] https://packages.gitlab.com/gitlab/gitlab-ce/debian bookworm main" | sudo tee /etc/apt/sources.list.d/gitlab_gitlab-ce.list
Once the repository is set up, update the system and install GitLab with the commands below:
sudo apt update

sudo apt install gitlab-ce -y
You should allow a couple of minutes, and once the installation is complete, it should look like this:
It looks like GitLab has not been configured yet; skipping the upgrade script.
         .                        ..
        :c:                      ,cc'
       :ccc:                    'cccc.
      :ccccc,                   cccccc
     .ccccccc                  :cccccc:
     cccccccc:                .cccccccc'
    :ccccccccc;..............'cccccccccc'
   cccccccccccccccccccccccccccccccccccccc'
  :ooolccccccccccccccccccccccccccccccllooo
  ooooooollccccccccccccccccccccccclooooooo
  ;ooooooooollcccccccccccccccccloooooooool
   oooooooooooolccccccccccccloooooooooooo.
    .ooooooooooooolcccccclloooooooooooo;
       cooooooooooooolllooooooooooooo.
          loooooooodxkkxddoooooooo.
            .ooodxkkkkkkkkxdooo;
               .kkkkkkkkkkkk:
                  ;kkkkkkx
                     :d

Thank you for installing GitLab!
GitLab was unable to detect a valid hostname for your instance.
Please configure a URL for your GitLab instance by setting `external_url`
configuration in /etc/gitlab/gitlab.rb file.
Then, you can start your GitLab instance by running the following command:
  sudo gitlab-ctl reconfigure
Step 3. Configure GitLab
GitLab is successfully installed, but the hostname or domain is not configured yet. As it is explained in the output, let’s configure the hostname in the /etc/gitlab/gitlab.rb file:
sudo nano /etc/gitlab/gitlab.rb
Locate the external_url and configure it to use your domain name:
external_url 'http://YourDomainNameHere'
Save the file, close it, and execute the following command to apply the changes:
sudo gitlab-ctl reconfigure
The process of reconfiguring will start, and you should allow another couple of minutes for its completion. Once done, you will receive output like this:
Notes:
Default admin account has been configured with following details:
Username: root
Password: You didn't opt-in to print initial root password to STDOUT.
Password stored to /etc/gitlab/initial_root_password. This file will be cleaned up in first reconfigure run after 24 hours.

NOTE: Because these credentials might be present in your log files in plain text, it is highly recommended to reset the password following https://docs.gitlab.com/ee/security/reset_user_password.html#reset-your-root-password.

gitlab Reconfigured!
The root password is stored in /etc/gitlab/initial_root_password, and to check it, you can run the following command:
cat /etc/gitlab/initial_root_password
You can save the password, as this file will be cleaned up during the first reconfigure run after 24 hours. If you do not save it somehow and lose it after the file is cleaned, you can reset the root password with the following command:
sudo gitlab-rake "gitlab:password:reset[root]"
After executing this command, you will have to enter a new root password twice, and the password will be reset:
root@host:~# sudo gitlab-rake "gitlab:password:reset[root]"
Enter password: YourStrongPasswordHere
Confirm password: YourStrongPasswordHere
Password successfully updated for user with username root.
The/etc/gitlab/gitlab.rb file allows us to configure various settings, including email settings, themes, roles, proxies, allowed hosts, and more. For example, to configure the email setting, you need to use the following settings with your SMTP server values:
gitlab_rails['smtp_enable'] = true
gitlab_rails['smtp_address'] = "smtp.server"
gitlab_rails['smtp_port'] = 465
gitlab_rails['smtp_user_name'] = "smtp user"
gitlab_rails['smtp_password'] = "smtp password"
gitlab_rails['smtp_domain'] = "example.com"
gitlab_rails['smtp_authentication'] = "login"
gitlab_rails['smtp_enable_starttls_auto'] = true
gitlab_rails['smtp_tls'] = false
gitlab_rails['smtp_pool'] = false
Step 4. Access GitLab User Interface
GitLab is successfully installed, but the hostname or domain is not configured yet. As explained in the output, let’s configure the hostname in the /etc/gitlab/gitlab file.rb file:
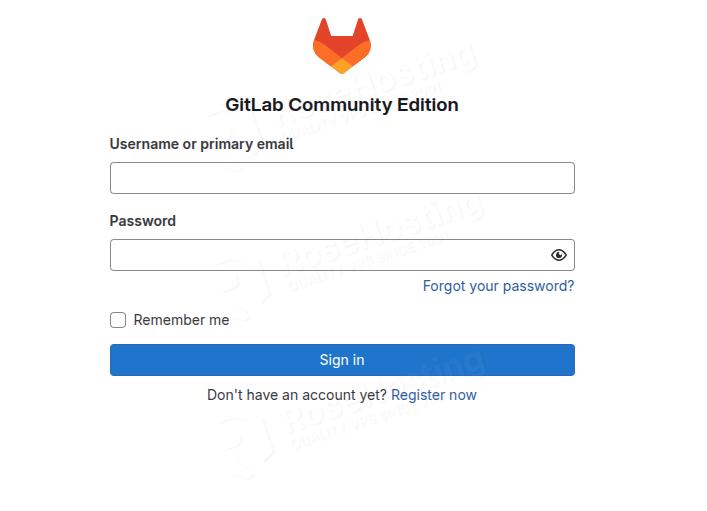
Enter the username root and the password you set above:

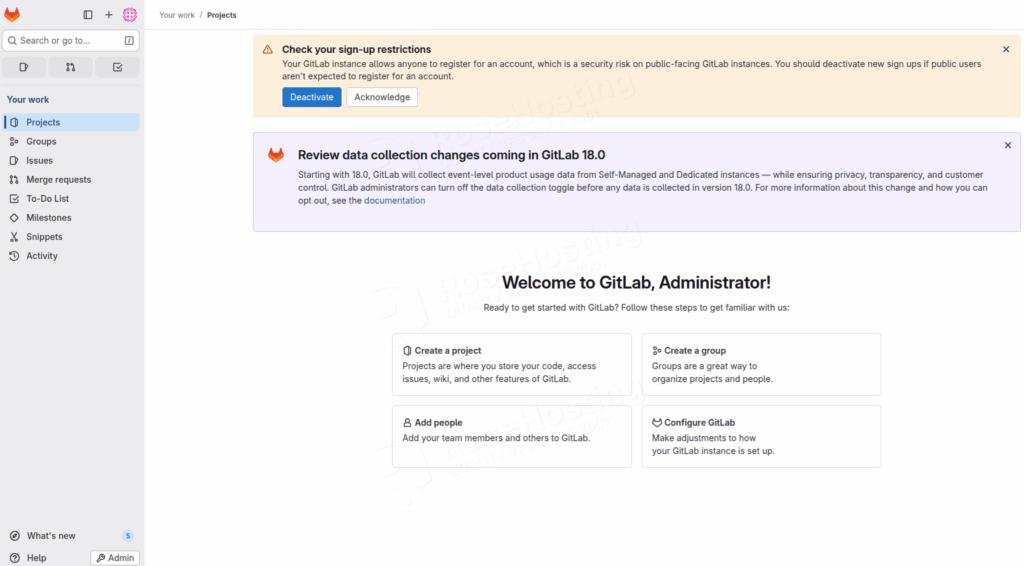
Once logged in, you will be redirected to the GitLab Admin dashboard:
Conclusion
That’s it. You successfully installed GitLab on Debian 13.
Of course, you don’t have to do this if you have difficulties and are not familiar with Linux. You can always contact our technical support. You only need to sign up for one of our Managed Linux VPS plans and submit a support ticket. We are available 24/7 and will take care of your request immediately.
If you liked this post on how to install GitLab on Debian 13, please share it with your friends or leave a comment below.