In this blog post, we will explain how to install ERPNext on Ubuntu 24.04. ERPNext is free and open-source enterprise resource planning software with a variety of features, including accounts, sales, manufacturing, and human resources. It is written in Python and stores the data in the MariaDB database service. The web server for ERPNext is Nginx, which also requires NodeJS. Every requirement will be installed and explained in the following paragraphs.
Installing ERPNext on Ubuntu 24.04 is a straightforward process that may take up to 40 minutes. Let’s get started!
Table of Contents
Prerequisites
- A server running Ubuntu 24.04 OS
- User privileges: root or non-root user with sudo privileges
- A valid domain name pointed to the server IP address
Step 1. Update the system
Before we start installing the prerequisites and ERPNext, we need to update the packages to their latest versions. To do that, execute the following command:
sudo apt update -y && sudo apt upgrade -y
Step 2. Install Dependencies
The dependencies for ERPNext include the latest Python version, Redis, GCC, wkhtmltopdf, and more. To install them, execute the following command:
sudo apt install python3-pip python3-dev python3-venv python3-testresources default-libmysqlclient-dev build-essential libffi-dev libssl-dev wkhtmltopdf gcc g++ make pkg-config redis-server -y
Step 3. Install NodeJS
NodeJS is included by default in the repository of Ubuntu 24.04. To install it, execute the following command:
sudo apt install nodejs npm-y
To check the installed Node and NPM versions, execute the following command:
node -v; npm -v
You should get output similar to this:
root@host:~# node -v; npm -v
v18.19.1
9.2.0
Now, we can install YARN:
npm install -g yarn
Step 4. Install MariaDB database service
Next, we need to install the MariaDB database service. To do that, execute the command below:
sudo apt install mariadb-server mariadb-client -y
Start and enable the MariaDB database service using the following commands:
sudo systemctl start mariadb && sudo systemctl enable mariadb
To check the status of the MariaDB service, you can use the command below:
sudo systemctl status mariadb
You should get the following output:
root@host:~# sudo systemctl status mariadb
● mariadb.service - MariaDB 10.11.13 database server
     Loaded: loaded (/usr/lib/systemd/system/mariadb.service; enabled; preset: enabled)
     Active: active (running) since Tue 2025-10-28 18:28:16 CDT; 29s ago
       Docs: man:mariadbd(8)
             https://mariadb.com/kb/en/library/systemd/
   Main PID: 42563 (mariadbd)
     Status: "Taking your SQL requests now..."
      Tasks: 13 (limit: 30450)
     Memory: 78.7M (peak: 82.0M)
        CPU: 1.044s
     CGroup: /system.slice/mariadb.service
             └─42563 /usr/sbin/mariadbd
Next is to secure the MariaDB service and set the MariaDB root password, which we will need later for the ERPNext installation:
sudo mariadb-secure-installation
After executing the command, you should follow the next steps in order to secure the MariaDB installation:
Enter current password for root (enter for none):

Switch to unix_socket authentication [Y/n] Y

Change the root password? [Y/n] Y
New password: MariaDBRootPassword
Re-enter new password: MariaDBRootPassword

Remove anonymous users? [Y/n] Y

Disallow root login remotely? [Y/n] Y

Remove test database and access to it? [Y/n] Y

Reload privilege tables now? [Y/n] Y
 ... Success!

Cleaning up...

All done!  If you've completed all of the above steps, your MariaDB
installation should now be secure.

Thanks for using MariaDB!
Next, we need to modify the MariaDB configuration file and set the correct language support. Open the following file:
sudo nano /etc/mysql/mariadb.conf.d/50-server.cnf
Modify the following line of code to look like this:
collation-server = utf8mb4_unicode_ci
Then, under the [mysqld] section, add these lines of code:
innodb-file-format=barracuda
innodb-file-per-table=1
innodb-large-prefix=1
Save the file, close it, and restart the MariaDB service:
sudo systemctl restart mariadb
Step 5. Install ERPNext
Finally, we are at the most important step: installing ERPNext. First, we will create a system user for ERPNext and grant privileges to that user:
useradd -m -d /opt/erpnext -U -r -s /bin/bash erpnext

usermod -aG sudo erpnext
Set password for the erpnext user:
root@host:/opt# passwd erpnext
New password:StrongPasswordHere
Retype new password: StrongPasswordHere
passwd: password updated successfully
Next login, as ERPNext user:
su - erpnext
Next, we need to edit the .bashrc:
nano ~/.bashrc
Add the following lines of code at the bottom of the file:
PATH=$PATH:~/.local/bin/
Save the file, close it, and execute the following command to apply the changes and activate the environment file:
source ~/.bashrc
Next, we need to create the ERPNext directory and set the correct permissions on it:
sudo mkdir /opt/bench

sudo chown -R erpnext: /opt/bench
Navigate to the newly created directory and download the ERPNext bench repository from GitHub:
cd /opt/bench

git clone https://github.com/frappe/bench bench-repo
Next, install the bench repo using the pip3 command:
pip3 install -e bench-repo --break-system-packages
Once the repository is installed, we need to initialize the bench and create a new site in the bench using your domain (note that the domain should be pointed to the server IP address as described in the Prerequisites section:
bench init erpnext

cd /opt/bench/erpnext

bench new-site erpnext.yourdomain.com
After creating the new site, you will be asked for the MariaDB root password you set before, and then to set a strong Administrator password for the ERPNext installation:
erpnext@host:/opt/bench/erpnext$ bench new-site erpnext.yourdomain.com
Enter mysql super user [root]: root
MySQL root password: MariaDBRootPassword

Installing frappe...
Updating DocTypes for frappe        : [========================================] 100%
Set Administrator password: StrongAdminPasswordHere
Updating Dashboard for frappe
erpnext.yourdomain.com: SystemSettings.enable_scheduler is UNSET
*** Scheduler is disabled ***
Before we go to the next step, we need to enable the scheduler:
bench --site erpnext.yourdomain.com enable-scheduler
Step 6. Configure ERPNext
Next, we need to install Nginx and Supervisor, which are a crucial part of the ERPNext installation. To do that, execute the following command:
sudo apt install supervisor nginx -y
Once Nginx and Supervisor are installed, we need to install the frappe-bench, navigate to the erpnext bench directory, and set up the production environment. Execute the following commands one by one:
sudo pip3 install frappe-bench --break-system-packages

cd /opt/bench/erpnext

sudo bench setup production erpnext
You should allow some time for the process of creating a reverse proxy in Nginx, configuring the Redis service, and the supervisor in the background to finish.
Step 7. Finish the ERPNext installation
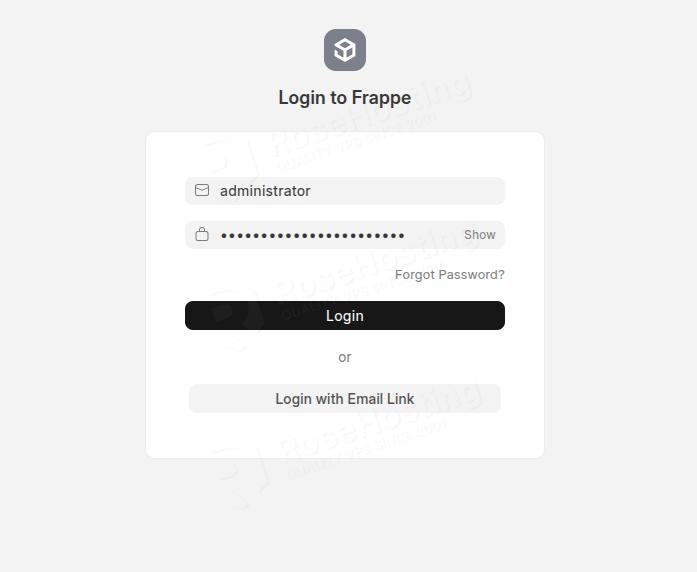
Once the production setup is done, you can access the ERPNext website at http://erpnext.yourdomain.com.
Log in as the administrator username and the password you set in the previous step.
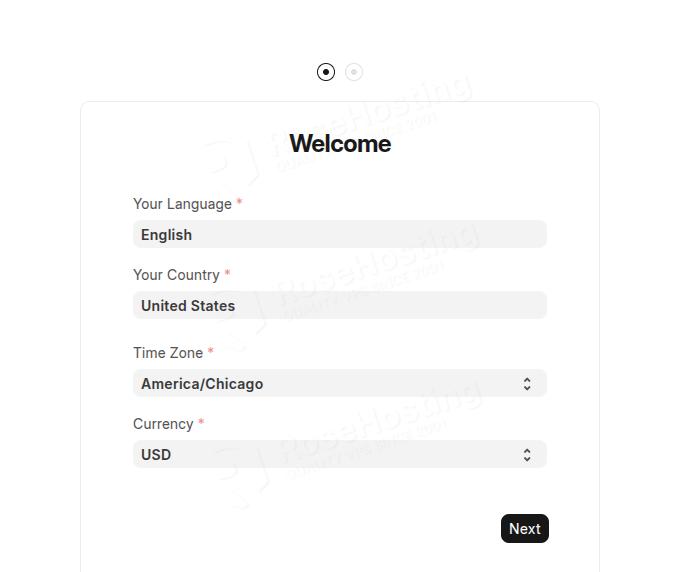
On the next screen, select your language, Country, Timezone, and Currency:
Then you need to enter your username, email, and set a password for that account:
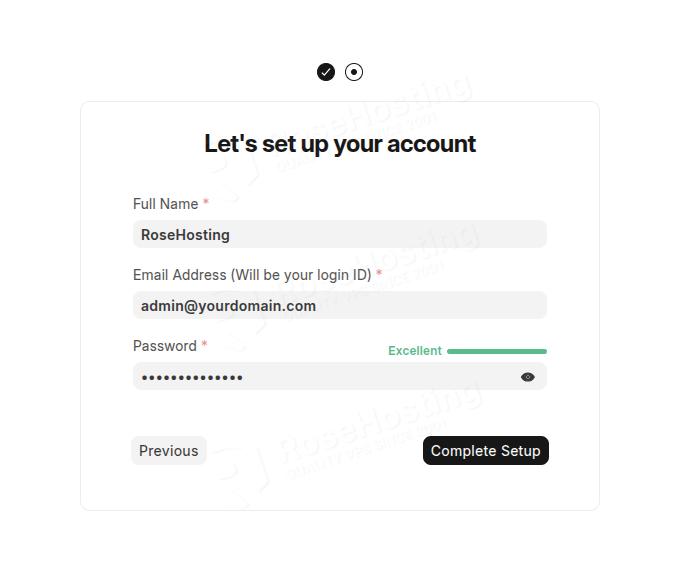
Once the setup is complete, you will be redirected to the website’s admin dashboard.

That’s it all! You have successfully installed ERPNext on Ubuntu 24.04.
If you are one of our customers and use our managed ERPNext hosting, you don’t have to follow this tutorial and install ERPNext on Ubuntu 24.04 yourself. Our experienced Linux admins will set up and configure an ERPNext VPS for you. They are available 24×7 and will address your request immediately. Submit a ticket.
PS. If you liked this post, please share it with your friends or leave a comment below. Thanks.