
Jenkins is one of the most popular Continuous Integration & Delivery (CI/CD) servers in the world. It is an open-source platform built with Java that automates various stages of software development. This CI/CD tool is a favorite among developers for its flexibility and ease of configuration. Jenkins is typically run in containers, but in some scenarios (such as on-premises build servers), we prefer to run it directly on the system using systemd for greater stability and automatic restarts. In this article, we will show you how to install Jenkins on Ubuntu 26.04.
Table of Contents
Prerequisites
- An Ubuntu 26.04 VPS with at least 2GB of RAM
- SSH access with sudo privileges, or root access
Conventions
# – given commands should be executed with root privileges either directly as a root user or by use of sudo command
$ – given commands should be executed as a regular user
Step 1. Update the System
First of all, we need to log in to our Ubuntu 26.04 server through SSH:
ssh root@IP_Address -p Port_numberReplace “root” with a user that has sudo privileges. Additionally, replace “IP_Address” and “Port_Number” with your server’s respective IP address and SSH port number. Next, let’s make sure that we’re on Ubuntu 26.04. You can verify it with this command:
# lsb_release -aYou should get this as the output:
No LSB modules are available.
Distributor ID:    Ubuntu
Description:    Ubuntu Resolute Raccoon
Release:    26.04
Codename:    resolute
Then, run the following command to make sure that all installed packages on the server are updated to their latest available versions:
# apt update That’s it, we have updated the system package information.
Step 2. Install Java
Installing Java from the APT repository will provide automatic updates through the package manager. At the moment, the Java JRE and JDK are not available in the Ubuntu APT repository. But when they are available, you can simply run this command to install JRE.
# apt update
# apt install fontconfig openjdk-21-jre
You can verify the installation with this command:
# java -versionIt will print this message:
openjdk version "21.0.11-ea" 2026-04-21
OpenJDK Runtime Environment (build 21.0.11-ea+8-Ubuntu-1)
OpenJDK 64-Bit Server VM (build 21.0.11-ea+8-Ubuntu-1, mixed mode, sharing)
Be advised that on Debian or Ubuntu machines, it is strongly recommended to install Java before installing Jenkins. If Jenkins is installed first and Java is added later, you will see a message when starting the Jenkins service:
jenkins: failed to find a valid Java installationAfter completing the Java installation, continue with the Jenkins installation steps below.
Step 3. Install Jenkins
In this step, we will install Jenkins from the Jenkins APT repository. This installation method is preferred because it supports the LTS (Long-Term Support) release and is chosen every 12 weeks from the stream of regular releases as the stable release for that time period.
First, add the GPG key and Jenkins repository to the system:
# wget -O /etc/apt/keyrings/jenkins-keyring.asc \
  https://pkg.jenkins.io/debian-stable/jenkins.io-2026.key
Then execute this command:
# echo "deb [signed-by=/etc/apt/keyrings/jenkins-keyring.asc]" \
  https://pkg.jenkins.io/debian-stable binary/ | tee \
  /etc/apt/sources.list.d/jenkins.list > /dev/null
Now, let’s refresh the package index files on the system.
# apt updateAgain, we have updated the system package information on the server. Finally, we can install Jenkins by executing the command below.
# apt install jenkinsJenkins will run automatically upon installation. You can run this command to check it.
# systemctl status jenkinsThe command will show you this message:
● jenkins.service - Jenkins Continuous Integration Server
     Loaded: loaded (/usr/lib/systemd/system/jenkins.service; enabled; preset: enabled)
     Active: active (running) since Wed 2026-04-08 13:00:06 UTC; 43s ago
 Invocation: 1f8965eaf47d4dcda8d1b9902ddf6cf7
   Main PID: 5252 (java)
      Tasks: 48 (limit: 3935)
     Memory: 639.4M (peak: 667.3M)
        CPU: 30.323s
     CGroup: /system.slice/jenkins.service
             └─5252 /usr/bin/java -Djava.awt.headless=true -jar /usr/share/java/jenkins.war --webroot=/var/cache/jenkins/war --httpPort=8080

Apr 08 12:59:56 ubuntu26 jenkins[5252]: [LF]> This may also be found at: /var/lib/jenkins/secrets/initialAdminPassword
Apr 08 12:59:56 ubuntu26 jenkins[5252]: [LF]>
Apr 08 12:59:56 ubuntu26 jenkins[5252]: [LF]> *************************************************************
Apr 08 12:59:56 ubuntu26 jenkins[5252]: [LF]> *************************************************************
Apr 08 12:59:56 ubuntu26 jenkins[5252]: [LF]> *************************************************************
Apr 08 13:00:06 ubuntu26 jenkins[5252]: 2026-04-08 13:00:06.707+0000 [id=39]        INFO        jenkins.InitReactorRunner$1#onAttained: Completed initialization
Apr 08 13:00:06 ubuntu26 jenkins[5252]: 2026-04-08 13:00:06.736+0000 [id=30]        INFO        hudson.lifecycle.Lifecycle#onReady: Jenkins is fully up and running
Apr 08 13:00:06 ubuntu26 systemd[1]: Started jenkins.service - Jenkins Continuous Integration Server.
Apr 08 13:00:09 ubuntu26 jenkins[5252]: 2026-04-08 13:00:08.997+0000 [id=56]        INFO        h.m.DownloadService$Downloadable#load: Obtained the updated data file for hudson.tasks.Maven.MavenInstaller
Apr 08 13:00:09 ubuntu26 jenkins[5252]: 2026-04-08 13:00:08.999+0000 [id=56]        INFO        hudson.util.Retrier#start: Performed the action check updates server successfully at the attempt #1
As you can see in the status above, we can run the command below to see the initial admin password.
# cat /var/lib/jenkins/secrets/initialAdminPasswordThe command will print the initial admin password.
c6a15298bf774bc0aca3c7907df54a22Now, you can go to http://YOUR_SERVER_IP_ADDRESS:8080
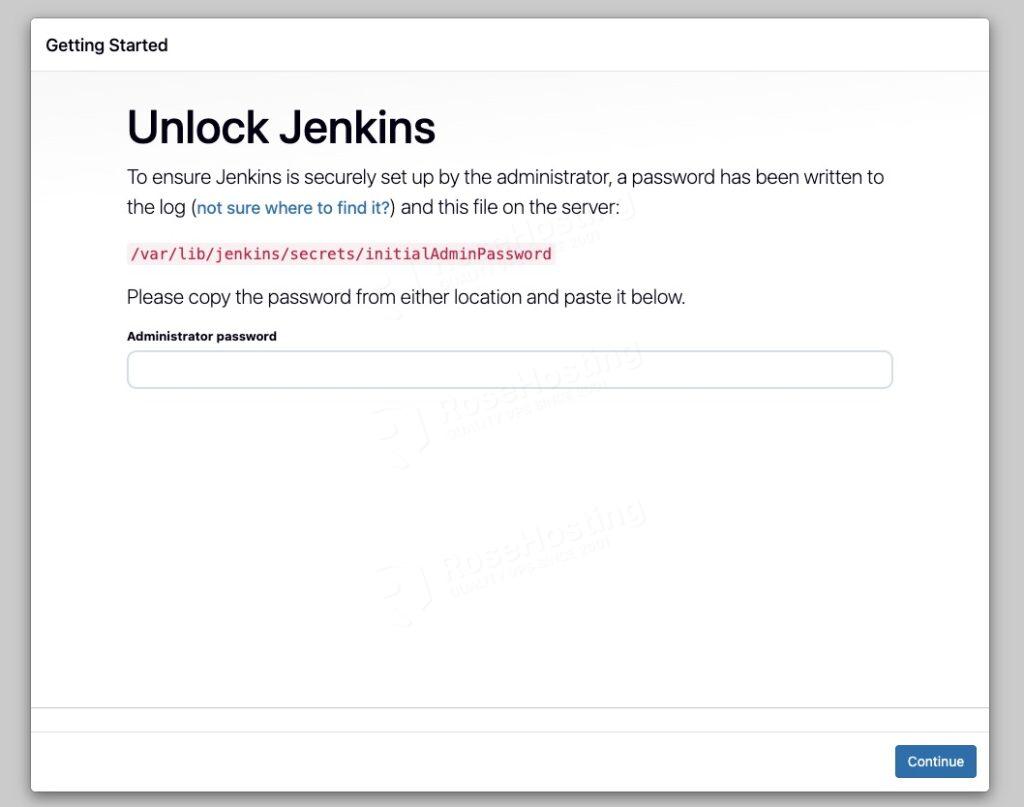
Here, you can enter the initial admin password. Type the password, then hit the continue button to proceed.
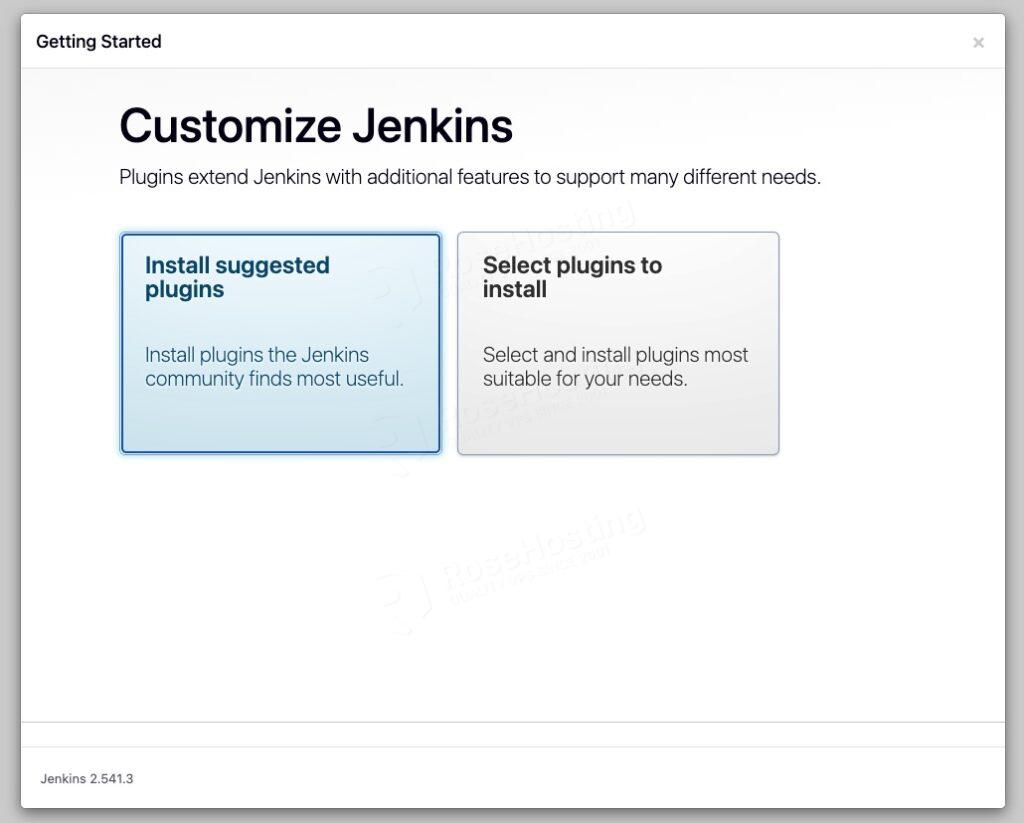
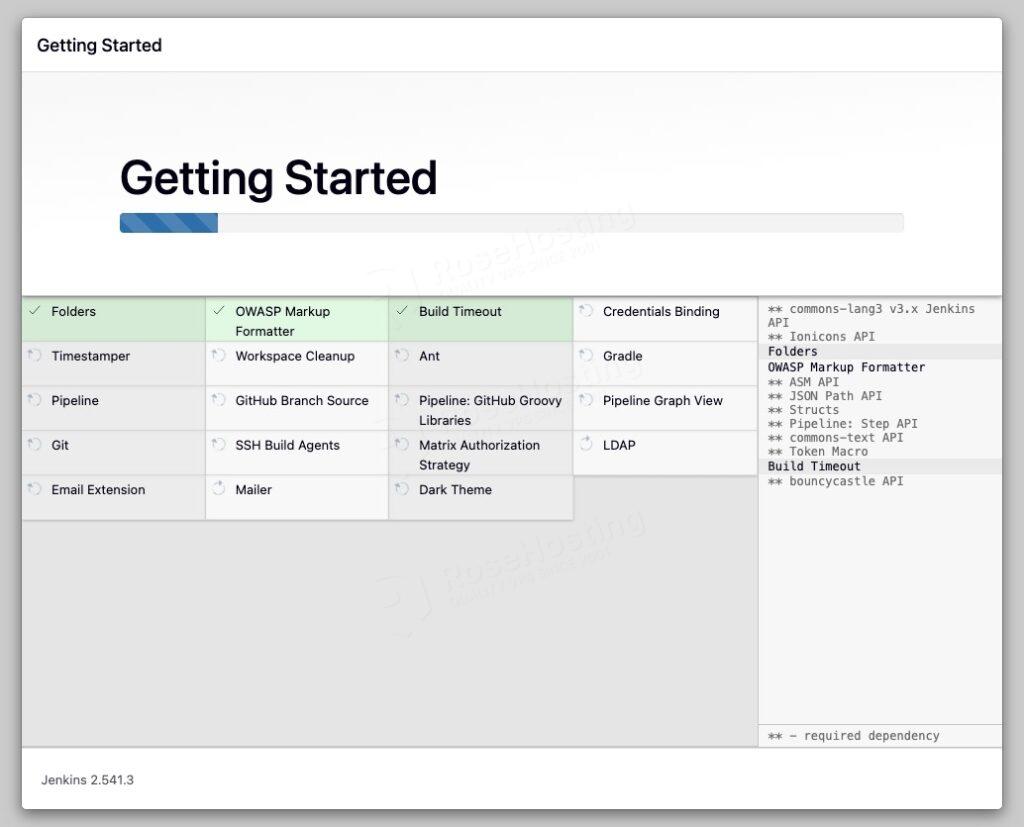
Now it is time to begin the initial configuration process. This step is crucial to ensure that we can use Jenkins immediately for your needs, especially for the initial setup of a CI/CD project. In this step, you can install the recommended plugins or choose ones you like. Let’s select the recommended plugins.
After installing the plugins, the Jenkins installer will ask you to create a new admin user. Enter a name, password, and email address.
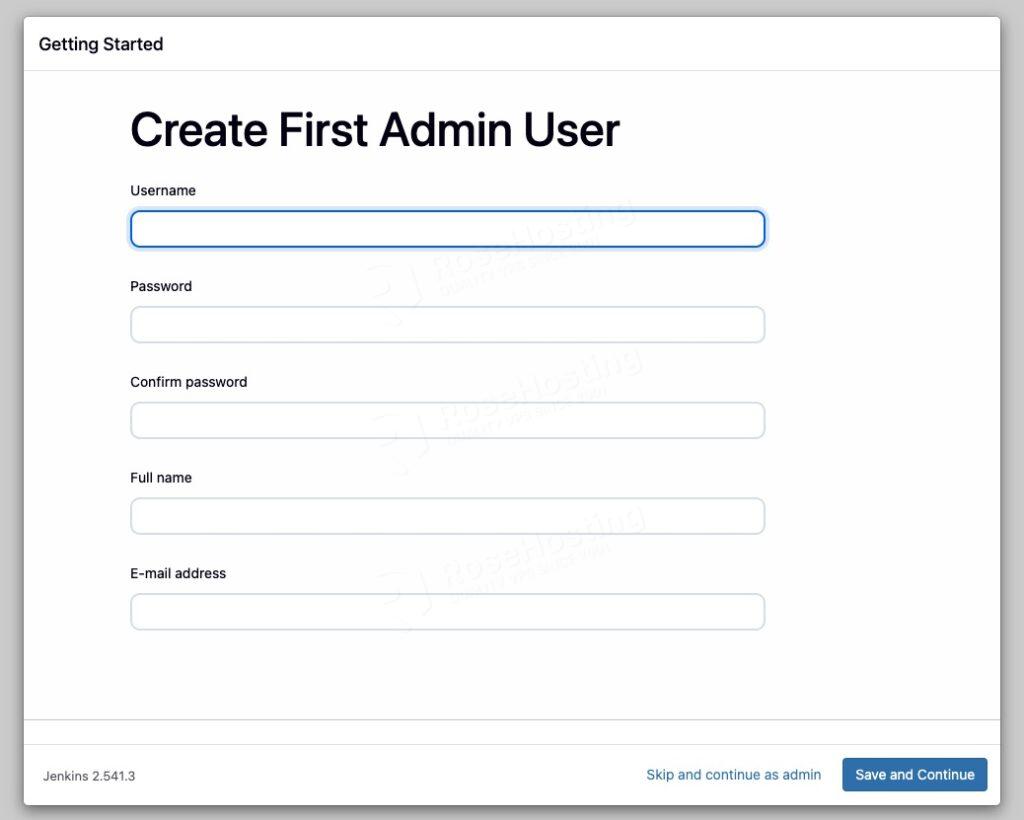
Fill everything in, then click the Save and Continue button.
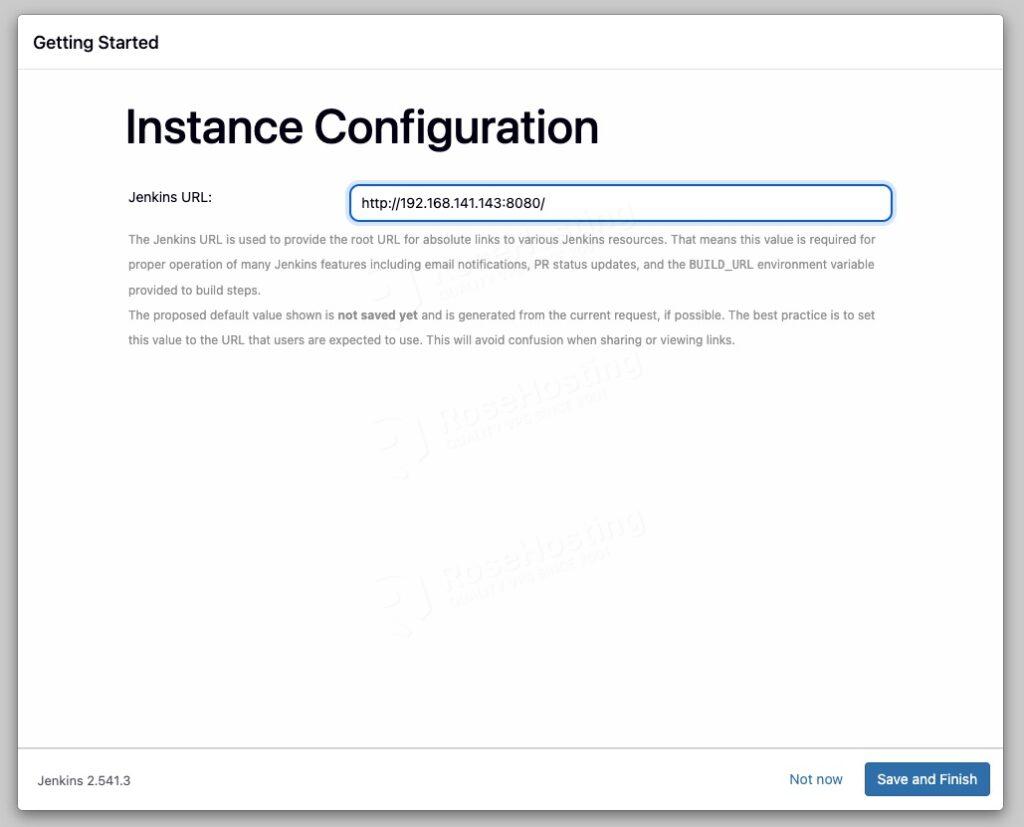
You can change the Jenkins URL here, or leave it as is, then click the Save and Finish button to complete the installation.
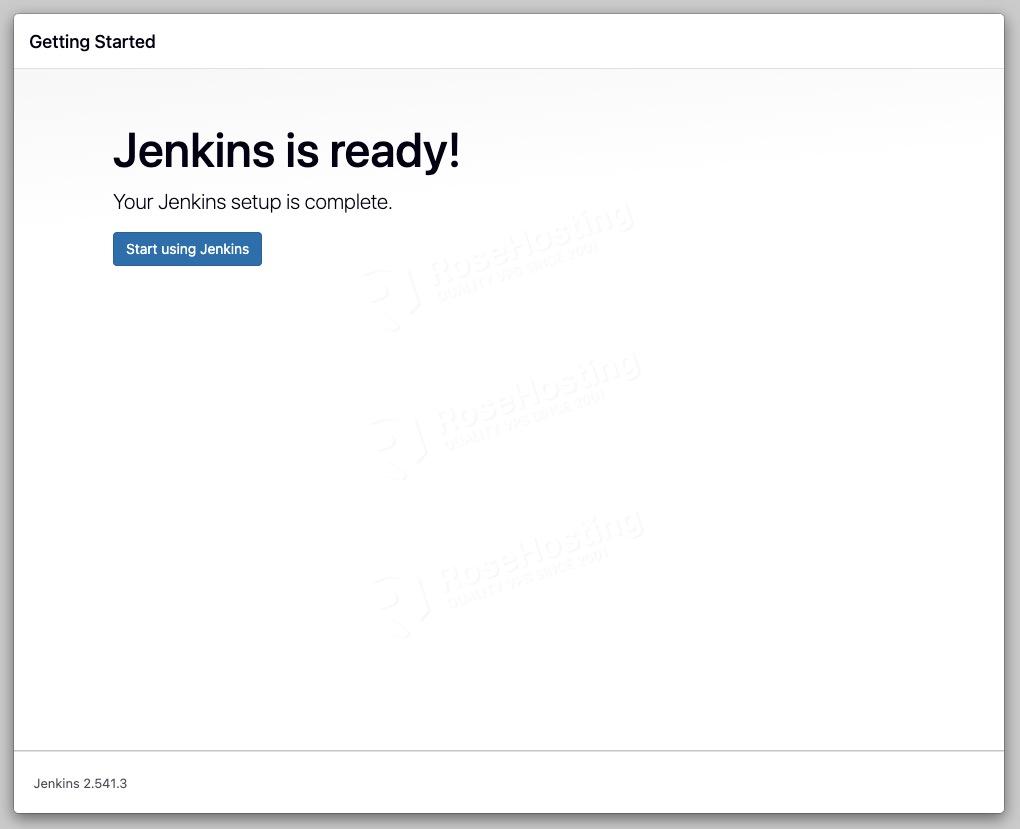
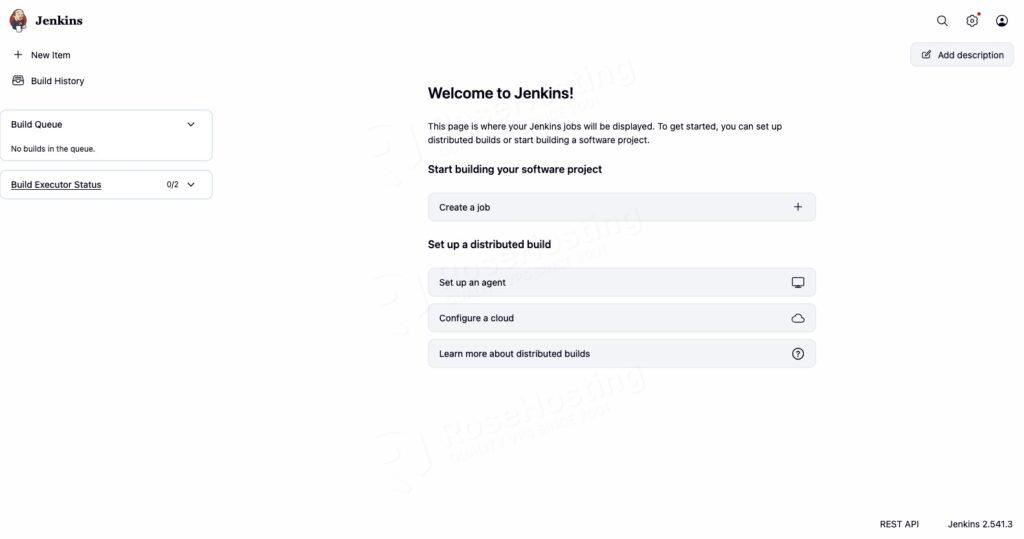
Jenkins is ready; click Start Using Jenkins to begin working on it.
Bringing It All Together
Although it may seem complicated, Jenkins is easy to understand. Whether you’re using the official documentation or online courses, all the necessary information is available. Jenkins plays a crucial role in accelerating the development process while improving the quality of work. For teams and individuals involved in software development, familiarizing yourself with Jenkins is a crucial step toward effective automation.
Of course, you don’t have to install Jenkins on Ubuntu 26.04 yourself if you use one of our Linux VPS Hosting services, in which case you can simply ask our expert Linux admins to install Jenkins on Ubuntu 26.04 for you. Our experienced administrators are available 24×7 and will address your request immediately. Managing Jenkins instances is not just about the installation; we can help you optimize your Jenkins server if you have an active service with us.
If you liked this post on installing Jenkins on Ubuntu 26.04, please share it with your friends or leave a comment down below.