
If you’re looking for a simple, modern web server that supports HTTPS without any hassle, Caddy Server could be an attractive option. Compared to other web servers like Apache or Nginx, Caddy has advantages due to its simple configuration and automatic features, such as Let’s Encrypt SSL. In this guide, we’ll cover everything you need to know about using Caddy Web Server on Ubuntu, including how to install and configure Caddy Server with automatic HTTPS on Ubuntu 26.04.
Table of Contents
Prerequisites
- An Ubuntu 26.04 VPS
- SSH root access, or a user with sudo privileges
Conventions
# – given commands should be executed with root privileges either directly as a root user or by use of sudo command
$ – given commands should be executed as a regular user
What is Caddy Server?
Caddy is an open-source web server designed with a modern and easy-to-use approach. One of its cool features is the automatic ability to configure HTTPS using Let’s Encrypt, eliminating the hassle of manual SSL setup. Furthermore, Caddy supports HTTP/2 and HTTP/3 by default, optimizing performance and access speed.
Furthermore, Caddy is renowned for its simple configuration via Caddyfile. Users can set up domains, paths, and other rules with just a few lines of code. Due to its flexibility, Caddy is suitable for a variety of needs, from serving static websites and reverse proxies to pairing with Docker.

Caddy’s Among Other Web Servers
Caddy isn’t just a regular web server; its features are designed to enable quick, secure, and hassle-free server setup. Here are some of Caddy’s key advantages:
Automatic HTTPS: Automatically generate and renew SSL certificates from Let’s Encrypt without additional configuration.
Simple configuration: Use the easy-to-read and write Caddyfile, perfect for beginners.
HTTP/2 & HTTP/3 support: Enabled by default for faster performance.
Reverse proxy functionality: No additional modules or plugins required.
Built-in additional features: Such as a file server, gzip compression, rewrite rules, and more.
Security-focused: All connections are encrypted by default, secure out-of-the-box.
Container & cloud-friendly: Easily integrates with Docker and other modern systems.
Now, let’s install Caddy Web Server on Ubuntu 26.04
Step 1. Update the System
First of all, we need to log in to our Ubuntu 26.04 VPS through SSH:
ssh root@IP_Address -p Port_numberReplace “root” with a user that has sudo privileges. Additionally, replace “IP_Address” and “Port_Number” with your server’s respective IP address and SSH port number. Next, let’s make sure that we’re on Ubuntu 26.04. You can verify it with this command:
# lsb_release -aYou should get this as the output:
No LSB modules are available.
Distributor ID: Ubuntu
Description:    Ubuntu Resolute Raccoon
Release:        26.04
Codename:       resolute
Then, run the following command to make sure that all installed packages on the server are updated to their latest available versions:
# apt update That’s it; the system package information should be updated now.
Step 2. Install Dependencies
Before we can install our Caddy web server on Ubuntu, we need to install the necessary dependencies. Almost every package we install relies on other packages to run properly or to install. Before proceeding with the other steps, we need to install the dependencies.
# apt install -y debian-keyring debian-archive-keyring apt-transport-https curlStep 3. Add the Caddy repository
First, you need to add the official Caddy repository to your system. Run the following command to add the repository key:
# curl -1sLf 'https://dl.cloudsmith.io/public/caddy/stable/gpg.key' | gpg --dearmor -o /usr/share/keyrings/caddy-stable-archive-keyring.gpg
# curl -1sLf 'https://dl.cloudsmith.io/public/caddy/stable/debian.deb.txt' | tee /etc/apt/sources.list.d/caddy-stable.list
Next, we need to refresh the list of available packages in the system package index.
# apt updateStep 4. Install Caddy
At this point, we should be able to install Caddy. Let’s get it done now.
# apt install caddyCaddy should be up and running now; we can check it using the command below.
# systemctl status caddyThe command will show you a message similar to this:
● caddy.service - Caddy
     Loaded: loaded (/usr/lib/systemd/system/caddy.service; enabled; preset: enabled)
     Active: active (running) since Sun 2026-05-10 12:43:45 UTC; 28s ago
 Invocation: 60bb433d60ca4d21b90eac93ebdf1a4b
       Docs: https://caddyserver.com/docs/
   Main PID: 2973 (caddy)
      Tasks: 10 (limit: 3969)
     Memory: 9.8M (peak: 10.3M)
        CPU: 105ms
     CGroup: /system.slice/caddy.service
             └─2973 /usr/bin/caddy run --environ --config /etc/caddy/Caddyfile

May 10 12:43:45 ubuntu26 caddy[2973]: {"level":"warn","ts":1778417025.2980077,"logger":"http.auto_https","msg":"server is listening only on the HTTP port, so no automatic HTTPS will be applied to this server","serv>
May 10 12:43:45 ubuntu26 caddy[2973]: {"level":"warn","ts":1778417025.2982366,"logger":"http","msg":"HTTP/2 skipped because it requires TLS","network":"tcp","addr":":80"}
May 10 12:43:45 ubuntu26 caddy[2973]: {"level":"info","ts":1778417025.2982614,"logger":"tls.cache.maintenance","msg":"started background certificate maintenance","cache":"0x1e2cce810100"}
May 10 12:43:45 ubuntu26 caddy[2973]: {"level":"warn","ts":1778417025.29832,"logger":"http","msg":"HTTP/3 skipped because it requires TLS","network":"tcp","addr":":80"}
May 10 12:43:45 ubuntu26 caddy[2973]: {"level":"info","ts":1778417025.298337,"logger":"http.log","msg":"server running","name":"srv0","protocols":["h1","h2","h3"]}
May 10 12:43:45 ubuntu26 caddy[2973]: {"level":"info","ts":1778417025.2988238,"msg":"autosaved config (load with --resume flag)","file":"/var/lib/caddy/.config/caddy/autosave.json"}
May 10 12:43:45 ubuntu26 caddy[2973]: {"level":"info","ts":1778417025.29892,"msg":"serving initial configuration"}
May 10 12:43:45 ubuntu26 systemd[1]: Started caddy.service - Caddy.
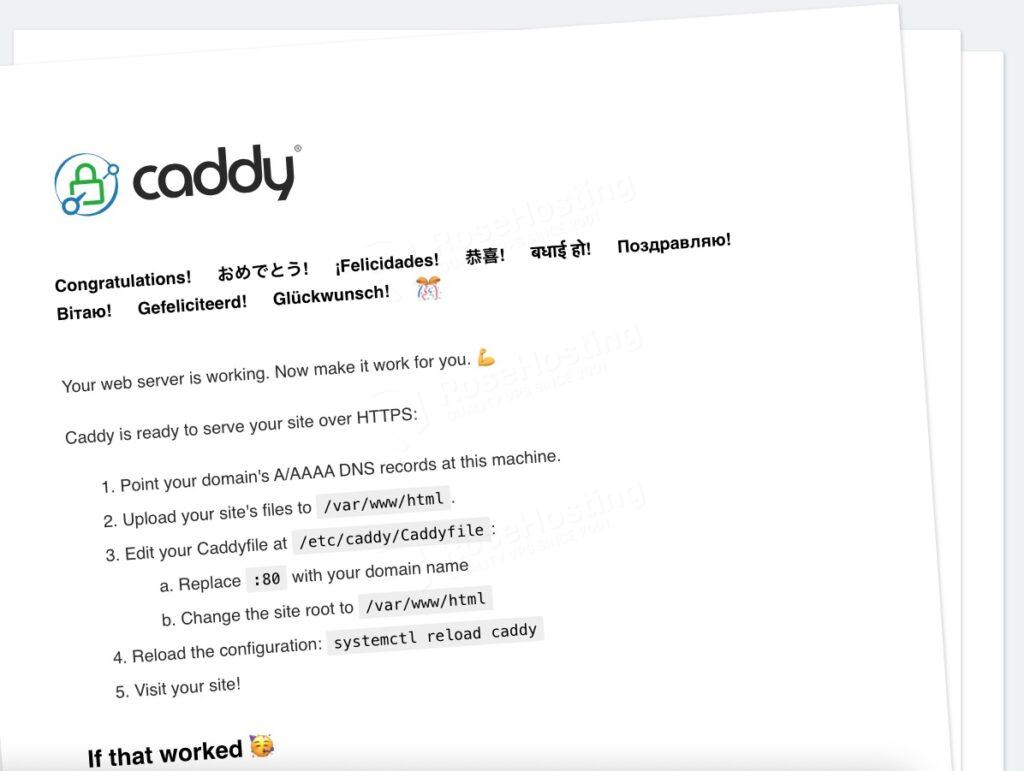
You should be able to see this if you open your server IP address using a web browser.
Step 5. Basic Caddy Server Configuration
After the Caddy Server is installed, you need to configure it. Here are the basic steps for configuring Caddy using the Caddyfile file:
Caddyfile File Location
The Caddy configuration file is located at /etc/caddy/Caddyfile. You can edit this file to add domains, configure SSL, and other settings.
# nano /etc/caddy/CaddyfileAdd Domains
In the Caddyfile, you can specify the domains that Caddy will serve. For example, for the domain yourdomain.com, the basic configuration looks like this:
yourdomain.com {
    root * /var/www/html
    file_server

}
The explanation:
yourdomain.com: The target domain name.
root: The directory where the website files are located.
file_server: Command to enable the file server feature so Caddy can serve static files.
Enable Automatic HTTPS
Caddy automatically manages SSL certificates for domains using Let’s Encrypt. We do not need to add SSL configuration because Caddy Server will do it automatically when the domain is detected. Caddy implicitly activates automatic HTTPS when it knows a domain name (i.e. hostname) or IP address it is serving. There are various ways to tell Caddy your domain/IP, depending on how you run or configure Caddy:
- A site address in the Caddyfile
- A host matcher at the top-level in the JSON routes
- Command line flags like –domain or –from
- The automated certificate loader
Any of the following will prevent automatic HTTPS from being activated, either in whole or in part:
- Explicitly disabling it via JSON or via Caddyfile
- Not providing any hostnames or IP addresses in the config
- Listening exclusively on the HTTP port
- Prefixing the site address with http:// in the Caddyfile
- Manually loading certificates (unless ignore_loaded_certificates is set)
Add a Reverse Proxy (Optional)
If you want to use Caddy as a reverse proxy for applications running on your other application in the backend, simply add a configuration like this:
yourdomain.com {
    reverse_proxy localhost:5000
}
Caddy will redirect all requests to port 5000 on localhost.
Save the Configuration
Once you’re done editing the Caddyfile, save your changes and exit the editor. To apply the configuration, restart Caddy with the command:
# systemctl restart caddyIn Conclusion
Congratulations! You have successfully installed and configured Caddy Web Server with Automatic HTTPS on Ubuntu 26.04.
Of course, you don’t have to spend your time following this article to install Caddy Web Server with Automatic HTTPS on your Ubuntu 26.04 server if you have an active Ubuntu 26.04 VPS hosting service with us, in which case you can simply ask our expert Linux admins to install Mattermost for you. Simply log in to the client area, then submit a ticket. Our expert administrators are available 24×7 and will respond to your request immediately.
If you liked this post on how to install Caddy Web Server with Automatic HTTPS on Ubuntu 26.04, please share it with your friends or leave a comment below.