GlassFish is an open-source implementation of the Java platform. It supports several technologies including, EJB, JPA, JSF, JMS, RMI, JSP, servlets and allows developers to create portable and scalable applications.
GlassFish cluster is a collection of GlassFish Server instances that share the same applications, resources, and configuration information. It allows you to monitor all instances in a cluster from a single host. It is designed for failover, scalability, and load balancing.
In this guide, we will explain how to deploy a GlassFish cluster with automatic load balancing on the RoseHosting Platform.
Create a GlassFish Cluster
RoseHosting PaaS provides a single GlassFish cluster package that helps you deploy a cluster with a single click.
First, log in to the RoseHosting PaaS at https://app.rosehosting.cloud as shown below:
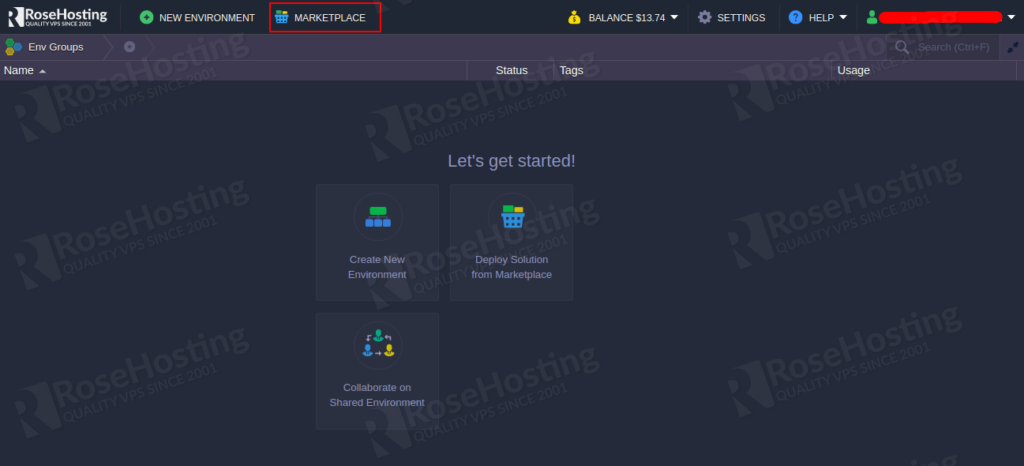
Click on the MARKETPLACE and search for GlassFish. You should see the following page:
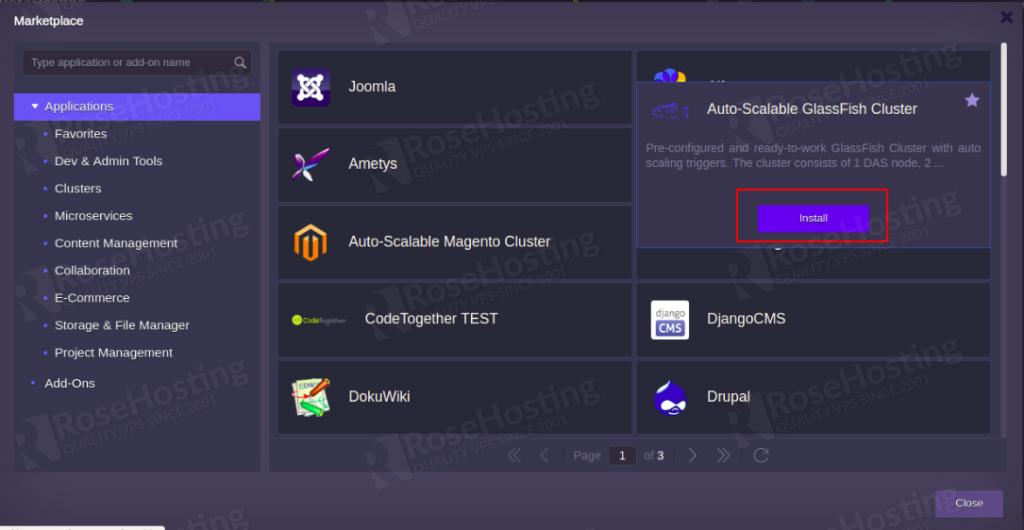
Now, click on the Install button. You should see the following page:
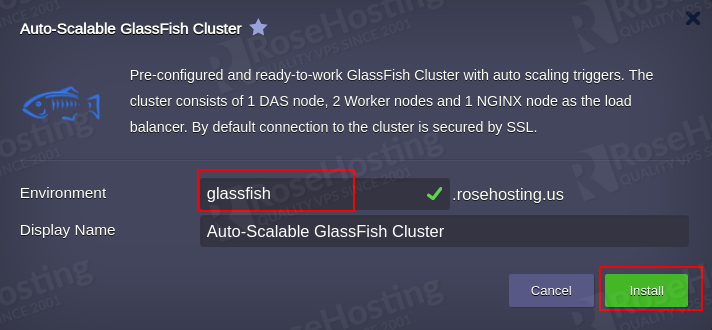
Now, provide your environment name and click on the Install button. Once the installation has been finished, you should see the following page:
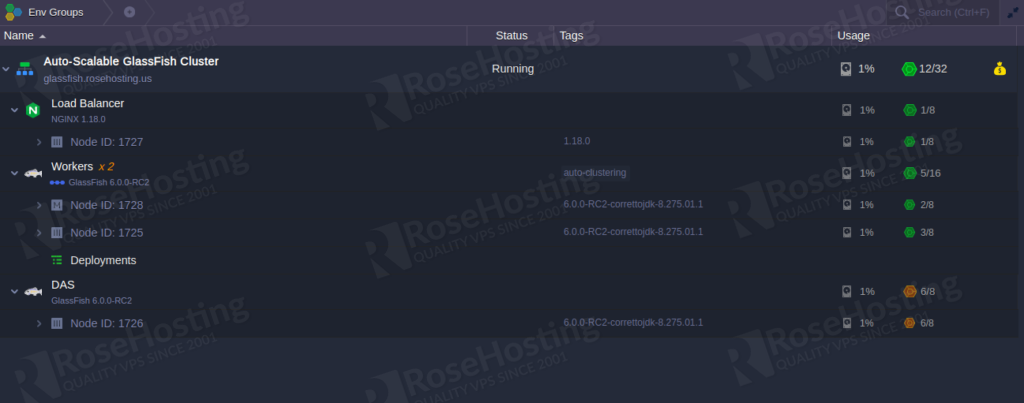
The above package will create an Nginx load balancer node, two worker nodes, and Domain Administration Server (DAS) node.
You should also receive an email with the URL and credentials of the GlassFish admin interface.
Deploy an Application on the Cluster
Next, we will deploy a clusterjsp.ear application on the GlassFish cluster and test whether the cluster and load balancing are working or not.
First, access the GlassFish admin panel using the URL and credentials which you receive via email:
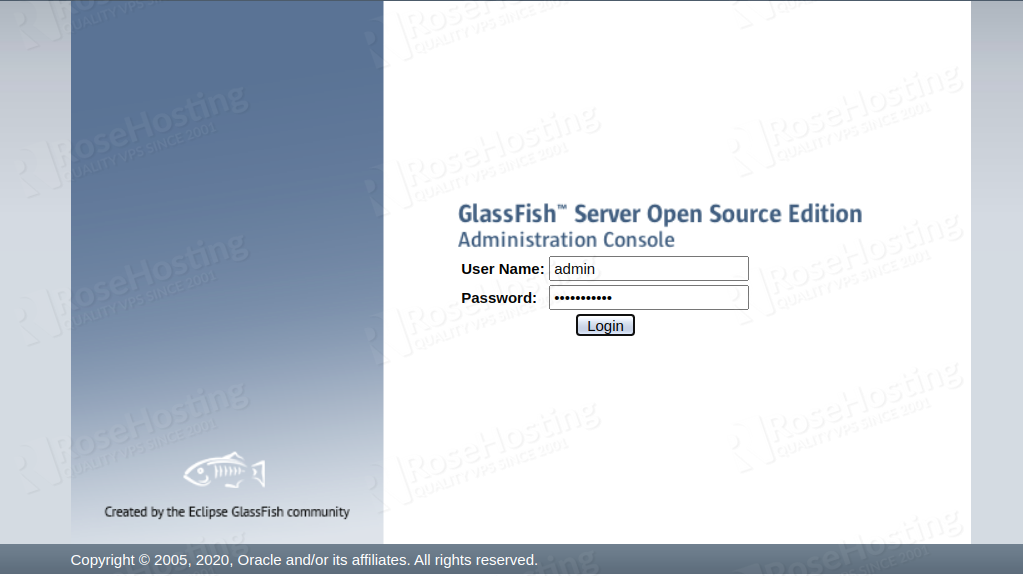
Provide admin username, password and click on the Login button. You should see the GlassFish dashboard:

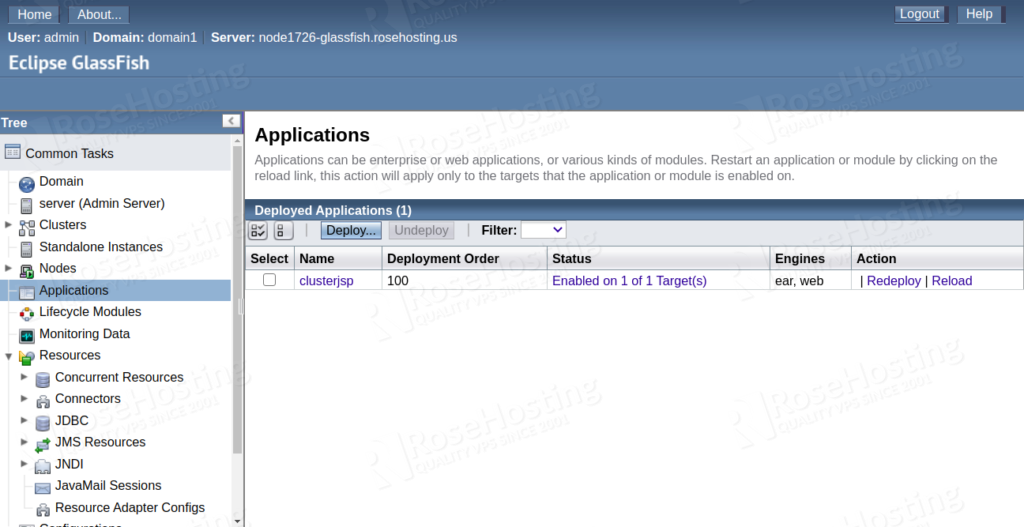
Now, click on the Application in the left pane. You should see the following page:
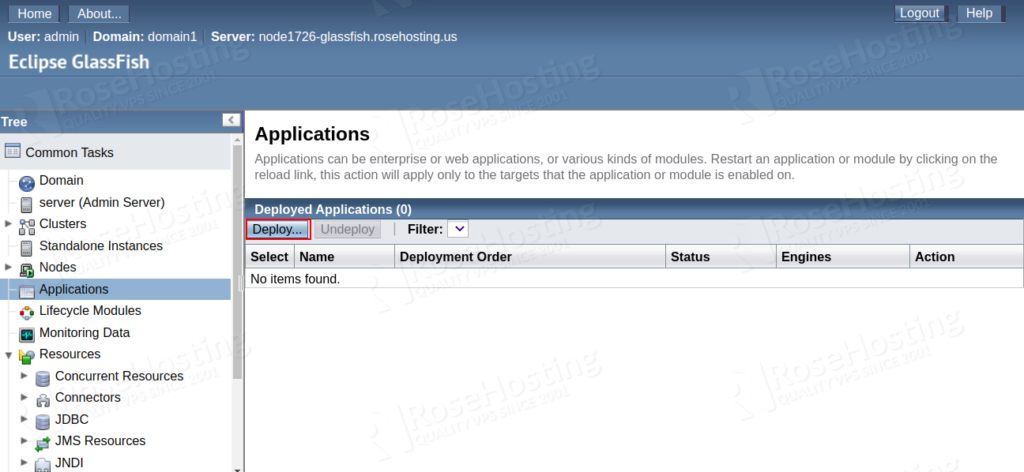
Click on the Deploy button. You should see the following page:
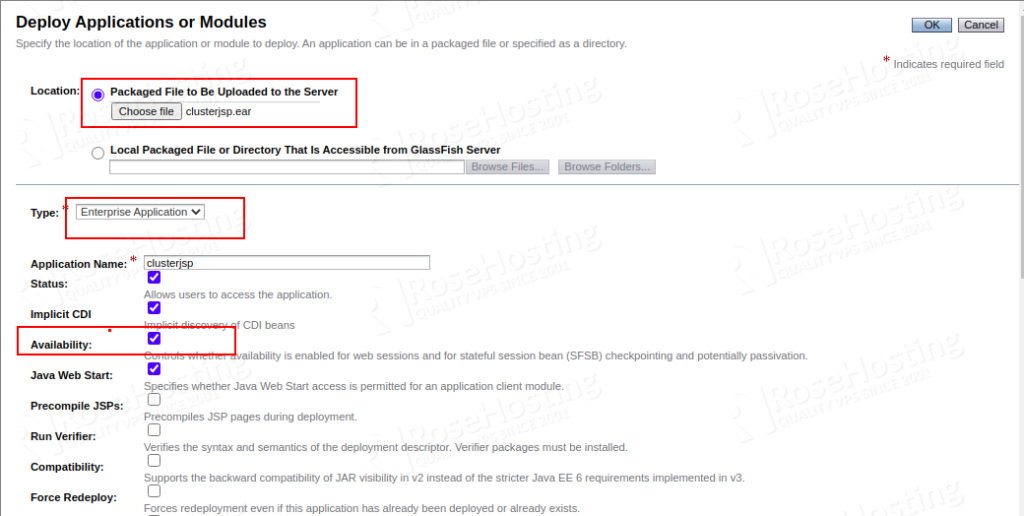
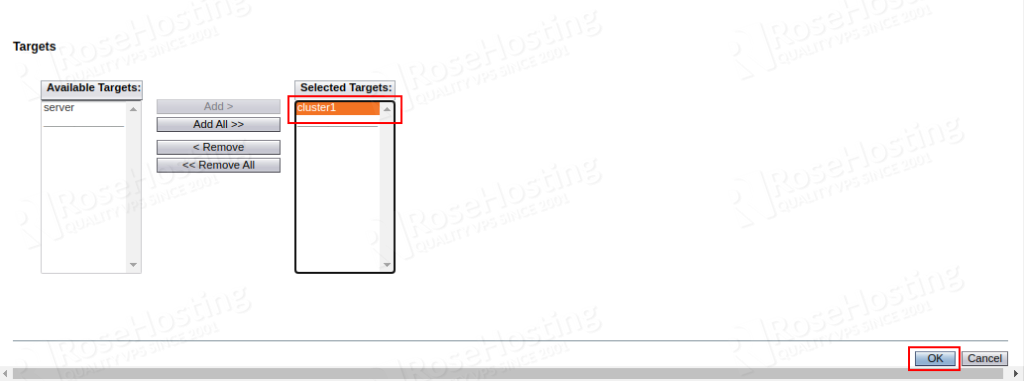
Now, upload your clusterjsp.ear application file, enable the Availability option and set up cluster1 as the application target then click on the OK button. Once the application has been deployed, you should see the following page:
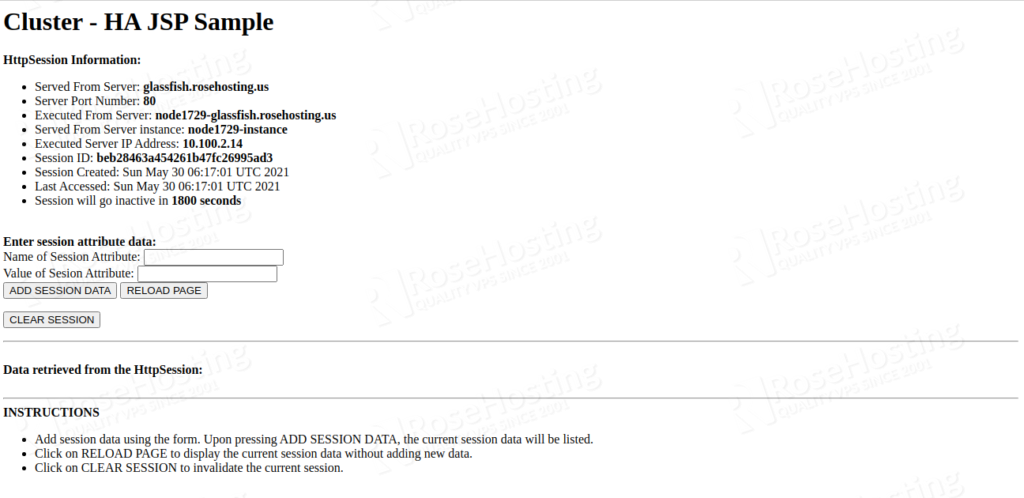
Now, open your web browser and access your application using the URL you assigned to your environment in the cloud panel. When you open the URL, you should see the following page:
Now, there is no need for you to configure GlassFish cluster with automatic load balancing if you are already using one of our GlassFish hosting plans. In case you have become our user, you can ask any of our experts to install GlassFish cluster for you.
They will assist you within 1-2 minutes of receiving the ticket and are available for support 24/7, 365 days a year.
If you’re looking for other options, feel free to browse through our wide selection of other hosting solutions, where you will receive information and solutions from our award-winning customer support professionals.
If you enjoyed reading this blog post on how to install configure GlassFish cluster with automatic load balancing, or if you found the tutorial helpful, feel free to share it on social networks by using the share shortcuts, or simply leave a comment down below. Thank you.