In this blog post, we will show you how to Deploy Multi-Container Applications with Docker Compose on Debian 13 OS. Docker Compose is a tool that helps you define and manage multi-container applications with a single configuration file called docker-compose.yml (or compose.yml). Instead of starting each container separately, you describe all the services, networks, and storage they need in one file, then launch everything with a single command. This makes development, testing, and deployment much simpler and more consistent. Multi-container applications use several containers that work together, such as a web server, a database, and a caching service. Each container has its own role, but they communicate through Docker networks to function as a single, cohesive application.
Configuring Multi-Container Applications with Docker Compose is a straightforward and can take up to 15 minutes. Let’s get started!
Table of Contents
Prerequisites
- A server running Debian 13 OS
- A valid domain pointed to the server IP address
- User privileges: root or a non-root user with sudo privileges
Step 1. Update the System
Before we start installing any software, we will update the system packages to their latest versions. To do that, execute the following command:

apt update -y && apt upgrade -y
Step 2. Install Docker
First, we need to install some prerequisites:
apt install ca-certificates curl -y
Then we need to add the GPG key:
install -m 0755 -d /etc/apt/keyrings
curl -fsSL https://download.docker.com/linux/debian/gpg -o /etc/apt/keyrings/docker.asc
chmod a+r /etc/apt/keyrings/docker.asc
Once the key is added, we need to add the repository:
echo "deb [arch=$(dpkg --print-architecture) signed-by=/etc/apt/keyrings/docker.asc] https://download.docker.com/linux/debian $(. /etc/os-release && echo "$VERSION_CODENAME") stable" | sudo tee /etc/apt/sources.list.d/docker.list > /dev/null
Update the system:
apt update -y
After the GPG key and repo are added, we can install Docker with the following command:
apt install docker-ce docker-ce-cli containerd.io docker-buildx-plugin docker-compose-plugin -y
After the installation is completed, start and enable the service:
systemctl start docker && systemctl enable docker
To check the status of the Docker service, execute the command below:
systemctl status docker
You should get output similar to this:
root@host:/opt# systemctl status docker
● docker.service - Docker Application Container Engine
     Loaded: loaded (/usr/lib/systemd/system/docker.service; enabled; preset: enabled)
     Active: active (running) since Sun 2026-07-19 04:11:20 CDT; 1min 24s ago
 Invocation: ffe3033c34a042adbd9dbc04778c85ff
TriggeredBy: ● docker.socket
       Docs: https://docs.docker.com
   Main PID: 4798 (dockerd)
      Tasks: 10
     Memory: 30.5M (peak: 32.5M)
        CPU: 1.635s
     CGroup: /system.slice/docker.service
             └─4798 /usr/bin/dockerd -H fd:// --containerd=/run/containerd/containerd.sock
Step 3. Create Docker Compose YAML Configuration Files
Below is a complete step-by-step guide for deploying a multi-container application with Docker Compose. This example uses three containers: Nginx, WordPress, and MySQL.
First, create the project directory:
mkdir -p /opt/myapp

cd /opt/myapp

mkdir nginx
Then create the Nginx configuration file:
nano nginx/default.conf
And paste the following lines of code:
server {
    listen 80;
    server_name yourdomain.com;

    root /var/www/html;
    index index.php index.html;

    location / {
        try_files $uri $uri/ /index.php?$args;
    }

    location ~ \.php$ {
        fastcgi_pass wordpress:9000;
        fastcgi_index index.php;

        include fastcgi_params;
        fastcgi_param SCRIPT_FILENAME $document_root$fastcgi_script_name;
    }
}
Then create the docker-compose.yml file:
nano docker-compose.yml
And paste the following lines of code:
services:

  mysql:
    image: mysql:8.4
    container_name: mysql

    restart: unless-stopped

    environment:
      MYSQL_ROOT_PASSWORD: rootpassword
      MYSQL_DATABASE: wordpress
      MYSQL_USER: wpuser
      MYSQL_PASSWORD: password

    volumes:
      - mysql_data:/var/lib/mysql

  wordpress:
    image: wordpress:php8.3-fpm
    container_name: wordpress

    restart: unless-stopped

    environment:
      WORDPRESS_DB_HOST: mysql:3306
      WORDPRESS_DB_USER: wpuser
      WORDPRESS_DB_PASSWORD: password
      WORDPRESS_DB_NAME: wordpress

    depends_on:
      - mysql

    volumes:
      - wordpress_data:/var/www/html

  nginx:
    image: nginx:latest
    container_name: nginx

    restart: unless-stopped

    ports:
      - "80:80"

    depends_on:
      - wordpress

    volumes:
      - wordpress_data:/var/www/html
      - ./nginx/default.conf:/etc/nginx/conf.d/default.conf:ro

volumes:
  mysql_data:
  wordpress_data:
Save the file and close it.
Step 4. Deploy the Multi-Container Application
To deploy the multi-container application, execute the command below:
docker compose up -d
The deployment process will start:
root@host:/opt/myapp# docker compose up -d
[+] up 27/42
 ⠦ Image nginx:latest [⣿⣿⣿⣿⣿⠀⠀⣿] 2.132MB / 63.14MB    Pulling
 ⠦ Image mysql:8.4 [⣿⣿⠀⣿⣿⣿⣿⠀⠀⠀⣿]                      Pulling
 ⠦ Image wordpress:php8.3-fpm [⠀⣿⣿⠀⠀⣿⣿⣿⣿⠀⣿⣿⠀⣿⣿⣿⣿⠀⣿⠀⣿] Pulling
Once deployed, the output will look like this:
root@host:/opt/myapp# docker compose up -d
[+] up 51/51
 ✔ Image nginx:latest          Pulled                                                                                                                                                   63.9s
 ✔ Image mysql:8.4             Pulled                                                                                                                                                  129.1s
 ✔ Image wordpress:php8.3-fpm  Pulled                                                                                                                                                  131.7s
 ✔ Network myapp_default       Created                                                                                                                                                   0.1s
 ✔ Volume myapp_wordpress_data Created                                                                                                                                                   0.0s
 ✔ Volume myapp_mysql_data     Created                                                                                                                                                   0.0s
 ✔ Container mysql             Started                                                                                                                                                   2.7s
 ✔ Container wordpress         Started                                                                                                                                                   1.2s
 ✔ Container nginx             Started
To verify the Docker containers, again, execute the following command:
docker ps --format "table {{.ID}}\t{{.Names}}\t{{.Status}}\t{{.Ports}}"
The output should look like this:
CONTAINER ID   NAMES       STATUS          PORTS
25e14f6b3ab0   nginx       Up 45 seconds   0.0.0.0:80->80/tcp, [::]:80->80/tcp
29b242640da2   wordpress   Up 45 seconds   9000/tcp
484dbd6d90a7   mysql       Up 46 seconds   3306/tcp, 33060/tcp
In a docker-compose.yml file, a multi-container application is defined by listing each container as a separate service under the services section. Each service specifies the container image, configuration options such as ports, environment variables, volumes, and dependencies, allowing Docker Compose to deploy and manage all containers together. By default, Docker Compose creates a shared network, enabling the containers to communicate with one another using their service names as hostnames.
That’s it. You successfully deployed multiple containers with Docker Compose, and you can access your WordPress at http://YourDomain.com
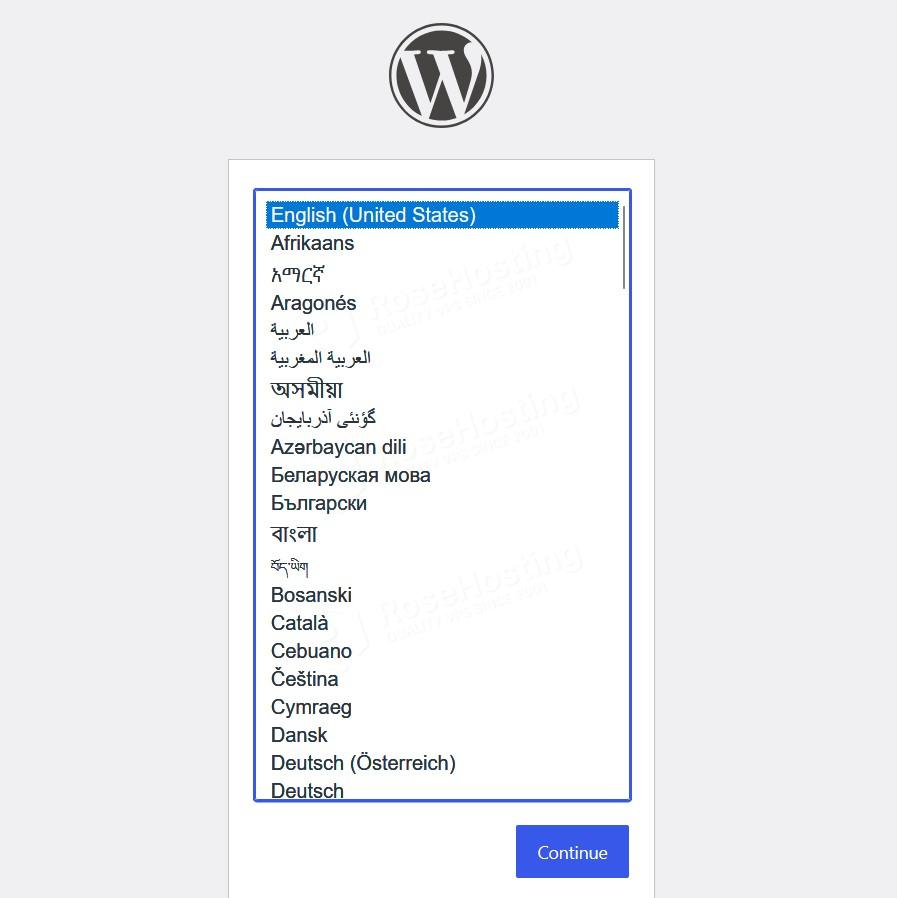
You’ve Installed Docker Compose on Debian 13
Of course, you do not have to install Docker Compose on Debian 13 yourself if you have difficulty or aren’t familiar with Linux. Just sign up for one of our VPS hosting plans and submit a support ticket. Our admins are available 24/7 and will help you with any aspect of Docker Compose and Multi-Container Applications.
If you liked this post about deploying multiple containers with Docker Compose, please share it with your friends on social networks or leave a comment below.