
As a web server, Caddy is a relatively new alternative to Apache and Nginx although it was released initially in 2015. It is an open source web server built using Go language and it uses HTTPS by default. Like any other web server, Caddy can be used as a web server that serves both static and dynamic websites. Caddy offers a versatile and efficient static file server. It can also be used as a robust and scalable reverse proxy. In this tutorial, we will show you how to install Caddy web server on Ubuntu 22.04.
Table of Contents
Prerequisites
- An Ubuntu 22.04 VPS
- SSH root access or a user with sudo privileges is required
Conventions
# – given commands should be executed with root privileges either directly as a root user or by using the sudo command.
$ – given commands should be executed as a regular user.
Step 1. Log in to your server via SSH
First, you will need to log in to your Ubuntu 22.04 VPS via SSH as the root user:
ssh root@IP_Address -p Port_number
You will need to replace ‘IP_Address’ and ‘Port_number’ with your server’s respective IP address and SSH port number. Additionally, replace ‘root’ with the username of the system user with sudo privileges.
You can check whether you have the proper version of Ubuntu installed on your server with the following command:
# lsb_release -a
It will return an output like this.
No LSB modules are available.
Distributor ID: Ubuntu
Description: Ubuntu 22.04 LTS
Release: 22.04
Codename: jammy
Then, run the following command to make sure that all installed packages on the server are updated to their latest available versions:
# apt update
Step 2. Install Dependencies
There are at least three methods to install Caddy. We can install it by simply downloading the executable binary, install it by compiling the source code, or install it from the repository. In this article, we will show you how to install Caddy using the repository. Since Caddy web server installation requires some packages, we will install the dependencies on our Ubuntu 22.04 system first before starting. Let’s execute the command below to proceed.
# apt install gnupg curl apt-transport-https debian-keyring debian-archive-keyring -y
Step 3. Add Caddy Repository
Before proceeding with the installation, we need to add the GPG key using the following command:
# curl -1sLf 'https://dl.cloudsmith.io/public/caddy/stable/gpg.key' | gpg --dearmor -o /usr/share/keyrings/caddy-stable-archive-keyring.gpg
Then add the repository.
# wget -qO - https://dl.cloudsmith.io/public/caddy/stable/debian.deb.txt | sudo tee /etc/apt/sources.list.d/caddy.list
Next, do not forget to refresh the package index and get information about the available packages from all enabled repositories.
# apt update
Step 4. Install Caddy
We added the repository in the previous step and updated the package index. Finally, we can run this command below to install Caddy.
# apt install caddy -y
That’s it! You have successfully installed Caddy on your Ubuntu 22.04 system. Upon installation, Caddy will be up and running – it is already configured to run upon a server reboot. We can check this by running this command below:
# systemctl status caddy
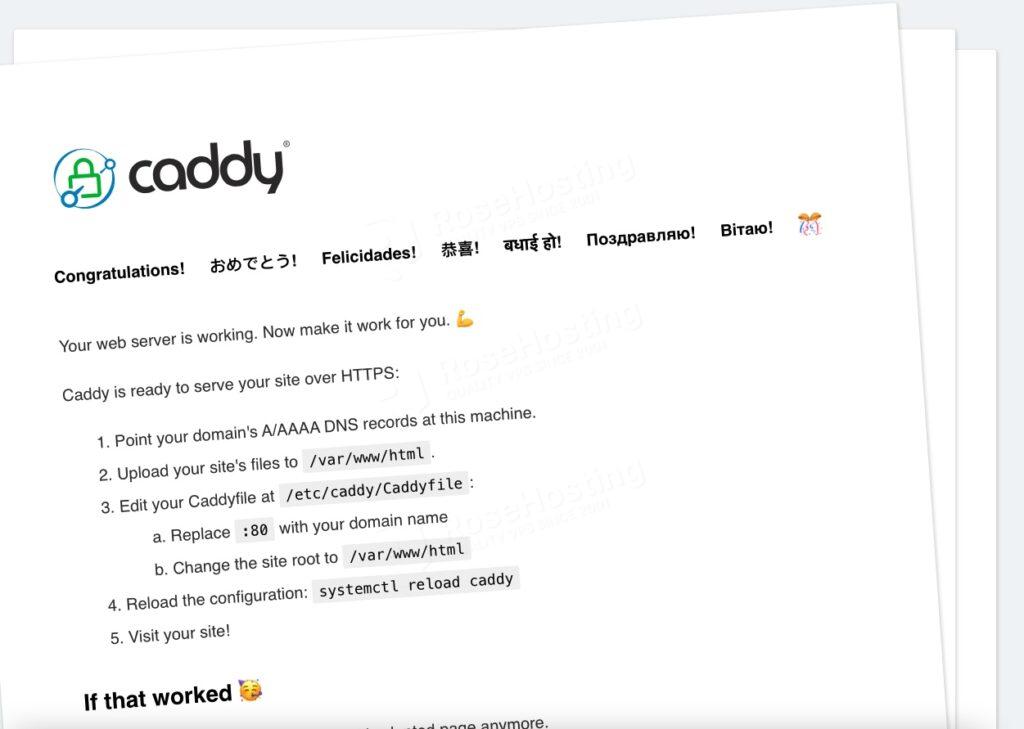
You can also verify that Caddy is running by trying to access it on your favorite web browser. Navigate to http://YOUR_SERVER_IP_ADDRESS and you will see this:
Step 5. Configure Caddy
At this point, Caddy is running, and you can access it on port 80. To host your website, we can modify /etc/caddy/Caddyfile to create the virtual host. Let’s edit it to host your simple website.
# nano /etc/caddy/Caddyfile
Append the following lines into the file:
yourdomain.com {

	root * /var/www/html
	file_server
	log {
        output file /var/log/caddy/access.log
        format console
	}
}
Remember to replace yourdomain.com with your actual domain or subdomain name that is already pointing to your server. Save the file then exit from the editor.
To apply the new changes, we need to restart Caddy.
# systemctl restart caddy
Wait for around a minute and Caddy should be already serving your website in HTTPS mode. If your domain or subdomain DNS record is not pointing to your Caddy server, then it will serve in HTTP mode.
Example: Using Caddy with WordPress
If you want to host a CMS on your domain/subdomain – for example WordPress – we can continue to the next steps. Let’s install MariaDB and PHP.
# apt install mariadb-server php-{curl,fpm,imagick,mbstring,mysql,xml,zip}
Once installed, MariaDB and PHP-FPM should be up and running. Let’s proceed with creating a database.
# mysql
Run these commands in MySQL shell.
mysql> CREATE DATABASE wpcaddy;
Query OK, 1 row affected (0.00 sec)

mysql> CREATE USER 'wpcaddy'@'localhost' IDENTIFIED BY 'm0d1fyth15';
Query OK, 0 rows affected (0.01 sec)

mysql> GRANT ALL PRIVILEGES ON wpcaddy.* TO 'wpcaddy'@'localhost';
Query OK, 0 rows affected (0.01 sec)

mysql> flush privileges;
Query OK, 0 rows affected (0.00 sec)

mysql> \q
Next, let’s edit our Caddy file. Remove the lines from the previous step or add the following lines in to /etc/caddy/Caddyfile
yourdomain.com {

	root * /opt/caddy
	file_server
	encode zstd gzip
	php_fastcgi unix//run/php/php8.1-fpm.sock

	log {
        output file /var/log/caddy/access.log
        format console
	}
}
Save the file then exit. Please note that you need to restart Caddy every time you make changes to your Caddyfile.
# systemctl restart caddy
Next, we need to download WordPress core files. You can install and use WP-CLI if you want, but in this article, we will use wget instead. If your server lacks the wget package, you can install it using apt install wget. Let’s download, extract and correct the permissions.
# cd /opt/caddy
# wget https://wordpress.org/latest.tar.gz
# tar -xzvf latest.tar.gz --strip-components 1
# chown -R www-data: /opt/caddy
That’s it all, you should be able to access HTTPS://yourdomain.com to finalize your WordPress installation.
Of course, you don’t have to spend your time following this article to install Caddy web server on Ubuntu 22.04. Instead, if you have an active Managed Ubuntu VPS Hosting service with us, you can simply ask our expert Linux admins to install Caddy for you. That will give you lots more time to focus on developing your website or running your business. They are available 24×7 and will take care of your request immediately.
PS. If you liked this post on how to install Caddy web server on Ubuntu 22.04, please share it with your friends on social networks or simply leave a reply below. Thanks.