
In this article, we will show you how to install Feng Office on an Ubuntu 18.04 VPS.
 Feng Office is an open-source collaboration platform that is web-based and written in PHP. This application has three editions: Community, Professional, and Enterprise. In this tutorial, we will install the Community edition which is the basic Feng Office and includes excellent features such as task management, document management, workspaces, and a lot more.
Table of Contents
Prerequisites
Here are the system requirements for running Feng Office 3.7:
- At least 2 GB of RAM memory.
- At least a 2 CPU Cores
- At least 1GB of Disk space.
And the suggested requirements for Feng Office 3.7 are:
- At least 6 GB of RAM memory
- At least a 4 CPU Cores
- Disk space depends on the amount of data you are expecting to manage, but a minimum of 10GB is advised.
Step 1: Connect to your server
Before we begin, you need to connect to your server via SSH as the root user. To do this, use the following command:
ssh root@IP_Address -p Port_Number
Of course, you will need to replace IP_Address and Port_Number with your server’s actual IP address and SSH port number.
Once logged in, make sure that your server is up-to-date by running the following commands:
apt update
apt upgrade
Step 2: Install the LAMP (Apache, MySQL and PHP 7.1) Stack
We need to begin by installing some of the requirements for the installation of Feng Office. To install Apache and MySQL server, run the following command:
apt install apache2 libapache2-mod-php mysql-server mysql-client
To start and enable the Apache and MySQL services, execute the following command:
for x in apache2 mysql; do systemctl start $x; systemctl enable $x; done
This next part is optional but recommended. We suggest you run the mysql_secure_installation in order to implement some recommended security changes. Run this next command and follow the prompts:
mysql_secure_installation
When the program asks for your MySQL root password, just press the [Enter] key, as there is no password set by default. We suggest answering each prompt with ‘Y’.
Next, we will install PHP version 7.1 from Ondřej Surý’s repository, as it is not available in the pre-installed repositories.
Please note that Feng Office does not support PHP 7.2 yet. Run the commands below to add Ondřej Surý’s PPA:
apt-get install software-properties-common
add-apt-repository ppa:ondrej/php
apt update
To install PHP 7.1 along with the modules needed to run Feng Office, execute this command:
apt install php7.1 php7.1-mysql php7.1-curl php7.1-json php7.1-cgi libapache2-mod-php7.1 php7.1-mcrypt php7.1-xmlrpc php7.1-gd php7.1-mbstring php7.1 php7.1-common php7.1-xmlrpc php7.1-soap php7.1-xml php7.1-intl php7.1-cli php7.1-ldap unzip php7.1-zip wget php7.1-readline php7.1-imap php7.1-tidy php7.1-recode php7.1-sq php7.1-intl php7.1-mbstring -y
To check which version of PHP you are currently using, type:
php -v
If you want to change the current PHP version to PHP 7.1, run the following commands:
a2enmod php7.1
update-alternatives --set php /usr/bin/php7.1
Restart the Apache web server so that the changes take effect.
systemctl restart apache2.service
Step 3: Configure PHP and Install Other Required Packages
Locate the php.ini configuration file:
php -i | grep php.ini
Output:
Configuration File (php.ini) Path => /etc/php/7.1/cli
Loaded Configuration File => /etc/php/7.1/cli/php.ini
Open the php.ini configuration file with your preferred text editor. We will use nano as our text editor – feel free to use any editor of your choice.
nano /etc/php/7.1/cli/php.ini
Find and modify the following values:
max_execution_time = 300
max_input_time = 300
memory_limit = 512M
post_max_size = 128M
upload_max_filesize = 128M
display_errors = Off
html_errors = Off
display_startup_errors = Off
log_errors = On
output_buffering = Off
After you are finished with editing the file, save the file and close it.
Run the following command to install packages that are required by Feng Office:
apt install catdoc xpdf ghostscript imagemagick wkhtmltopdf
Once the installation is complete, check that all installed services work properly. If they are installed successfully, you can continue to the next step and create a new database for Feng Office.
Step 4: Create a Database
To create a database, you’ll need to log in to the MySQL console:
mysql -u root -p
By using the following query, we will create our database:
CREATE DATABASE fengdb;
We will add a separate user that will be able to interact with our ‘fengdb’ database:
GRANT ALL PRIVILEGES ON fengdb.* TO 'fenguser'@'localhost' IDENTIFIED BY 'Str0ng_Pa5Sw0rD' WITH GRANT OPTION;
Please do not forget to change ‘Str0ng_Pa5Sw0rD‘ to an actual strong password.
To apply the privileges that we set, we will run this command:
FLUSH PRIVILEGES;
After we finish, we can exit from the MySQL session with the command:
quit
Step 5: Configure Apache Virtual Host for Feng Office
In this step, we will create a new virtual host configuration file so that we can access our Feng Office application with a domain name instead of an IP address.
nano /etc/apache2/sites-available/feng.conf
add the following content to the file:
<VirtualHost *:80>

ServerAdmin admin@domain-name.com
DocumentRoot /var/www/html/fengoffice/
ServerName domain-name.com
ServerAlias www.domain-name.com

<Directory /var/www/html/fengoffice/>
Options FollowSymlinks
AllowOverride All
Require all granted
</Directory>

ErrorLog ${APACHE_LOG_DIR}/error.log
CustomLog ${APACHE_LOG_DIR}/access.log combined

</VirtualHost>
of course, you will need to replace all instances of domain-name.com with your actual domain name.
Once you have configured the virtual host, you can enable it by executing the following commands.
Disable the default virtual host with:
a2dissite 000-default
Then enable the new Feng Office virtual host:
a2ensite feng.conf
Also, you need to make sure that the mod rewrite is enabled:
a2enmod rewrite
Restart Apache so the changes will take effect:
systemctl restart apache2.service
Step 6: Install Feng Office
Download the latest version of Feng Office in the /opt directory on the server and extract it in the /var/www/html/ directory:
cd /opt/ && wget -O fengoffice.zip --no-check-certificate https://www.fengoffice.com/web/reference.php?dest=latest_version
unzip fengoffice.zip -d /var/www/html/
Now we will move the extracted files to a separate directory named ‘fengoffice’ and change the ownership so that it belongs to the Apache web server:
mv /var/www/html/fengoffice-3.*/ /var/www/html/fengoffice/
chown www-data:www-data -R /var/www/html/fengoffice/
After completing all the steps, open http://domain-name.com in your favorite web browser and start the installation process.
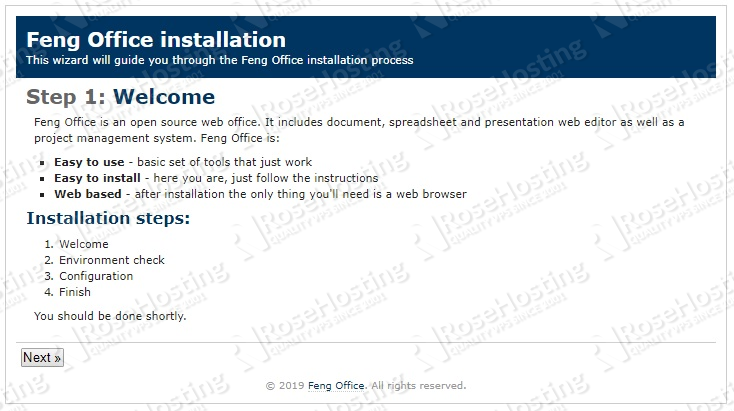
Follow the steps of the web installation and fill out all of the necessary information.
Please note that the ‘core_dimensions‘ plugin is required for this application, so you should install it. You can also select the “workspace” and “mail” plugins during the web installation process.
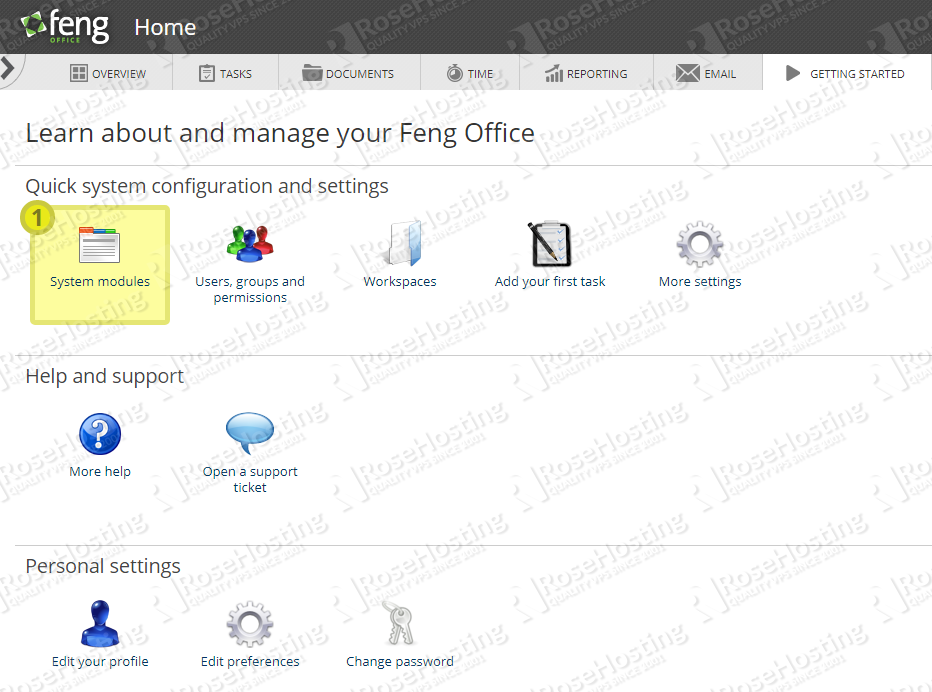
Congratulations! You have successfully installed Feng Office on your server. You can now configure and start managing this incredible application by logging in to the Feng Office Back-End Administrator.
In this article, we showed you how to install Apache2, PHP 7.1, MySQL Database Server, how to create a database for Feng Office, and finally, we installed Feng Office.
 Of course, if you are one of our Ubuntu Hosting customers, you don’t have to install Feng Office on your Ubuntu 18.04 VPS – simply ask our admins, sit back, and relax. Our admins will install and configure Feng Office on Ubuntu 18.04 for you immediately.
PS. If you liked this post about how to install Feng Office on an Ubuntu 18.04 VPS, please share it with your friends on the social networks using the share buttons below, or simply leave a comment in the comments section. Thanks.