
This guide will walk you through the process of installing Gogs on a Debian 9 VPS with MariaDB as a database server.
 Gogs is a free and open-source self-hosted Git service written in the Go programming language. It’s easy-to-install, cross-platform, and lightweight, and all of these attributes allow for Gogs to run on all sorts of hardware easily. This guide should work on other Linux VPS systems as well, but it was tested and written for a Debian 9 VPS. Let’s begin with the installation.
Table of Contents
Prerequisites
- A Debian 9 Virtual Server
- A user account with sudo privileges, or access to the ‘root’ user itself
Step 1: Install Required packages
Log in to your VPS via SSH as root or as a sudo user:
ssh userame@IP_Address -p Port_Number
Make sure you replace “IP_Address” and “Port_Number” to your server’s respective IP address and SSH port numbers.
Once logged in, issue the following commands to update all installed packages to their latest available versions:
sudo apt-get update
sudo apt-get upgrade
Afterwards, install the git package using the following command:
sudo apt-get install git
Step 2: Create a MariaDB Database
Gogs can use MySQL/MariaDB, PostgreSQL, MSSQL, TiDB and SQLite3 for its database backend.
In this tutorial, we will use MariaDB. If the MySQL or MariaDB server is not installed on your server, you can install the latest MariaDB version by executing the following command:
sudo apt-get install mysql-server
When the MariaDB installation is complete, it is recommended to run the mysql_secure_installation script to improve the security of your database server:
sudo mysql_secure_installation
Answer the security questions as follows. If at any point you are asked for the root MariaDB password before proceeding, just press the [Enter] key, as no password is set by default:
Remove anonymous users? (Press y|Y for Yes, any other key for No) : Y
Disallow root login remotely? (Press y|Y for Yes, any other key for No) : Y
Remove test database and access to it? (Press y|Y for Yes, any other key for No) : Y
Reload privilege tables now? (Press y|Y for Yes, any other key for No) : Y
Log in to the MySQL shell using the MySQL root user and the password that you have previously set up:
mysql -u root -p
Create a MySQL database and user for Gogs, and grant permissions to the user by issuing the following commands:
MariaDB [(none)]> CREATE SCHEMA `gogs` DEFAULT CHARACTER SET utf8 COLLATE utf8_general_ci;
MariaDB [(none)]> GRANT ALL PRIVILEGES ON gogs.* TO 'gogs'@'localhost' IDENTIFIED BY 'strongpassword';
MariaDB [(none)]> FLUSH PRIVILEGES;
MariaDB [(none)]> EXIT
Make sure you replace ‘strongpassword‘ with an actual strong password.
Step 3: Install Gogs
Create a new system user that will run the Gogs server:
sudo adduser --home /opt/gogs --shell /bin/bash --gecos 'Gogs application' gogs
Next, download the Gogs binary from the Gogs Github page using ‘wget’:
wget https://github.com/gogs/gogs/releases/download/v0.11.86/linux_amd64.tar.gz
Extract the downloaded archive to the /opt/gogs directory:
sudo tar xvf linux_amd64.tar.gz --strip-components=1 -C /opt/gogs
Change the ownership of the directory to the Gogs user:
sudo chown -R gogs:gogs /opt/gogs/
Next, copy the SystemD unit file. This allows us to create a SystemD service for Gogs:
sudo cp /opt/gogs/scripts/systemd/gogs.service /etc/systemd/system/
Open the unit file using your text editor of choice. We’ll use nano.
sudo nano /etc/systemd/system/gogs.service
Once the file is open, edit it as follows:
[Unit]
[Unit]
Description=Gogs
After=syslog.target
After=network.target
After=mariadb.service mysqld.service postgresql.service memcached.service redis.service

[Service]
# Modify these two values and uncomment them if you have
# repos with lots of files and get an HTTP error 500 because
# of that
###
#LimitMEMLOCK=infinity
#LimitNOFILE=65535
Type=simple
User=gogs
Group=gogs
WorkingDirectory=/opt/gogs
ExecStart=/opt/gogs/gogs web
Restart=always
Environment=USER=gogs HOME=/opt/gogs

# Some distributions may not support these hardening directives. If you cannot start the service due
# to an unknown option, comment out the ones not supported by your version of systemd.
ProtectSystem=full
PrivateDevices=yes
PrivateTmp=yes
NoNewPrivileges=true

[Install]
WantedBy=multi-user.target
Once you’re done editing the file, save it, then start and enable the Gogs service:
sudo systemctl daemon-reload
sudo systemctl start gogs
sudo systemctl enable gogs
Run the following command to verify that the Gogs service is started successfully:
sudo systemctl status gogs
● gogs.service - Gogs
   Loaded: loaded (/etc/systemd/system/gogs.service; enabled; vendor preset: enabled)
   Active: active (running) since Mon 2019-05-13 02:57:32 CDT; 29s ago
 Main PID: 791 (gogs)
   CGroup: /system.slice/gogs.service
           └─791 /opt/gogs/gogs web

May 13 02:57:32 vps gogs[791]: 2019/05/13 02:57:32 [ WARN] Custom config '/opt/gogs/custom/conf/app.ini' not found, ignore this if you're running first time
May 13 02:57:32 vps gogs[791]: 2019/05/13 02:57:32 [TRACE] Custom path: /opt/gogs/custom
May 13 02:57:32 vps gogs[791]: 2019/05/13 02:57:32 [TRACE] Log path: /opt/gogs/log
May 13 02:57:32 vps gogs[791]: 2019/05/13 02:57:32 [TRACE] Log Mode: Console (Trace)
May 13 02:57:32 vps gogs[791]: 2019/05/13 02:57:32 [ INFO] Gogs 0.11.86.0130
May 13 02:57:32 vps gogs[791]: 2019/05/13 02:57:32 [ INFO] Cache Service Enabled
May 13 02:57:32 vps gogs[791]: 2019/05/13 02:57:32 [ INFO] Session Service Enabled
May 13 02:57:32 vps gogs[791]: 2019/05/13 02:57:32 [ INFO] SQLite3 Supported
May 13 02:57:32 vps gogs[791]: 2019/05/13 02:57:32 [ INFO] Run Mode: Development
May 13 02:57:33 vps gogs[791]: 2019/05/13 02:57:33 [ INFO] Listen: http://0.0.0.0:3000
Step 4: Set Up Gogs
Once the installation is complete, go to http://server_ip:3000/install and fill in all of the required fields. Do not forget to replace “server_ip” with your server’s public IP address:
Database Settings
- Database Type: MySQL
- Host:
127.0.0.1:3306 - User: gogs
- Password: strongpassword
- Database Name: gogs
General Settings of Gogs
- Application Name: Gogs
- Repository Root Path:
/opt/gogs/gogs-repositories - Run User: gogs
- Domain: SERVER_IP
- SSH Port: 22
- HTTP Port: 3000
- Application URL: http://SERVER_IP:3000/
- Log Path:
/opt/gogs/log
Once done, click on the install button and you’re good to go.
Administrative access is automatically granted to the first registered user:
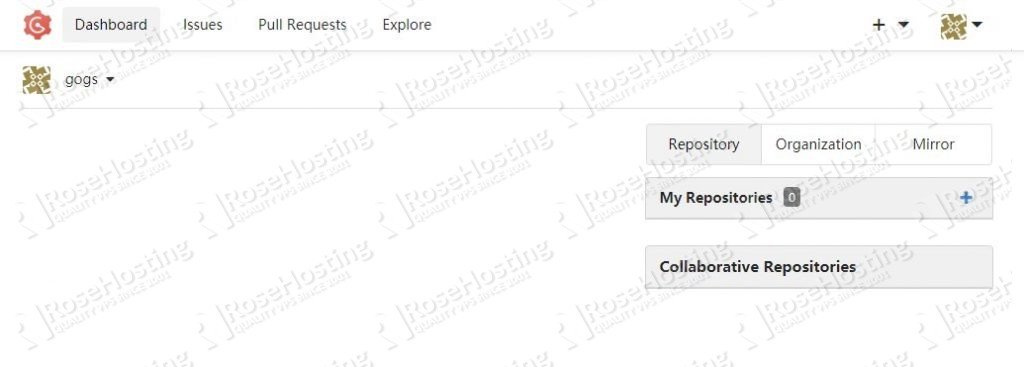
That’s it. You have successfully installed Gogs on your Debian 9 VPS. For more information about how to manage your Gogs installation, please refer to the official Gogs documentation.
 Of course, you don’t have to do any of this if you use one of our Linux VPS Hosting services, in which case you can simply ask our expert Linux admins to set up everything and install Gogs for you. They are available 24/7 and will take care of your request immediately.
PS. If you liked this post or found it helpful, please share it with your friends on the social networks using the share shortcuts below, or simply leave a comment down in the comments section. Thank you.