 In this tutorial, we will show you how to install Mezzanine on CentOS 7 Mezzanine is a free and open-source content management system (also known as a CMS), built using the Django web application framework. It is a set of useful components that helps developers to easily and quickly create websites for a variety of purposes. It provides an intuitive interface for managing and creating webpages, blog posts, form data, store products, as well as many other types of content.
Unlike other popular CMS applications, all of these functionalities are available out-of-the-box, without the need for using any additional modules or add-ons. Installing Mezzanine CMS on CentOS 7 is an easy task if you follow the steps below carefully.
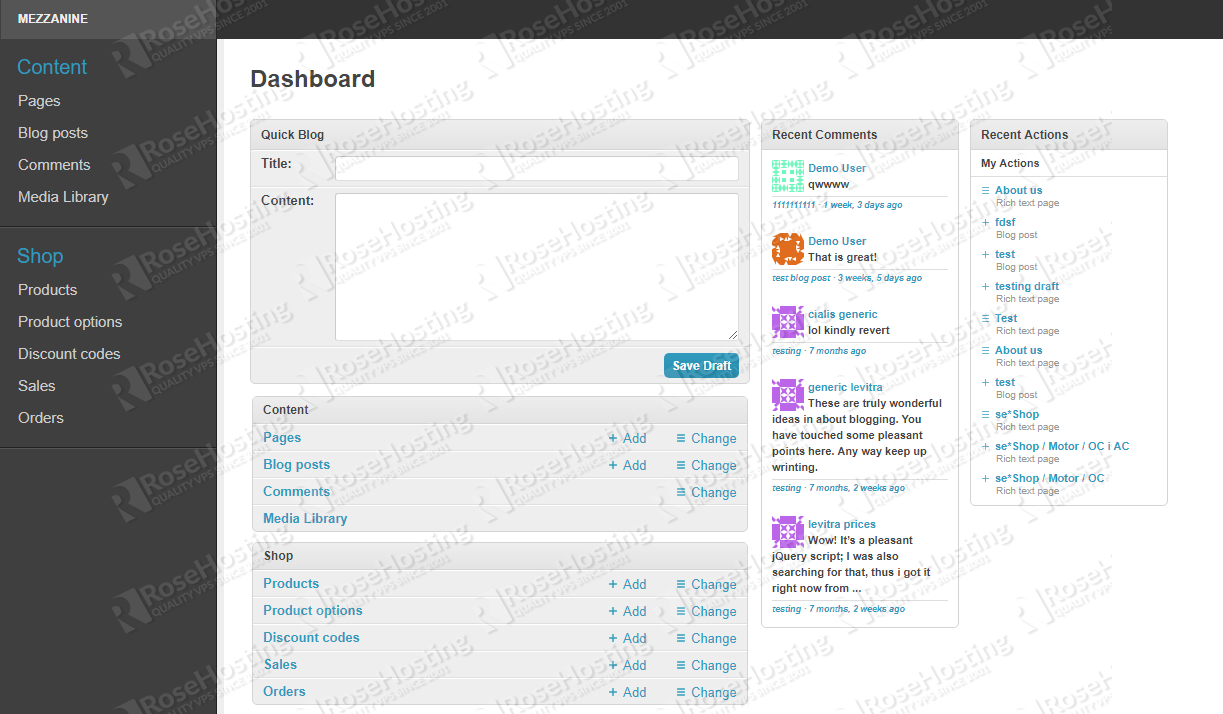
Table of Contents
Prerequisites
- A server running CentOS 7
- SSH access with root privileges, or access to the root user
Step 1: Login and Update Packages
First, we’re going to need to log into our server using SSH. You can do that by entering this command:
ssh root@IP_Address -p Port_Number
Remember to replace “root” with your username if you are not using the root user. Change “IP_Address” and “Port_Number” according to your server’s IP address and port.
Once you are logged in, you should update all of your packages to their latest available versions, that way we can maximize compatibility and avoid potential version discrepancies:
# yum update
Step 2: Install Development Tools
The “Development Tools” bundle is required for building Python modules. we can install it by using this command:
# yum groupinstall 'Development Tools'
Step 3: Install Python 3.6
In order to install Python version 3.6, we need the centos-release-scl and epel-release repositories. You can install them with this command:
# yum install centos-release-scl epel-release
Once that is done, you can then install Python 3.6. Additionally, we will be installing nano, a versatile text editor (optional), and Nginx, a highly-customizable web server:
# yum install rh-python36 nano nginx
Step 4: Install MariaDB Server
Installing the MariaDB database server is easy, and only requires one command:
# yum install mariadb-server
Once it has finished installing, let’s enable it to run on boot and then start the service.
# systemctl enable mariadb
# systemctl start mariadb
At this point, MariaDB is running, and we are now going to create a password for the root user. Run the following command to create a root password, remove the test database, remove the anonymous user, before finally reloading the privileges.
# mysql_secure_installation
When prompted, answer the questions below by following the guide.
Enter current password for root (enter for none): Just press the [Enter] key, since no password is currently set.
Set root password? [Y/n]: Y
New password: Enter a new password
Re-enter new password: Repeat the new password
Remove anonymous users? [Y/n]: Y
Disallow root login remotely? [Y/n]: Y
Remove test database and access to it? [Y/n]: Y
Reload privilege tables now? [Y/n]: Y
Step 5: Create a Database for Mezzanine
Let’s create one using the following commands. First, we need to log into the MariaDB command line interface:
# mysql -u root -p
From there, we can create our database:
mysql> create database mezzanine;
Query OK, 1 row affected (0.00 sec)
Once the database has been created, we’ll create a user and provide it with full access to the Mezzanine database:
mysql> grant all on mezzanine.* to mezzanine@localhost identified by 'Password';
Query OK, 0 rows affected, 1 warning (0.00 sec)
Remember to flush all privileges so that the changes take effect:
mysql> flush privileges;
Query OK, 0 rows affected (0.00 sec)
Then quit the command line interface.
mysql> quit
NOTE: You will need to change the password ‘Password’ above to a strong password.
Step 6: Create a Mezzanine System User
Before we proceed, let’s create a new user for our Mezzanine installation:
# adduser mezzanine
Next, we’ll add this new user to the sudo group:
# usermod -aG wheel mezzanine
Step 7: Create a Virtual Environment
We will create a virtual environment under the system user that we created earlier:
# su - mezzanine
To enable python3.6 in this shell session, we need to run this command:
$ scl enable rh-python36 bash
You can check the python version now.
$ python -V

We can now create a virtual environment. The following command will create a virtual environment called “mezzanine”:
$ python -m venv mezzanine
To use the virtual environment, we’ll first need to activate it by issuing this command:
$ source mezzanine/bin/activate
Once activated, the shell prompt will look like this:
![]()
Step 8: Install and Create a Mezzanine Project
First, we’ll install a Python package called “mezzanine”. This is required for Mezzanine to function properly.
$ pip install mezzanine
After that, we can create our first Mezzanine project.
$ mezzanine-project first_project
The command above will add a new directory named “first_project”. On your server, you can choose any project name you want. Please remember to follow along with the name change throughout the rest of the tutorial.
Step 9: Configure the Mezzanine Project
At this step, we need to edit the settings.py file within our first project directory. We will be using MySQL for our database storage:
$ cd first_project
$ nano first_project/settings.py
Locate the DATABASES block and add the following information about the database we have created earlier.
DATABASES = {
      "default": {
      "ENGINE": "django.db.backends.mysql",
      "NAME": "mezzanine",
      "USER": "mezzanine",
      "PASSWORD": "Password",
      "HOST": "",
      "PORT": "",
      }
}
Save the changes and exit.
You will also find the main script for managing projects in this directory, which is called manage.py.
We will use this script to migrate the database and create a new superuser account for our Mezzanine admin interface.
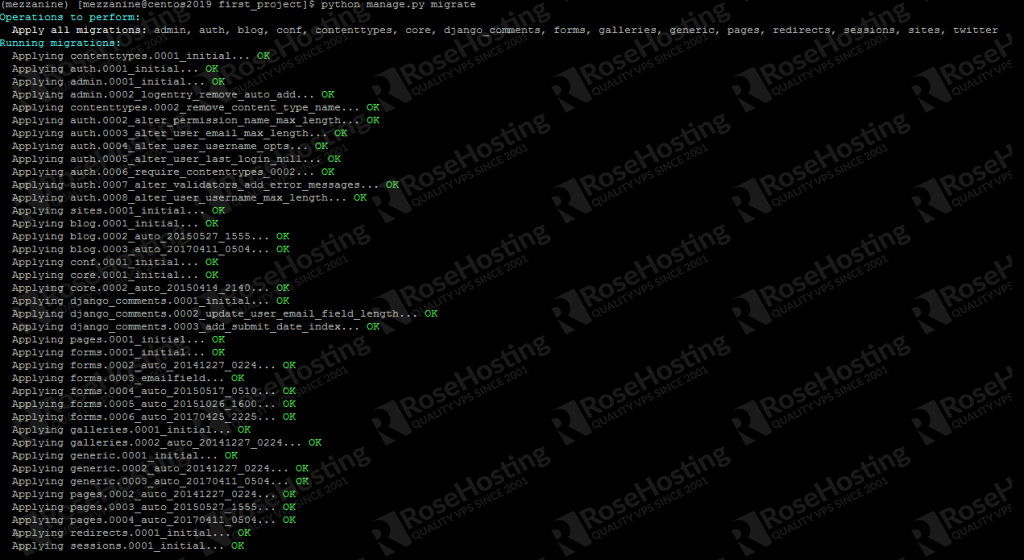
Let’s migrate the database by running the following commands:
$ python manage.py makemigrations
$ python manage.py migrate
Once the database is migrated, we can create a new administrative user with the following:
$ python manage.py createsuperuser
Enter the required information in order to create the new admin user:
Username (leave blank to use 'mezzanine'):
Email address: me@mydomain.com
Password:
Password (again):
Superuser created successfully.
Next, open the following file to edit it:
$ nano first_project/local_settings.py
Find the ALLOWED_HOSTS line and then add the IP address of your server and/or your domain name.
ALLOWED_HOSTS = ["localhost", "127.0.0.1", "::1", "your-server-IP", "your-domain-name"]
Save the file and exit the nano text editor.
Step 10: Start the Mezzanine Server
To start up and run the Mezzanine server, run the following command:
$ python manage.py runserver 0.0.0.0:8000
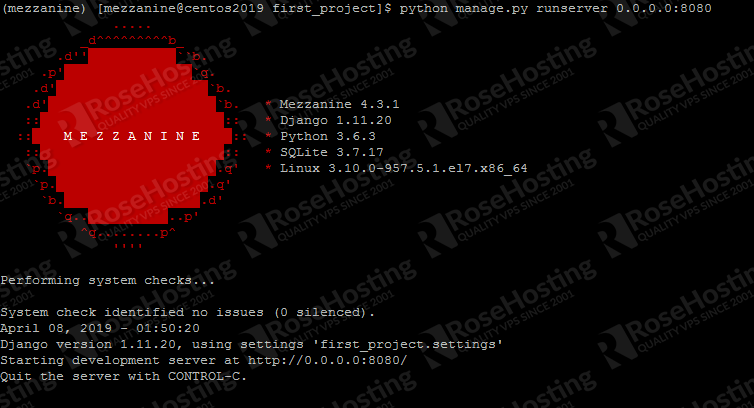
You will now be able to access the application using your preferred browser at http://your_server_ip:8000/.
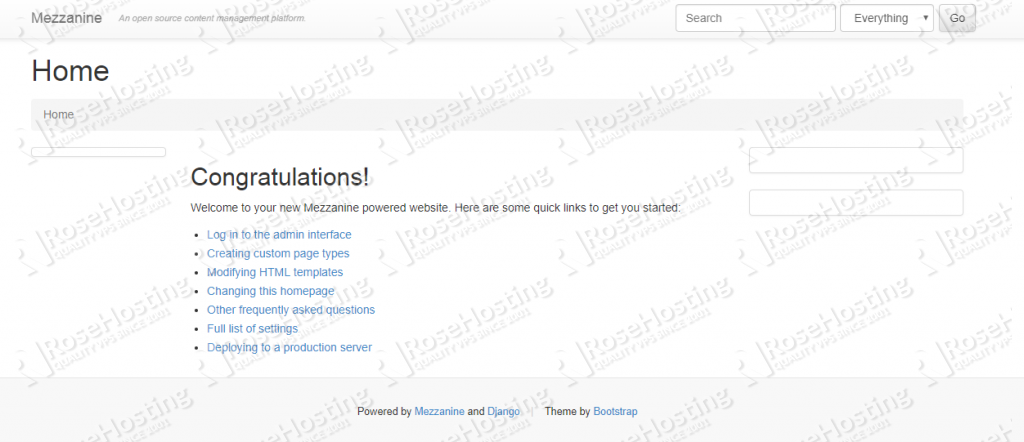
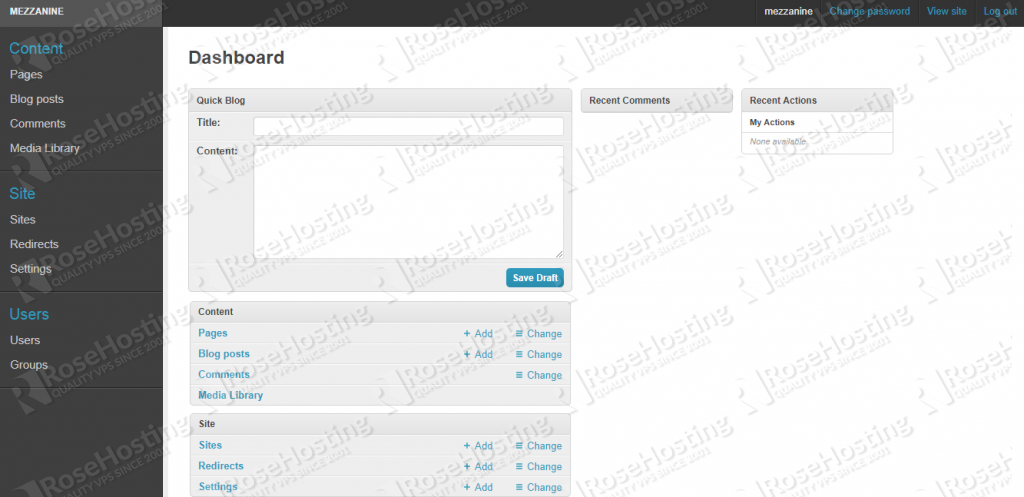
You can then access the Mezzanine admin page and log in with your admin user at http://your_server_ip:8000/admin
To stop the server from running, you can simply do Ctrl+C.
Step 11: Configure a Reverse Proxy
To manage the Mezzanine CMS application better, we need to install Gunicorn. Gunicorn is a python web server gateway interface HTTP server. It is a pre-fork worker model, ported from Ruby’s Unicorn project. The Gunicorn server is compatible with a broad number of web frameworks, its implementation is simple, it’s light on server resources, and it’s fairly fast. To install it, just run these next few commands.
$ pip install gunicorn
$ python manage.py collectstatic
$ deactivate
$ exit
Once the install has completed, use nano (or your preferred text editor) to create the service file.
# nano /etc/systemd/system/gunicorn.service
When the file has opened, set the following values by copying and pasting the following:
[Unit]
Description=gunicorn daemon
After=network.target

[Service]
User=mezzanine
Group=nginx
WorkingDirectory=/home/mezzanine/first_project
ExecStart=/home/mezzanine/mezzanine/bin/gunicorn --access-logfile - --workers 3 --bind unix:/home/mezzanine/first_project.sock first_project.wsgi:application

[Install]
WantedBy=multi-user.target
Remember to change “first_project” to the name of your Mezzanine project! Close and file and run the next command to reload the services list.
# systemctl daemon-reload
Now, we can start-stop-restart Mezzanine CMS application using the systemctl command:
# systemctl start gunicorn
If you want it to run on boot, we’ll need to enable it.
systemctl enable gunicorn
Gunicorn has now been successfully configured. Now, to access it using your domain name in the web browser, we will install and configure Nginx to proxy pass to Gunicorn.
Let’s create an Nginx server block file. Make sure that you change your_domain.com to your actual domain name.
# nano /etc/nginx/conf.d/your_domain.com.conf
Then paste the following into the file:
server {
     listen 80;
     server_name your_domain.com;

location = /favicon.ico { access_log off; log_not_found off; }

location /static/ {
     root /home/mezzanine/first_project;
}

location / {
     proxy_set_header Host $http_host;
     proxy_set_header X-Real-IP $remote_addr;
     proxy_set_header X-Forwarded-For $proxy_add_x_forwarded_for;
     proxy_set_header X-Forwarded-Proto $scheme;
     proxy_pass http://unix:/home/mezzanine/first_project.sock;
}
}
Save and exit once finished. Run the next commands to load the changes, start Nginx, and enable it to start on boot.
# nginx -t
# systemctl start nginx
# systemctl enable nginx
To give permissions to Nginx to access your Mezzanine CMS application, we have to add the Nginx user to the user group that can run the Mezzanine CMS.
# usermod -aG mezzanine nginx
Then, we’ll also need to change the directory permissions of the Mezzanine user’s home.
# chmod 710 /home/mezzanine
Restart Nginx for the changes to take effect.
# systemctl restart nginx
That’s it, you should be able to access your Mezzanine CMS application at http://yourdomain.com now. Congratulations!
 Of course, you don’t have to Install Mezzanine CMS on CentOS 7 if you use one of our Mezzanine CMS VPS Hosting services, in which case you can simply ask our expert Linux admins to install Mezzanine CMS on your VPS for you. They are available 24×7 and will take care of your request immediately.
PS. If you liked this post on how to install Mezzanine CMS on CentOS 7, please share it with your friends on the social networks using the buttons below or simply leave a reply in the comments sections. Thanks.