In this tutorial, we are going to show you how to install NextCloud on Debian 11 OS.
NextCloud is a client-server storage software with similar functionality to Google Drive and Dropbox. NextCloud is written in PHP as a backend language and Javascript as a front.
The data is stored in MySQL database and can run on different web servers like Nginx, Apache, or Litespeed. The compatibility of Nextcloud on other OS is also an advantage; it can be installed on Windows, Linux, macOS, Android, etc. In this blog, we will install Nextcloud with the LAMP stack.
Installing NextCloud on Debian 11 is straightforward and may take up to 15 minutes. Let’s get started!
Table of Contents
Prerequisites
- A server with Debian 11 as OS
- User privileges: root or non-root user with sudo privileges
Step 1. Update the System
Update the system packages to the latest versions available. Execute the following command:
sudo apt-get update -y && sudo apt-get upgrade -y
Step 2. Install LAMP Stack
As we mentioned before, we will install NextCloud with the LAMP stack. First, we will install the Apache Web server.
sudo apt-get install apache2 -y
Once installed, start and enable the service.
sudo systemctl enable apache2 && sudo systemctl start apache2
Check if the service is up and running:
sudo systemctl status apache2
You should receive the following output:
root@host:~# sudo systemctl status apache2
● apache2.service - The Apache HTTP Server
     Loaded: loaded (/lib/systemd/system/apache2.service; enabled; vendor preset: enabled)
     Active: active (running) since Wed 2023-03-08 17:35:28 CST; 5s ago
       Docs: https://httpd.apache.org/docs/2.4/
    Process: 39464 ExecStart=/usr/sbin/apachectl start (code=exited, status=0/SUCCESS)
   Main PID: 39469 (apache2)
      Tasks: 6 (limit: 4675)
     Memory: 12.3M
        CPU: 325ms
     CGroup: /system.slice/apache2.service
Next, we will install PHP along with its extensions. To do that, first add the GPG key and the repo because, in the default repository of Debian 11, they do not exist. To do that execute the following commands:
apt -y install lsb-release apt-transport-https ca-certificates

wget -O /etc/apt/trusted.gpg.d/php.gpg https://packages.sury.org/php/apt.gpg

echo "deb https://packages.sury.org/php/ $(lsb_release -sc) main" | tee /etc/apt/sources.list.d/php.list

sudo apt-get update -y
Once the PHP key and repo are added, you can install the PHP with extensions using this long command:
sudo apt-get install php8.1 php8.1-common php8.1-curl libapache2-mod-php php8.1-imap php8.1-redis php8.1-cli php8.1-snmp php8.1-xml php8.1-zip php8.1-mbstring php8.1-gd php8.1-xml php8.1-mysql php-mbstring -y
After successful installation, check the PHP version:
php -v
You should get the following output:
root@host:~# php -v
PHP 8.2.3 (cli) (built: Feb 14 2023 16:53:07) (NTS)
Copyright (c) The PHP Group
Zend Engine v4.2.3, Copyright (c) Zend Technologies
    with Zend OPcache v8.2.3, Copyright (c), by Zend Technologies
The last of the LAMP stack is the MariaDB database service:
sudo apt-get install mariadb-server -y
Start and enable the mariadb.service with the following commands:
sudo systemctl start mariadb && sudo systemctl enable mariadb
Check the status of the mariadb.service
sudo systemctl status mariadb
You should receive the following output:
root@host:~# sudo systemctl status mariadb
● mariadb.service - MariaDB 10.5.18 database server
     Loaded: loaded (/lib/systemd/system/mariadb.service; enabled; vendor preset: enabled)
     Active: active (running) since Wed 2023-03-08 17:42:38 CST; 10s ago
       Docs: man:mariadbd(8)
             https://mariadb.com/kb/en/library/systemd/
   Main PID: 52018 (mariadbd)
     Status: "Taking your SQL requests now..."
      Tasks: 18 (limit: 4675)
     Memory: 71.5M
        CPU: 601ms
     CGroup: /system.slice/mariadb.service
             └─52018 /usr/sbin/mariadbd
Step 3. Create a NextCloud Database and User
To create a NextCloud database, the NextCloud user and grant the permissions for that user to the database first log in to MySQL command line with the mysql command and execute the following lines of code one by one:
 CREATE USER 'nextcloud'@'localhost' IDENTIFIED BY 'YourStrongPasswordHere';
 CREATE DATABASE nextcloud;
 GRANT ALL PRIVILEGES ON nextcloud.* TO 'nextcloud'@'localhost';
 FLUSH PRIVILEGES;
 EXIT;
Step 4. Download NextCloud
Go into the document root of the Apache web server and download NextCloud with the following command:
cd /var/www/html

wget https://download.nextcloud.com/server/releases/nextcloud-25.0.4.zip
Unzip the file and set the right permissions:
unzip nextcloud-25.0.4.zip

chown -R www-data:www-data nextcloud/
Step 5. Create Apache Virtual Host File
Go into the Apache directory and create a configuration file for NextCloud.
cd /etc/apache2/sites-available/

touch nextcloud.conf
Open the file, paste the following lines of code, save the file and close it.
<VirtualHost *:80>
ServerName yourdomain.com
DocumentRoot /var/www/html/nextcloud

<Directory /var/www/html/nextcloud>
AllowOverride All
</Directory>

ErrorLog ${APACHE_LOG_DIR}/error.log
CustomLog ${APACHE_LOG_DIR}/access.log combined

</VirtualHost>
Enable the Apache configuration for NextCloud and rewrite the module.
a2dissite 000-default.conf

sudo a2enmod rewrite

sudo a2ensite nextcloud.conf
Check the syntax:
apachectl -t
You should receive the following output:
root@vps:~# apachectl -t
Syntax OK
If the syntax is OK, restart the Apache service.
systemctl restart apache2
Once the Apache service is restarted, you can finish the NextCloud installation at http://yourdomain.com
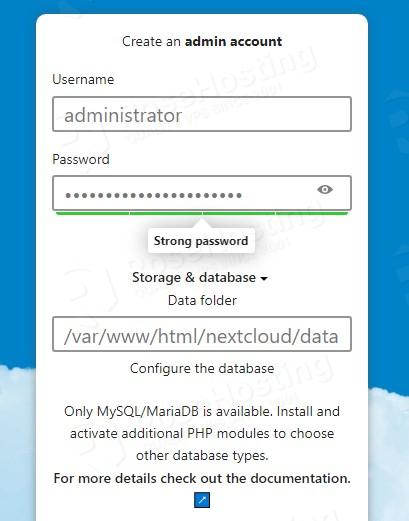
Step 6. Finish NextCloud Installation
Access the NextCloud application at http://yourdomain.com. Enter the administrator username and password that you will use for future login.
Then you need to enter the database username, database name and password you set in the previous steps.
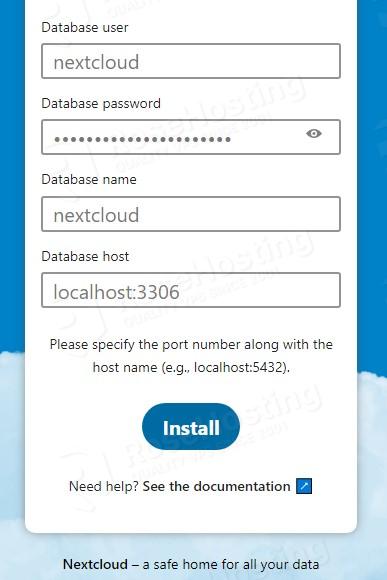
Click on the Install button and allow some time for the installation. Next, you can install recommended applications or skip this step.
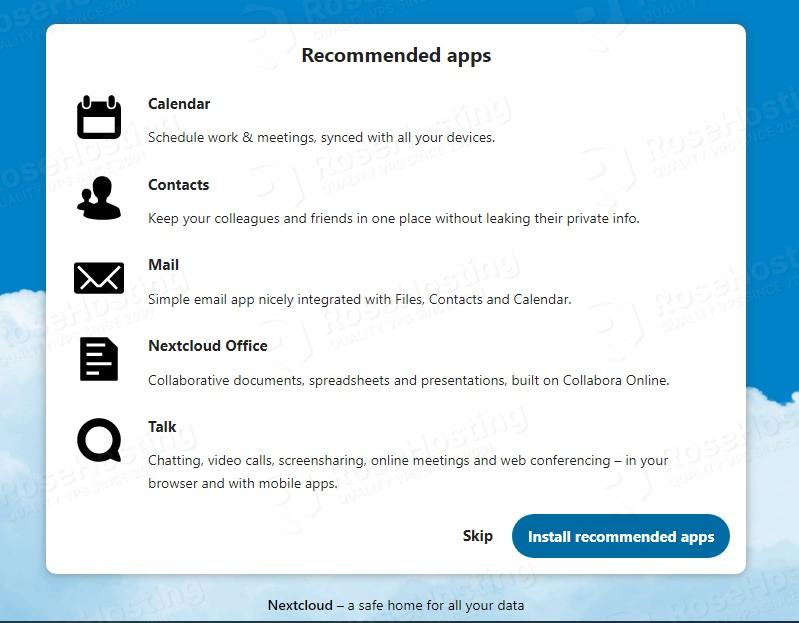
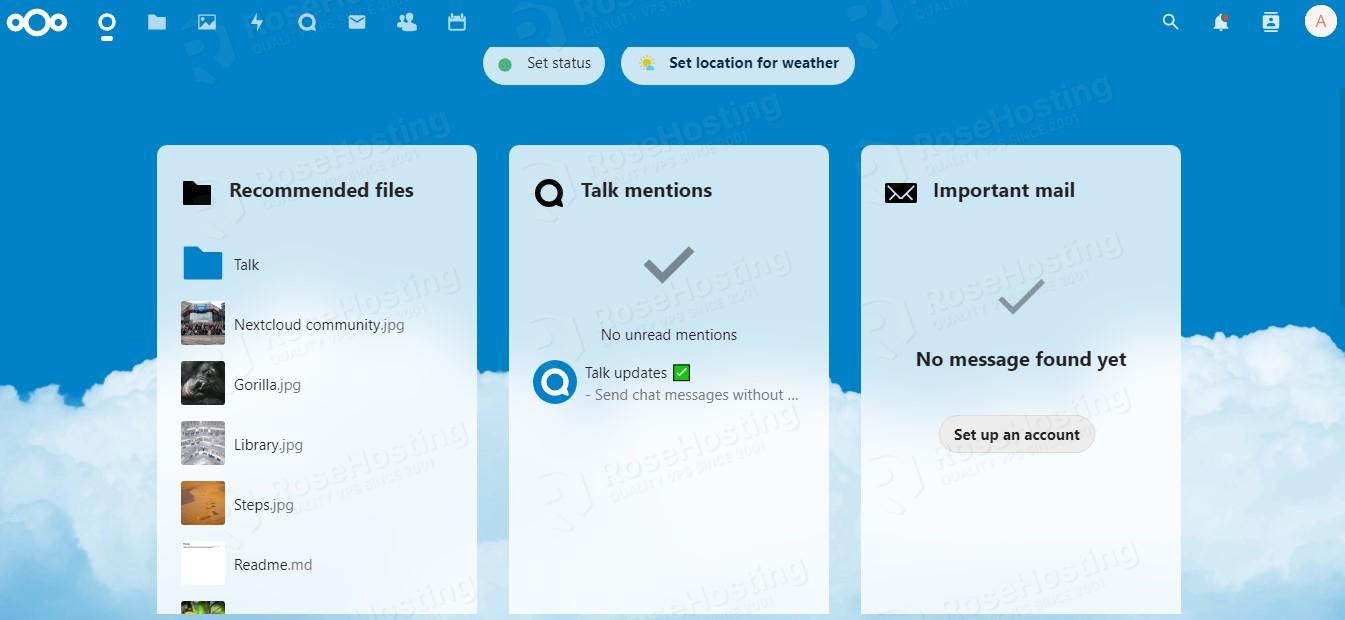
After this step, you will be automatically logged in to the NextCloud admin dashboard.
That’s it. You successfully installed NextCloud on Debian 11. If you find this setup difficult, you can contact our technical support, and our admins will help you with this. You just need to sign up for one of our NVMe VPS hosting plans and submit a support ticket. We are available 24/7.
If you liked this about installing NextCloud on Debian 11, please share it with your friends on social networks or simply leave a reply below.