This tutorial will explain the installation process of Odoo 19 on AlmaLinux 10 OS. Odoo is an open-source ERP (Enterprise Resource Planning) and CRM (Customer Relationship Management) system written in Python, offering a variety of features such as scalability, integration, a user-friendly interface, and customizable software that is very adaptive to the needs of the business. Odoo is a system that integrates CRM, accounting, inventory, and e-commerce, and is a modular system, which means that customers can activate and use only the apps they need.
Installing Odoo 19 on AlmaLinux 10 is a straightforward process that may take up to 15 minutes. Let’s get started!
Table of Contents
Prerequisites
- A server running AlmaLinux 10 OS
- User privileges: root or non-root user with sudo privileges
Step 1. Update the System
Before we start installing Odoo 19, we will update the system packages to their latest versions. To do that, execute the following command:
sudo dnf update -y && sudo dnf upgrade -y
Step 2. Install Odoo 19 Dependencies
To install Odoo dependencies, execute the following command:
sudo dnf install openssl xorg-x11-fonts-75dpi xorg-x11-fonts-Type1 redhat-rpm-config libxslt-devel bzip2-devel openldap-devel libjpeg-devel freetype-devel curl gcc git unzip openssl-devel wget yum-utils make libffi-devel zlib-devel -y
Step 3. Install Python 3.12 along with Modules
Python 3.12 is included in the repository of AlmaLinux 10, and to install it, you need to execute the following command:
sudo dnf install python3 python3-devel -y
Once installed, to verify the installation, execute the command below:
python3 -V
You should get the following output:
[root@test ~]# python3 -V
Python 3.12.9
Step 4. Install PostgreSQL database
Odoo stores data in the PostgreSQL database. To install it, execute the following command:
sudo dnf install postgresql-server postgresql-devel postgresql-server-devel -y
Once installed, we need to initialize the database:
sudo postgresql-setup --initdb --unit postgresql
Then we can start and enable the PostgreSQL service. You need to do the following:
sudo systemctl start postgresql && sudo systemctl enable postgresql
To check the status of the service:
sudo systemctl status postgresql
You should get output similar to this:
[root@test ~]# sudo systemctl status postgresql
● postgresql.service - PostgreSQL database server
     Loaded: loaded (/usr/lib/systemd/system/postgresql.service; enabled; preset: disabled)
     Active: active (running) since Thu 2025-10-30 18:27:11 CDT; 1min 13s ago
 Invocation: 6c263597d83840f6816e01a9d526a755
   Main PID: 1666 (postgres)
      Tasks: 7 (limit: 10698)
     Memory: 19.4M (peak: 22.4M)
        CPU: 100ms
     CGroup: /system.slice/postgresql.service
Step 5. Install wkhtmltopdf
The Wkhtmltopdf is used to convert HTML pages to PDF files in Odoo. To install it, execute the following commands one by one in your terminal:
wget https://github.com/wkhtmltopdf/packaging/releases/download/0.12.6.1-2/wkhtmltox-0.12.6.1-2.almalinux9.x86_64.rpm -O wkhtmltox.rpm

sudo rpm -Uvh wkhtmltox.rpm
To verify the installation, execute the following command:
wkhtmltopdf --version
You should get the following output:
[root@test conf.d]# wkhtmltopdf --version
wkhtmltopdf 0.12.6.1 (with patched qt)
Step 6. Create Odoo 19 System and PostgreSQL users
Next, create an Odoo 19 system and an Odoo 19 database user under the ‘odoo19’ name.
To create an Odoo 19 system user in the /opt directory, execute the following:
sudo useradd -m -U -r -d /opt/odoo19 -s /bin/bash odoo19
An Odoo database user can be created with the command below:
sudo su - postgres -c "createuser -s odoo19"
Step 7. Download and Install Odoo 19
First log in as “odoo19”:
su - odoo19
Download Odoo files from the Odoo GitHub repository:
git clone https://www.github.com/odoo/odoo --depth 1 --branch 19.0 /opt/odoo19/odoo19
Once downloaded, create a Python virtual environment and install the Odoo 19 requirements with the following commands one by one:
python3.12 -m venv odoo19-venv
source odoo19-venv/bin/activate
pip install --upgrade pip
pip3 install wheel
pip3 install -r odoo19/requirements.txt
Once the requirements are installed, deactivate the environment with:
deactivate
And then press CTRL+D to log out from the odoo19 user. The screen should look like this:
(odoo19-venv) odoo19@host:~$ deactivate
odoo19@host:~$
logout
root@host:~#
Next, we need to create the Odoo custom addons directory, the Log file directory, along with the Log file for Odoo, and grant the correct permissions:
mkdir /opt/odoo19/odoo19-custom-addons
chown -R odoo19:odoo19 /opt/odoo19/odoo19-custom-addons
mkdir -p /var/log/odoo19/ && touch /var/log/odoo19/odoo19.log
chown -R odoo19:odoo19 /var/log/odoo19/
Step 8. Create Odoo configuration file
The Odoo configuration file can be created as explained below:
sudo nano /etc/odoo19.conf
Paste the following lines of code:
admin_passwd = StrongAdminPasswordHere
db_host = False
db_port = False
db_user = odoo19
db_password = False
xmlrpc_port = 8069
logfile = /var/log/odoo19/odoo19.log
addons_path = /opt/odoo19/odoo19/addons,/opt/odoo19/odoo19-custom-addons
Save the file and close it.
Step 9. Create Odoo Service file
Next, we need to create an Odoo service file:
sudo nano /etc/systemd/system/odoo19.service
Paste the following lines of code:
[Unit]
Description=odoo19

[Service]
Type=simple
SyslogIdentifier=odoo19
PermissionsStartOnly=true
User=odoo19
Group=odoo19
ExecStart=/opt/odoo19/odoo19-venv/bin/python3 /opt/odoo19/odoo19/odoo-bin -c /etc/odoo19.conf
StandardOutput=journal+console

[Install]
WantedBy=multi-user.target
Save the file and close it.
Start and enable the odoo service for automatic start on system boot:
sudo systemctl start odoo19 && sudo systemctl enable odoo19
To check the status of the Odoo service, execute the following command:
sudo systemctl status odoo19
You should get output similar to this:
[root@test conf.d]# sudo systemctl status odoo19
● odoo19.service - odoo19
     Loaded: loaded (/etc/systemd/system/odoo19.service; enabled; preset: disabled)
     Active: active (running) since Thu 2025-10-30 18:45:12 CET; 5s ago
 Invocation: 488b263996f645178ab20ea19057de5a
   Main PID: 3376 (python3)
      Tasks: 1 (limit: 10698)
     Memory: 77.3M (peak: 77.6M)
        CPU: 1.060s
     CGroup: /system.slice/odoo19.service
             └─3376 /opt/odoo19/odoo19-venv/bin/python3 /opt/odoo19/odoo19/odoo-bin -c /etc/odoo19.conf

Oct 30 20:55:12 test.vps systemd[1]: Started odoo19.service - odoo19.
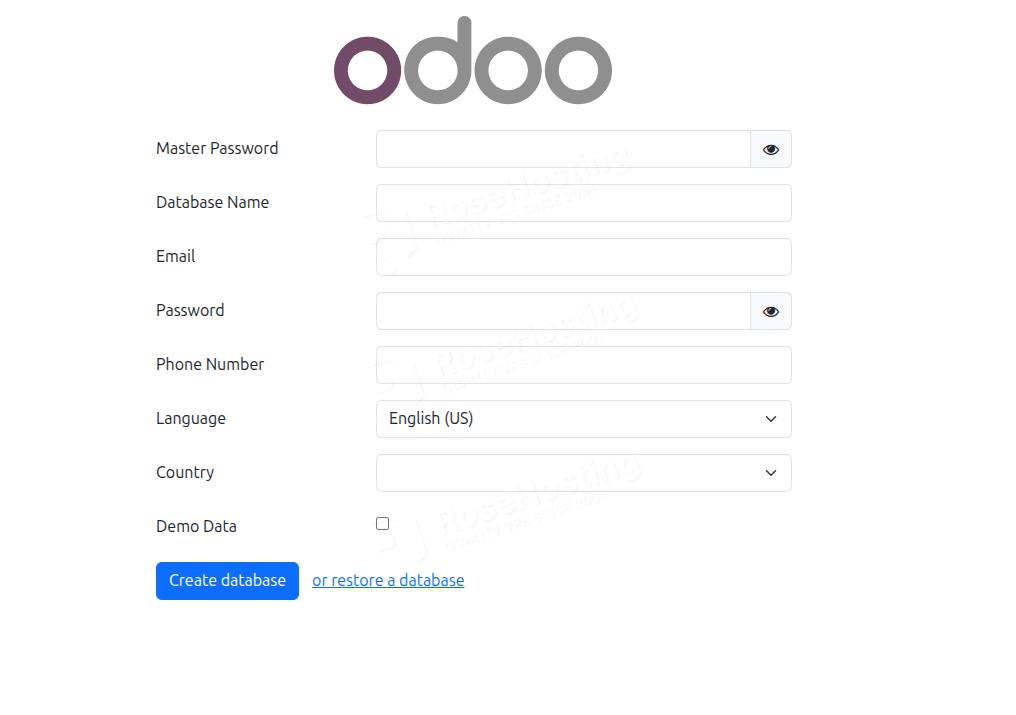
Congratulations! You can now access Odoo 19 at http://YourServerIPAddress:8069.
That’s it. You successfully installed the latest Odoo 19 on AlmaLinux 10.
Of course, you don’t have to do this if you have difficulties and are not familiar with Linux. You can always contact our technical support. You only need to sign up for one of our NVMe VPS server plans and submit a support ticket. We are available 24/7 and will attend to your request promptly.
If you liked this post about installing Odoo 19 on AlmaLinux 10, please share it with your friends or leave a comment below.