
OpenProject is an open-source and free project management software. It is designed to help individuals and businesses manage their project management, issue tracking, scheduling, and other entire project lifecycles. OpenProject is very helpful for team members to track their work and achieve their goals. With OpenProject, you can organize and prioritize your tasks and assign other tasks to other team members. In this tutorial, we will show you how to install OpenProject on Ubuntu 22.04.
Table of Contents
Prerequisites
– An Ubuntu 22.04 VPS with at least 4GB of RAM
– SSH root access or a user with sudo privileges is required
Step 1. Log in to your server via SSH
First, you will need to log in to your Ubuntu 22.04 VPS via SSH as the root user:
ssh root@IP_Address -p Port_number
You will need to replace ‘IP_Address’ and ‘Port_number’ with your server’s respective IP address and SSH port number. Additionally, replace ‘root’ with the username of the system user with sudo privileges.
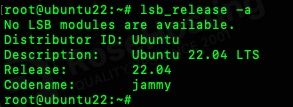
You can check whether you have the proper Ubuntu 22.04 installed on your server with the following command:
# lsb_release -a
It will return an output like this.
No LSB modules are available.
Distributor ID: Ubuntu
Description: Ubuntu 22.04 LTS
Release: 22.04
Codename: jammy
We will use ‘root’ to run the shell commands throughout this article. If you want to use your regular system user with sudo privileges to run the commands, make sure to append ‘sudo’ in front of the commands.
Step 2. Install Docker
There are several methods to install OpenProject on Ubuntu. The developers themselves recommend installing it using their DEB or RPM packages. But, since the DEB installer for Ubuntu 22.04 is not released at the moment, we are going to install OpenProject using docker. It is also possible to install OpenProject manually; however, this method is not recommended, especially for production websites. Let’s start this by installing Docker.
# apt install docker.io -y
The command above will install docker from the Ubuntu repository.
Step 3. Install OpenProject
To ensure that our data is not lost when restarting the OpenProject docker container, we can create a directory on our VPS where all this data will be stored. Let’s run the command below to create the local directories where the data will be stored across container restarts, and start the container with those directories mounted:
# mkdir -p /opt/openproject/{pgdata,assets}
The fastest way to get an OpenProject instance up and running is to install it on an all-in-one container. You can run this command below; it will take some time to finish.
# docker run -d -p 8080:80 --name openproject -e SERVER_HOSTNAME=openproject.example.com -e SECRET_KEY_BASE=mCIj3APuCIvxyR0G5lmNSzbDbxB4vjRJ -v /opt/openproject/pgdata:/var/openproject/pgdata -v /opt/openproject/assets:/var/openproject/assets openproject/community:12
You will get an output similar to this.

Please make sure you replace the SERVER_HOSTNAME value with your own server’s hostname and SECRET_KEY_BASE with your own value as well. To get a random string for SECRET_KEY_BASE, you can run this command:
# tr -dc A-Za-z0-9 </dev/urandom | head -c 32 ; echo ''
After running the ‘docker run’ command above, your OpenProject instance will run. To check this, you can run ‘docker ps’ or ‘docker container ls’ command

As you can see, the docker container is called ‘openproject,’ so we can run these commands to start or stop the service.
# docker stop openproject
# docker start openproject
Step 4. Install Apache
OpenProject has been installed, and it is now running on port 8080. To access it using your domain or subdomain, we can use a webserver to act as a reverse proxy. In this tutorial, we will use apache as the reverse proxy.
# apt install apache2
On Ubuntu, the services we install will run immediately upon installation. So, apache is now running, and we need to enable some apache modules to proceed with this.
# a2enmod proxy_http headers rewrite
Then, let’s restart apache after enabling the modules.
# systemctl restart apache2
To configure the reverse proxy, we can create a new virtual host.
# nano /etc/apache2/sites-available/openproject.yourdomain.com.conf
Paste the following lines into the file.
<VirtualHost *:80>
ServerName openproject.yourdomain.com

RewriteEngine on
RewriteRule "^$" "/" [R,L]

ProxyRequests off

<Location "/">
ProxyPreserveHost On
ProxyPass http://127.0.0.1:8080/
ProxyPassReverse http://127.0.0.1:8080/
</Location>

</VirtualHost>
Make sure you replace openproject.yourdomain.com in the file name and its content with your actual domain or subdomain. Save the file, then exit.
After creating a virtual host, we can proceed with activating it and reloading apache.
# a2ensite openproject.yourdomain.com
# systemctl reload apache2
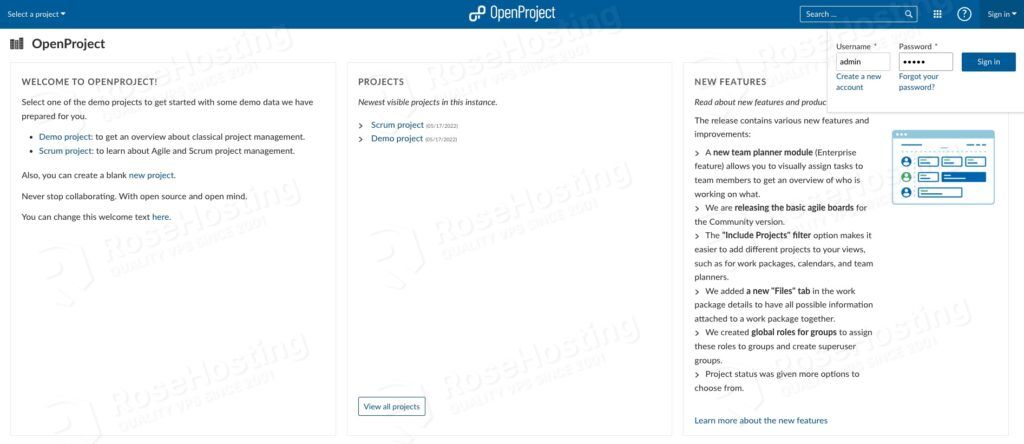
That’s it. You should now be able to access your OpenProject website at http://openproject.yourdomain.com and log in using the default ‘admin’ as both username and password.
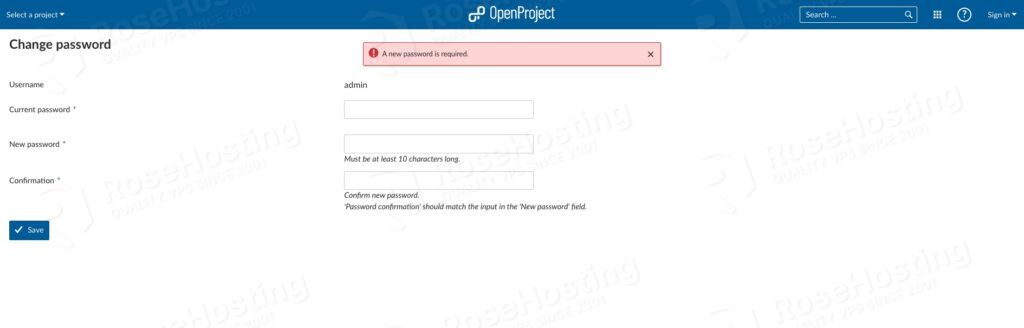
When opening OpenProject for the first time, you will be forced to change the admin’s default password to a stronger one.
Then, you will also see a message like this:
Your application is running with its host name setting set to localhost:3000, but the request is a openproject.yourdomain.com hostname. This will result in errors! Go to System settings and change the "Host name" setting to correct this.
You can go to the System Settings page and change the hostname to the domain/subdomain you use to access your OpenProject instance.
Step 5. Install SSL Certificate
This step is optional but highly recommended to complete. This step will walk you through an SSL installation from Let’s Encrypt using certbot.
# apt install python3-certbot-apache
Now, we are ready to install the SSL certificate; run this command:
# certbot
You would need to provide your email address, accept the Let’s Encrypt TOS, and whether you want to share your email address with the Electronic Frontier Foundation or not. Then, you need to choose which domain/subdomain name you would like to activate HTTPS for. Choose your OpenProject website by typing the number and hitting ENTER. Let’s encrypt will install the certificate, and it will ask you whether to configure HTTP to HTTPS redirect or not; you can choose redirect, then certbot will create the redirection and reload Apache if everything is okay.
When running the ‘certbot’ command, you will get an output like this:
Saving debug log to /var/log/letsencrypt/letsencrypt.log
Enter email address (used for urgent renewal and security notices)
(Enter 'c' to cancel): you@yourdomain.com

- - - - - - - - - - - - - - - - - - - - - - - - - - - - - - - - - - - - - - - -
Please read the Terms of Service at
https://letsencrypt.org/documents/LE-SA-v1.2-November-15-2017.pdf. You must
agree in order to register with the ACME server. Do you agree?
- - - - - - - - - - - - - - - - - - - - - - - - - - - - - - - - - - - - - - - -
(Y)es/(N)o: y

- - - - - - - - - - - - - - - - - - - - - - - - - - - - - - - - - - - - - - - -
Would you be willing, once your first certificate is successfully issued, to
share your email address with the Electronic Frontier Foundation, a founding
partner of the Let's Encrypt project and the non-profit organization that
develops Certbot? We'd like to send you email about our work encrypting the web,
EFF news, campaigns, and ways to support digital freedom.
- - - - - - - - - - - - - - - - - - - - - - - - - - - - - - - - - - - - - - - -
(Y)es/(N)o: n
Account registered.

Which names would you like to activate HTTPS for?
- - - - - - - - - - - - - - - - - - - - - - - - - - - - - - - - - - - - - - - -
1: openproject.yourdomain.com
- - - - - - - - - - - - - - - - - - - - - - - - - - - - - - - - - - - - - - - -
Select the appropriate numbers separated by commas and/or spaces, or leave input
blank to select all options shown (Enter 'c' to cancel): 1
Requesting a certificate for openproject.yourdomain.com

Successfully received certificate.
Certificate is saved at: /etc/letsencrypt/live/openproject.yourdomain.com/fullchain.pem
Key is saved at: /etc/letsencrypt/live/openproject.yourdomain.com/privkey.pem
This certificate expires on 2022-08-15.
These files will be updated when the certificate renews.
Certbot has set up a scheduled task to automatically renew this certificate in the background.

Deploying certificate
Successfully deployed certificate for openproject.yourdomain.com to /etc/apache2/sites-available/openproject.yourdomain.com-le-ssl.conf
Added an HTTP->HTTPS rewrite in addition to other RewriteRules; you may wish to check for overall consistency.
Congratulations! You have successfully enabled HTTPS on https://openproject.yourdomain.com

- - - - - - - - - - - - - - - - - - - - - - - - - - - - - - - - - - - - - - - -
If you like Certbot, please consider supporting our work by:
* Donating to ISRG / Let's Encrypt: https://letsencrypt.org/donate
* Donating to EFF: https://eff.org/donate-le
- - - - - - - - - - - - - - - - - - - - - - - - - - - - - - - - - - - - - - - -
Now, you should be able to access your OpenProject website in HTTPS mode at https://openproject.yourdomain.com.
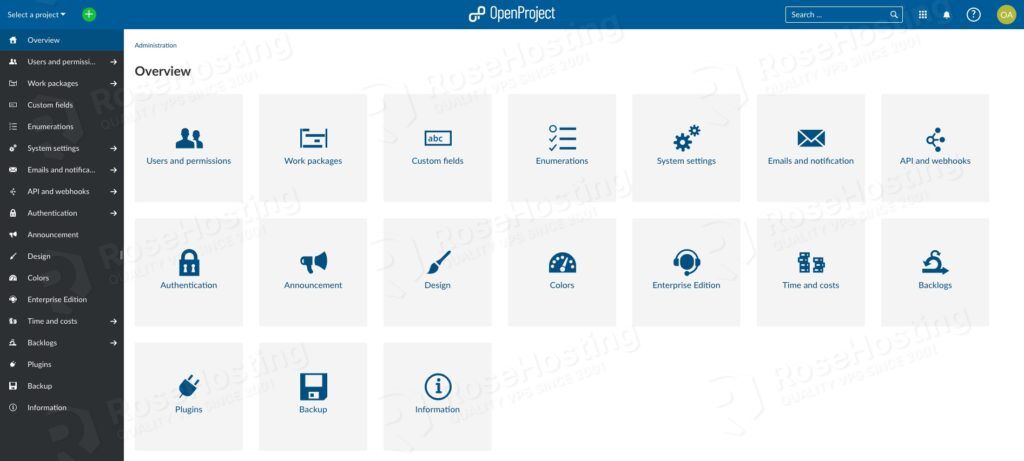
After enabling HTTPS, you will be asked to change the protocol from HTTP to HTTPS. This can be done in the Settings page at https://openproject.yourdomain.com/admin/settings/general.
That’s it; you have learned how to install OpenProject on Ubuntu 22.04.
Of course, you don’t have to install OpenProject on Ubuntu 22.04 if you use one of our VPS Hosting services, in which case you can simply ask our expert Linux admins to install OpenProject on Ubuntu 22.04 VPS for you. They are available 24×7 and will take care of your request immediately.
PS. If you liked this post on how to install OpenProject on Ubuntu 22.04, please share it with your friends on social networks or simply leave a reply in the comments sections. Thanks.