
In this blog post, we will explain how to install PrestShop on AlmaLinux 10 OS. PrestaShop is a free and open-source e-commerce platform written in the PHP programming language, which stores data in the MySQL database management system. To function correctly, PrestaShop requires the LAMP stack, which consists of Linux, Apache, MySQL, and PHP. This tutorial will teach you how to install PrestaShop on AlmaLinux 10.
Installing PrestaShop with the LAMP stack on AlmaLinux 10 is a straightforward process that typically takes 15 minutes or less. Let’s get things done!
Table of Contents
Prerequisites
- A server running AlmaLinux 10 OS
- User privileges: root or non-root user with sudo privileges
- A valid domain pointed to the server’s IP address
Step 1. Update the system
Before we begin the installation process of the LAMP stack and PrestaShop, we will update the system packages to their latest available versions. To do that, execute the following command:
Step 2. Install Apache Web Server
First, the LAMP stack will begin with the installation of the Apache web server. To install Apache, execute the command below:
sudo dnf install httpd -y
Once installed, start and enable the service for automatic start on system boot:
sudo systemctl start httpd && sudo systemctl enable httpd
Check the status of the service:
sudo systemctl status httpd
You should get the following output:
[root@host ~]# sudo systemctl status httpd
● httpd.service - The Apache HTTP Server
     Loaded: loaded (/usr/lib/systemd/system/httpd.service; enabled; preset: disabled)
    Drop-In: /etc/systemd/system/httpd.service.d
             └─php-fpm.conf
     Active: active (running) since Sat 2025-05-31 16:25:09 CDT; 7s ago
 Invocation: 5f492cc2eafd4251b8ff10dbf06c3247
       Docs: man:httpd.service
   Main PID: 2234 (httpd)
     Status: "Started, listening on: port 80"
      Tasks: 177 (limit: 23175)
     Memory: 13.9M (peak: 14.1M)
        CPU: 286ms
     CGroup: /system.slice/httpd.service
Step 3. Install the MariaDB database service
Next in the LAMP stack will be the database server. To install the MariaDB database server, execute the command below:
sudo dnf install mariadb-server -y
Once installed, start and enable the MariaDB database service:
sudo systemctl start mariadb && sudo systemctl enable mariadb
To check the status of the service, execute the command below:
sudo systemctl status mariadb
You should get the following output:
root@host ~]# sudo systemctl status mariadb
● mariadb.service - MariaDB 10.11 database server
     Loaded: loaded (/usr/lib/systemd/system/mariadb.service; enabled; preset: disabled)
     Active: active (running) since Sat 2025-05-31 16:27:34 CDT; 5s ago
 Invocation: bad4b3ad029a4cc2a8bc025dd4a79b4e
       Docs: man:mariadbd
             https://mariadb.com/kb/en/library/systemd/
   Main PID: 2866 (mariadbd)
     Status: "Taking your SQL requests now..."
      Tasks: 11 (limit: 23175)
     Memory: 208.2M (peak: 235.9M)
        CPU: 2.909s
     CGroup: /system.slice/mariadb.service
             └─2866 /usr/libexec/mariadbd --basedir=/usr
Step 4. Install PHP along with the Extensions
The last component of the LAMP stack is PHP, along with its extensions. To install it, execute the following command:
sudo dnf install php php-cli php-fpm php-curl php-mysqlnd php-gd php-readline php-mbstring php-apcu php-xml php-dom php-opcache php-zip php-intl php-common php-bcmath php-json -y
This will install PHP8.3, and to check the installed version, you can execute the command below:
php -v
The output should look like this:
[root@host ~]# php -v
PHP 8.3.10 (cli) (built: Jul 30 2024 13:44:37) (NTS gcc x86_64)
Copyright (c) The PHP Group
Zend Engine v4.3.10, Copyright (c) Zend Technologies
    with Zend OPcache v8.3.10, Copyright (c), by Zend Technologies
Step 5. Create PrestaShop Database and User
To create a PrestaShop database and user, you should execute the following commands one by one in the MariaDB terminal:
CREATE DATABASE prestadb;
CREATE USER 'prestauser'@'localhost' IDENTIFIED BY 'YourStrongPasswordHere';
GRANT ALL ON prestadb.* TO 'prestauser'@'localhost' WITH GRANT OPTION;
FLUSH PRIVILEGES;
EXIT;
Step 6. Download and Install PrestaShop
Next, we need to download PrestaShop in the Apache’s document root:
cd /var/www/html

wget https://github.com/PrestaShop/PrestaShop/releases/download/8.2.1/prestashop_8.2.1.zip
Once downloaded, unzip the files and set the proper permissions:
unzip prestashop_8.2.1.zip

unzip prestashop.zip

sudo chown -R apache:apache /var/www/html/

sudo chmod u+rw /var/www/html/

rm -f prestashop.zip
Now we need to adjust some PHP values. Open the file /etc/php.ini and configure the following values to look like this:
max_execution_time = 130
memory_limit = 256M
post_max_size = 128M
upload_max_filesize = 128M
max_input_vars = 5000
allow_url_fopen = On
allow_url_include = Off
Save the file and close it.
Step 7. Create Apache Virtual Host File
Next, we need to create the Apache Virtual Host configuration file for our PrestaShop installation. To do that, execute the following command:
sudo touch /etc/httpd/conf.d/prestashop.conf
Open the file with your favorite editor and paste the following lines of code:
<VirtualHost *:80>
ServerName youdomain.com
DocumentRoot /var/www/html

<Directory /var/www/html>
Options +FollowSymlinks
AllowOverride All
Require all granted
</Directory>

ErrorLog /var/log/httpd/prestashop_error.log
CustomLog /var/log/httpd/prestashop_access.log combined
</VirtualHost>
Save the file and close it. Then we need to check if everything is OK with the Apache syntax:
httpd -t
If everything is OK, you should receive the following output:
[root@host ~]# httpd -t
Syntax OK
Now, you can restart the Apache web server:
sudo systemctl restart httpd
Step 8. Finish PrestaShop Installation
Here we are at the final step of this tutorial, which is completing the PrestaShop installation. When you access the domain you configured in the previous step, you should see the following screen:
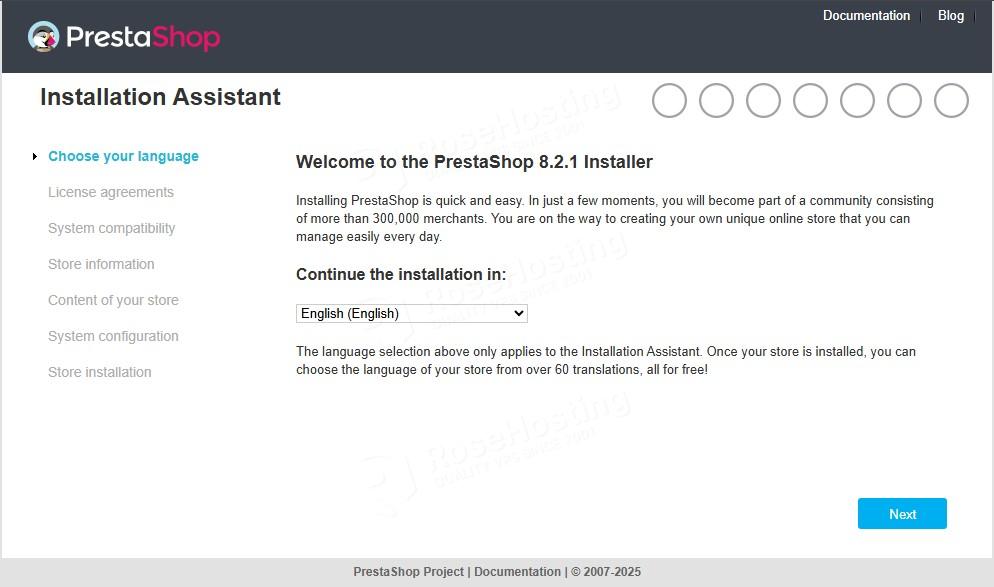
Click on the Next button on the bottom right.
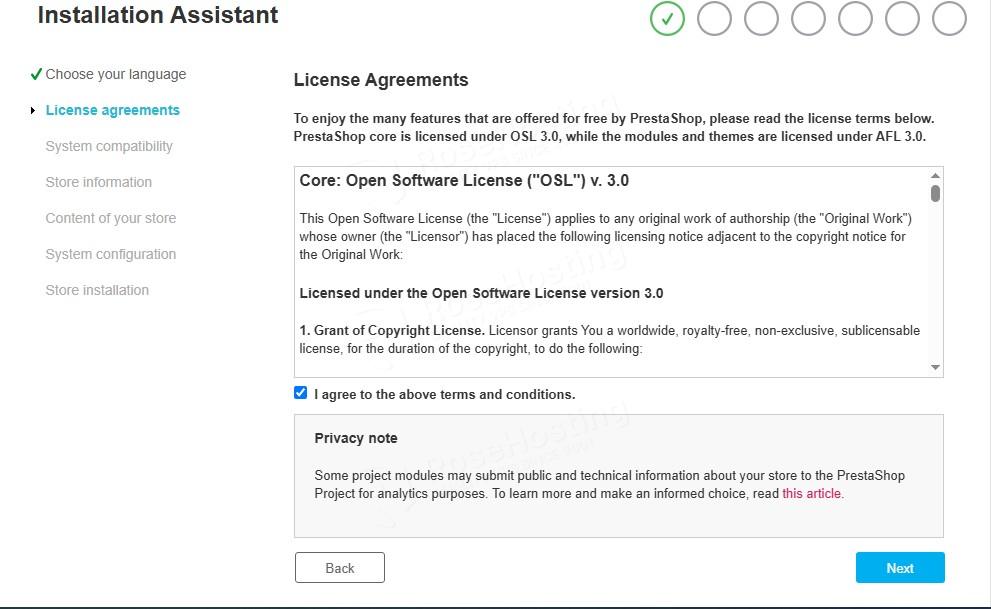
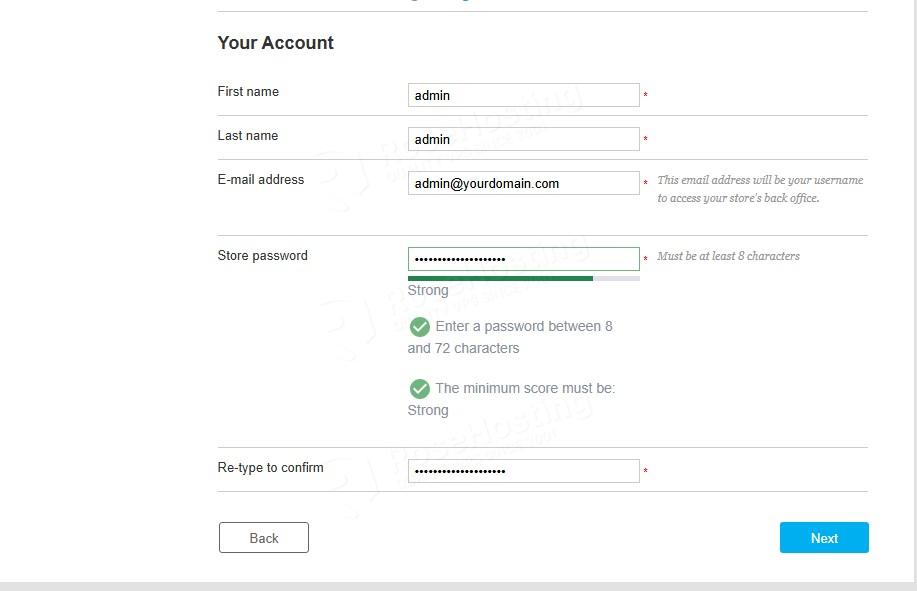
On this screen, you will need to agree to the terms and conditions and then click the Next button. Then you need to enter your Store name and your login details.
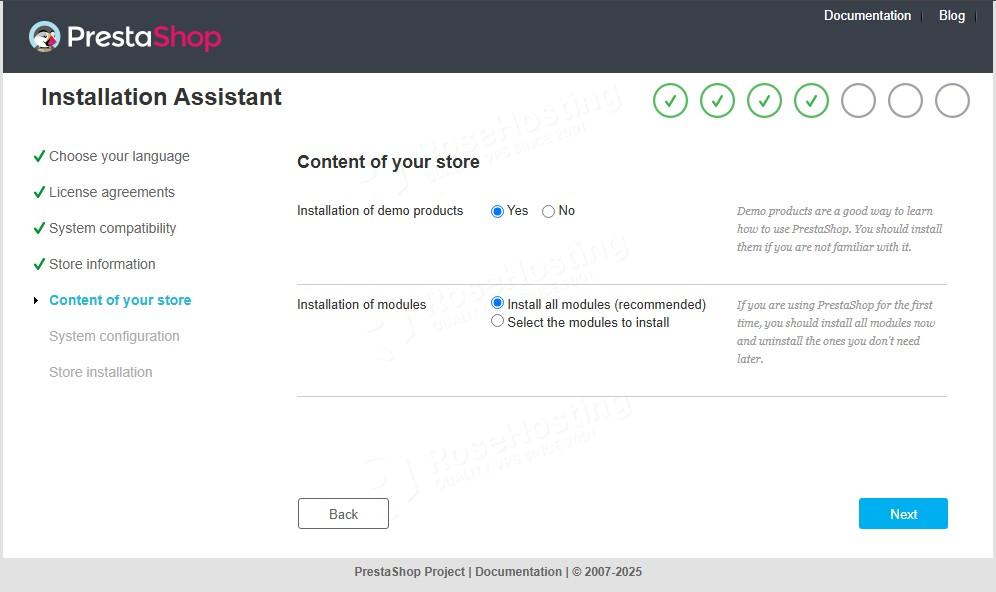
On this screen, you can select which modules should be installed and if you want demo products. We will leave the default checked options.
Next, enter the database credentials you set in Step 5 of the previous section in the corresponding headings.
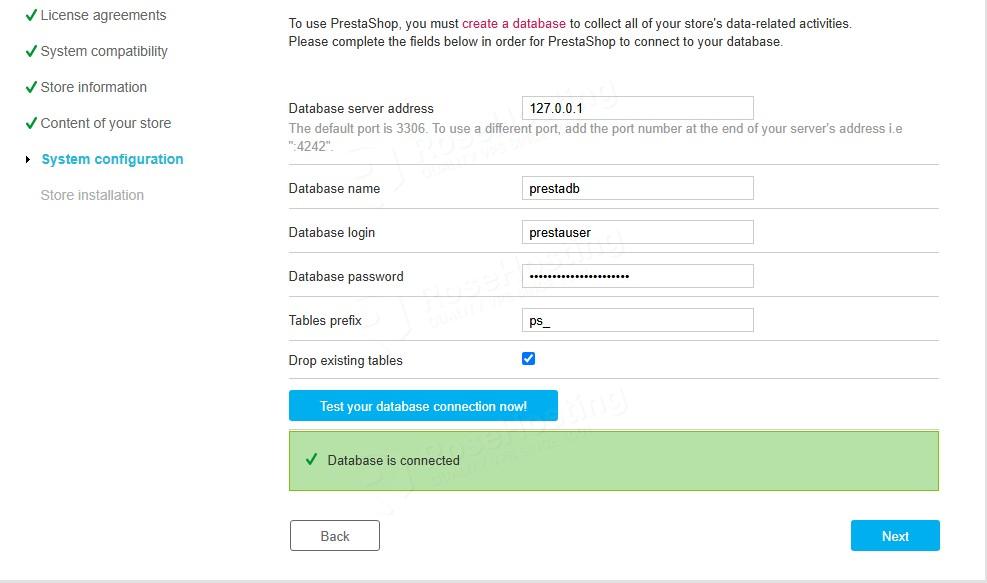
Once you add them and click on the Next button, the installation will start.
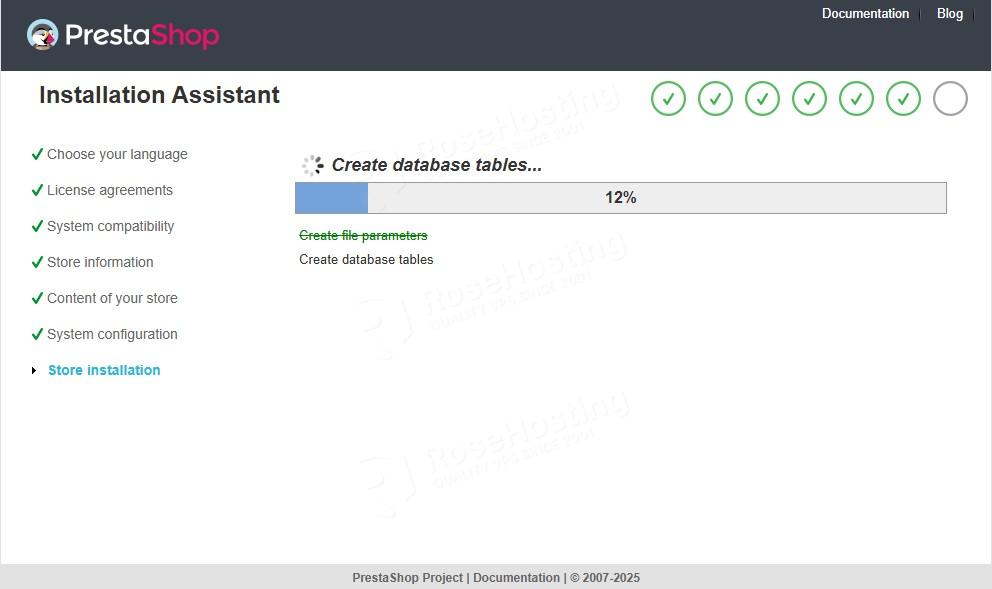
The database tables will be created, the default modules will be installed, and the products will be imported. Once done, you will get redirected to the following screen:
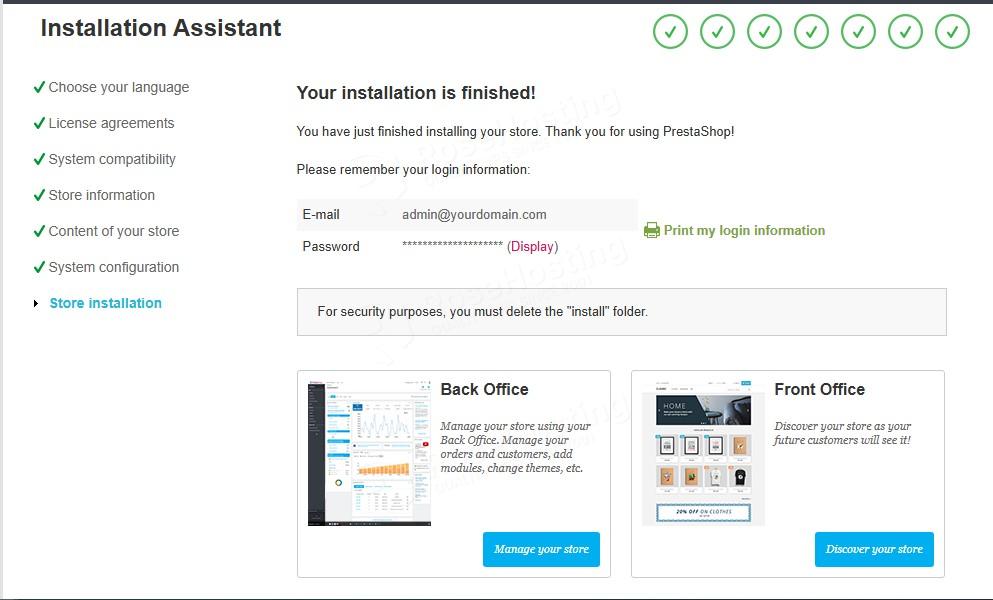
The installation is complete. And as you can see on the last screen, due to security reasons, we must delete the install folder in the PrestaShop Document root:
cd /var/www/html

rm -rf install/
Congratulations! You successfully installed PrestaShop on AlmaLinux 10
Of course, you do not have to install it on your own. All you have to do is sign up for one of our NVMe PrestaShop hosting plans and submit a support ticket. Our admins are available 24/7 and will help you with any aspect of installing PrestaShop.
If you liked this post on how to install PrestaShop on AlmaLinux 10, please share it with your friends on social networks or leave a reply below. Thanks.