In this tutorial we will show you how to install Roadiz CMS on a Debian 9 VPS.
 Roadiz is a polymorphic CMS based on a node system that can handle many types of services. It is based on Symfony components, Doctrine ORM, Twig and Pimple for maximum performance and excellent security. Roadiz uses a node system, which allows you to create your data schema and to organize your content exactly the way you want to. On top of this, themes allow you to make your pages look unique and stand out from the rest. All of this combined leads to an easy-to-use yet sophisticated way to make high-quality websites for many different purposes. Let’s begin with the tutorial.
Table of Contents
Prerequisites
- A Debian 9 VPS
- Access to the root account or to an account with sudo privileges
Step 1: Log in via SSH and Update the System
Log in to your Debian 9 VPS.
ssh root@IP_Address -p Port_number
Replace ‘root’ with the name of your account if you’re not using the root user. You can check whether you have the proper Debian version installed on your server with the following command:
$ lsb_release -a
You should get this output:
Distributor ID: Debian
Description: Debian GNU/Linux 9.9 (Stretch)
Release: 9.9
Codename: stretch
Then, run the following command to make sure that all installed packages on the server are updated to their latest available versions:
$ apt update && apt upgrade
Install the needed packages.
$ apt install -y zip unzip curl wget git
With that out of the way, we can start installing the packages that we’ll need.
Step 2: Install MariaDB
We will use MariaDB as a database engine. We can install the MariaDB server from the Debian 9 base repository using the following command:
$ apt-get install mariadb-server mariadb-server-core
If desired, you can further improve the security of your MariaDB server by running a command that will go through a few questions.
$ mysql_secure_installation
For the password, just press your [Enter] key, as no password is set by default. We suggest answering every question with the character ‘Y’ for yes.
Again, we can enable MariaDB to start on boot with the following command:
$ systemctl enable mariadb
That’s it – MariaDB has been installed, set to start on server boot, and made more secure.
Step 3: Create a database for Roadiz CMS
In this section, we will create a new MySQL database roadiz and assign user access to it to a new user roadiz_user with the password Strong_Password:
$ mysql -u root -p
MariaDB [(none)]> CREATE DATABASE IF NOT EXISTS `roadiz`;
MariaDB [(none)]> GRANT ALL PRIVILEGES ON roadiz.* TO roadiz_user@localhost IDENTIFIED BY 'Strong_Password'; MariaDB [(none)]> FLUSH PRIVILEGES; MariaDB [(none)]> quit
Don’t forget to replace ‘Strong_Password’ with an actual strong password.
Step 4: Install PHP 7.2
Since PHP 7.2 is not available through the built-in repositories, we will use a third-party repo instead. PHP 7.2 can be installed using Ondřej Surý’s PPA – to do this, install the ‘software-properties-common’ and ‘python-software-properties’ packages:
$ apt-get install software-properties-common python-software-properties
Then, add the Ondřej PPA and update your sources:
$ add-apt-repository -y ppa:ondrej/php
$ apt-get update
Install PHP 7.2 using the following command:
$ apt-get install php7.2 php7.2-cli php7.2-common
To install modules related to PHP 7.2, you can use the following command:
$ apt install php7.2-mbstring php7.2-xmlrpc php7.2-gd php7.2-xml php7.2-cli php7.2-tidy php7.2-intl php7.2-curl php7.2-zip
Use the following command to check the PHP version currently installed on your server:
$ php -v
You should receive the following output:
PHP 7.2.15-0ubuntu0.18.04.1 (cli) (built: Feb  8 2019 14:54:22) ( NTS )
Copyright (c) 1997-2018 The PHP Group
Zend Engine v3.2.0, Copyright (c) 1998-2018 Zend Technologies
    with Zend OPcache v7.2.15-0ubuntu0.18.04.1, Copyright (c) 1999-2018, by Zend Technologies
After installing PHP 7.2, run this next command to open the PHP default configuration file for Apache. This command uses ‘nano’ to open the text file, but you can use your preferred text editor.
$ nano /etc/php/7.2/apache2/php.ini
Then make the changes on the following lines below in the file and save. The values below are the settings that we recommend you apply to your environment.
memory_limit = 64M
post_max_size = 16M
upload_max_filesize = 16M
date.timezone = America/St. Louis
Step 5: Install and Configure Apache Web Server
In this part of the tutorial, we will show you how to install and configure Apache to serve your Roadiz application.
Run the following command to install Apache Web Server from the official Debian repositories:
$ apt-get install apache2
Create a new Apache virtual host with the following content. Don’t forget to replace your_domain.com with your actual registered domain name:
sudo nano /etc/apache2/sites-available/your_domain.com
<VirtualHost *:80>
     ServerAdmin admin@your_domain.com
     DocumentRoot /var/www/roadiz/web
     ServerName your_domain.com
     ServerAlias www.your_domain.com

     <Directory /var/www/roadiz/web/>
        Options +FollowSymlinks
        AllowOverride All
        Require all granted
     </Directory>

     ErrorLog ${APACHE_LOG_DIR}/error.log
     CustomLog ${APACHE_LOG_DIR}/access.log combined

    <Directory /var/www/roadiz/web/>
            RewriteEngine on
            RewriteBase /
            RewriteCond %{REQUEST_FILENAME} !-f
            RewriteRule ^(.*) index.php [PT,L]
     </Directory>
</VirtualHost>
Activate the virtual host by creating a symbolic link :
$ ln -s /etc/apache2/sites-available/your_domain.com /etc/apache2/sites-enabled/your_domain.com
Step 6: Install Composer
The composer will pull all of the required libraries you’ll need for your project.
$ curl -sS https://getcomposer.org/installer | php
$ mv composer.phar /usr/local/bin/composer
Check the version and make sure it’s as new or newer than the one shown here:
$ composer --version
Composer version 1.8.6 2019-06-11 15:03:05
Step 7: Install Roadiz
Create a document root directory.
$ mkdir -p /var/www/roadiz
Navigate to the document root directory.
$ cd /var/www/roadiz
Install the latest version of Roadiz, using the composer create-project command:
$ composer create-project roadiz/standard-edition .
Change the ownership of the Roadiz files /var/www/roadiz directory to www-data.
$ chown -R www-data:www-data /var/www/roadiz
For security reasons, Roadiz uses IP filtering for the install.php file. To be able to access it, run the following command:
$ nano /var/www/roadiz/web/install.php
and add your server’s public IP address to the $allowedIp array.
$allowedIp = [
    '10.0.2.2',
    '192.168.33.1',
    '127.0.0.1', 'fe80::1', '::1', ':ffff:127.0.0.1', '::ffff:127.0.0.1',
    'YOUR_IP_ADDRESS_HERE'
]
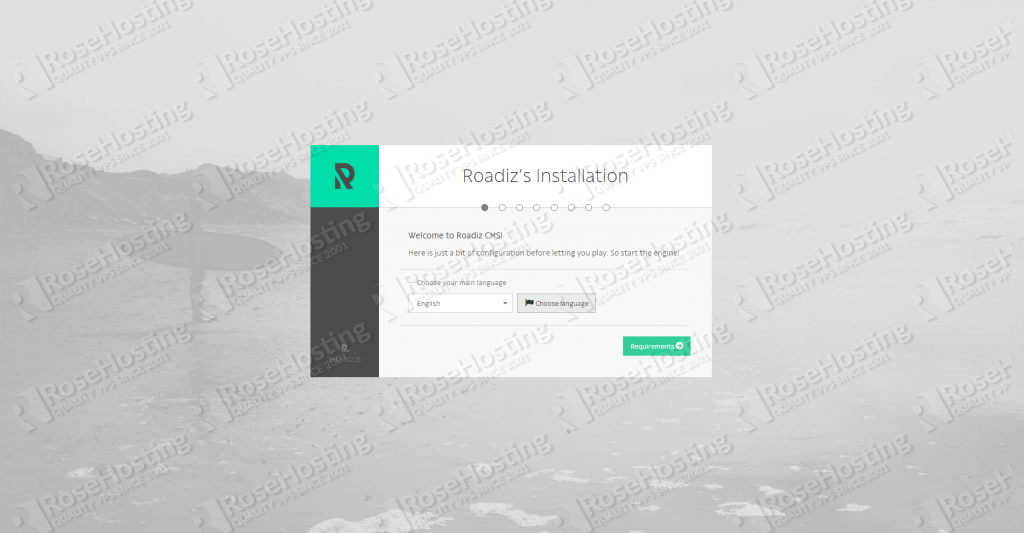
Now, you can open your preferred web browser and access http://your_domain.com/install.php to continue with the setup.
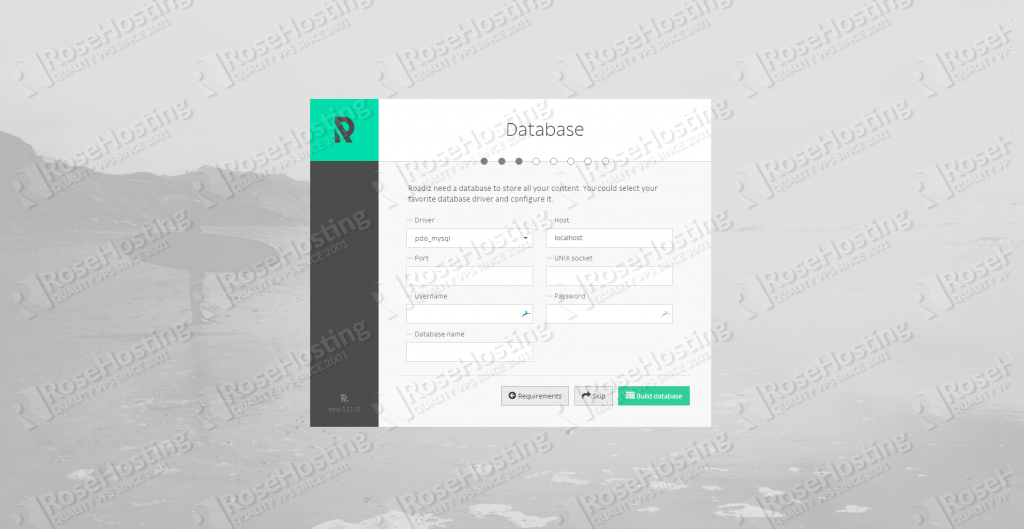
Roadiz needs a database to store all your content. You could select your favorite database driver and configure it.
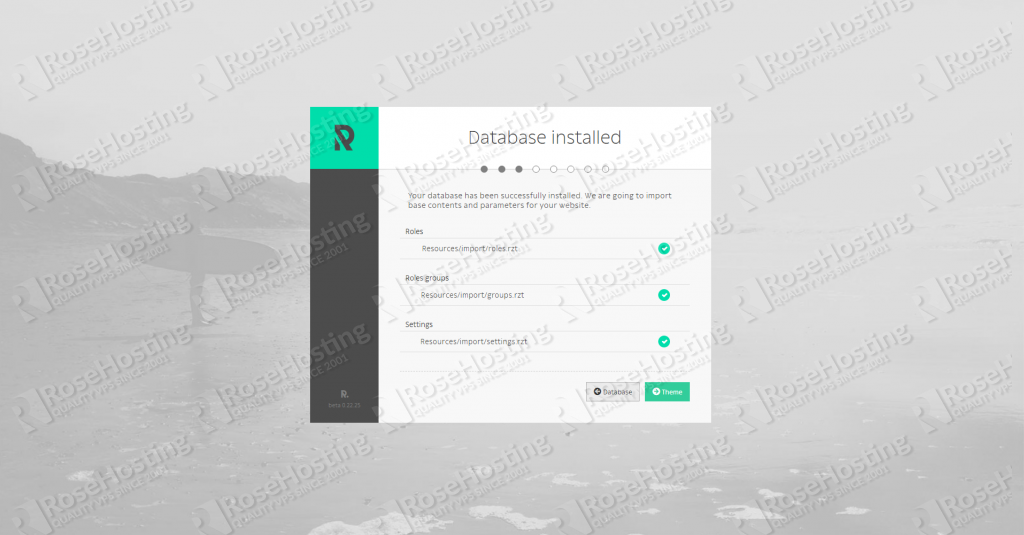
We are going to import base contents and parameters for your website.
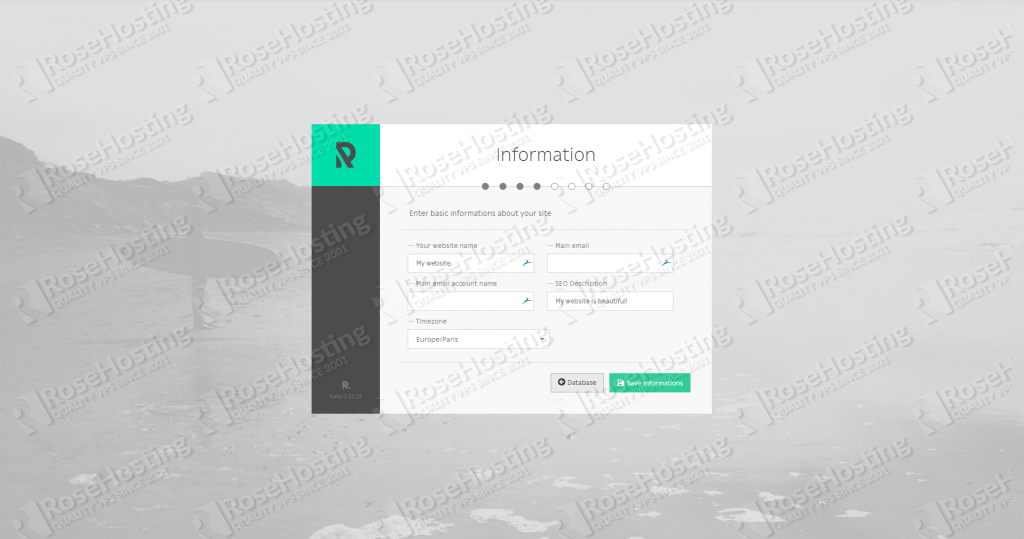
Then enter basic information about your site:
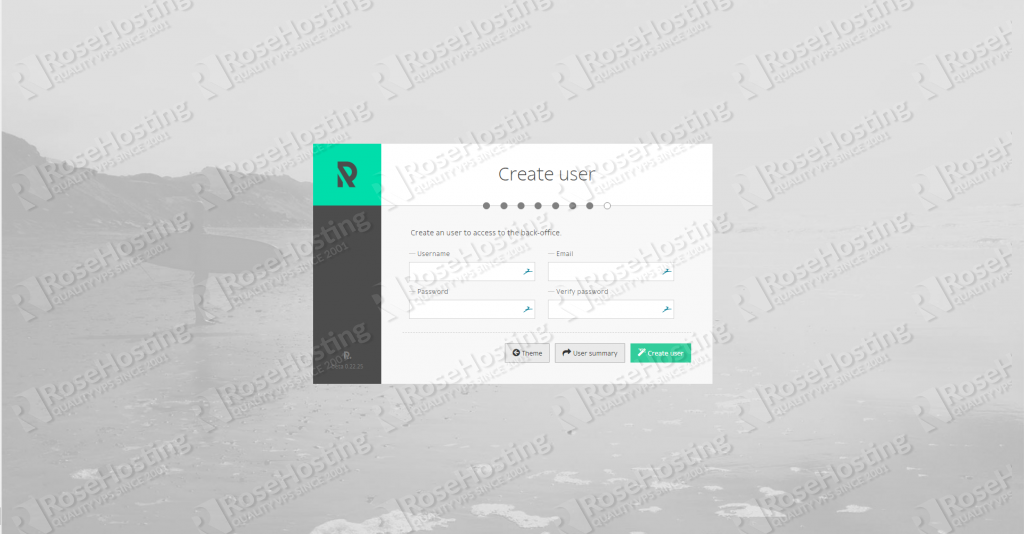
Create a user to access the dashboard:
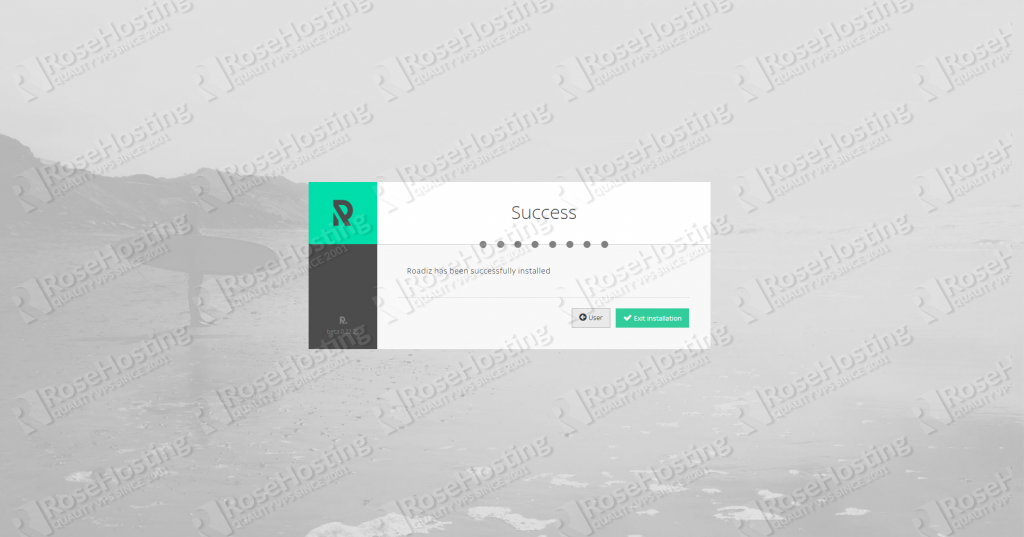
Now the Roadiz installation is completed!
You can remove the install.php script from the Roadiz folder and access to your fresh website without it.
$ rm /var/www/roadiz/web/install.php
Our Roadiz installation is now complete. You have successfully installed Roadiz on your Debian 9 VPS.
That’s it. If you followed all of the instructions properly now you should be able to access your Roadiz CMS installation on your Debian 9 server.
 Of course, you don’t have to install Roadiz CMS on Debian 9 if you use one of our Managed Debian Hosting solutions, in which case you can simply ask our expert Linux admins to setup Roadiz CMS on Debian 9 for you. They are available 24×7 and will take care of your request immediately.
PS. If you liked this post on how to install Roadiz CMS on a Debian 9 VPS, please share it with your friends on the social networks using the share shortcuts below, or simply leave a comment in the comments section. Thanks.