WonderCMS is a free, open-source, and flat-file content management system written in PHP and jQuery. It is a simple, lightweight, and fast CMS that does not require any database to create a website. It offers a rich set of features including, custom login URL, SEO friendly, WYSIWYG, flexible CSS framework, native markdown, and more.
In this post, we will show you how to install WonderCMS with Nginx on Debian 11.
Table of Contents
Prerequisites
- A Debian 11 VPS with root access enabled, or a user with sudo privileges.
Step 1: Log in and Update Packages
First, we’re going to need to log into our server using SSH. You can do that by entering this command:
ssh root@IP_Address -p Port_Number
Remember to replace the root user with your username if you are not using the root user. Change IP_Address and Port_Number according to your server’s IP address and SSH port number.
Once you are logged in, you should update all of your packages to their latest available versions.
apt-get update -y
apt-get upgrade -y
Once all the packages are up-to-date, restart your server to apply the configuration changes.
Step 2: Install Nginx and PHP
WonderCMS runs on a web server and is written in PHP so Nginx and PHP must be installed on your system. If not installed you can install them using the following command:
apt-get install nginx php php-fpm php-mbstring php-curl php-zip git wget unzip git -y
After installing all the packages, edit the php.ini file and change some default settings:
nano /etc/php/7.4/fpm/php.ini
Change the following settings:
file_uploads = On
allow_url_fopen = On
memory_limit = 256M
post_max_size 32M
upload_max_filesize = 64M
max_execution_time = 300
date.timezone = "America/Chicago"
Save and close the file then restart the PHP-FPM service to apply the configuration changes.
systemctl restart php7.4-fpm
Step 3: Install WonderCMS
First, you will need to download the latest version of WonderCMS from the GitHub repository. You can use the git clone command to download the WonderCMS to the Nginx web root directory:
git clone https://github.com/robiso/wondercms.git /var/www/html/wondercms
Once the download is completed, change the ownership of the wondercms directory to www-data:
chown -R www-data:www-data /var/www/html/wondercms
Step 4: Configure Nginx for WonderCMS
Next, create an Nginx virtual host configuration file to host WonderCMS on the internet.
nano /etc/nginx/conf.d/wondercms.conf
Add the following lines:
server {
    listen 80;
    server_name wondercms.example.com;
    root /var/www/html/wondercms;
    index index.php;
    autoindex off;
    location / {
        if (!-e $request_filename) {
            rewrite ^/(.+)$ /index.php?page=$1 last;
        }
    }
    # prevent access to database.js
    location ~ database.js {
        return 403;
    }
    location ~ \.php(/|$) {
        include fastcgi.conf;
        fastcgi_pass unix:/run/php/php7.4-fpm.sock;
    }
}
Save and close the file then verify the Nginx configuration using the command below:
nginx -t
If everything is fine, you will get the following output:
nginx: the configuration file /etc/nginx/nginx.conf syntax is ok
nginx: configuration file /etc/nginx/nginx.conf test is successful
Finally, restart the Nginx to apply the changes:
systemctl restart nginx
Next, check the status of the Nginx using the following command:
systemctl status nginx
You will get the following output:
● nginx.service - A high performance web server and a reverse proxy server
     Loaded: loaded (/lib/systemd/system/nginx.service; enabled; vendor preset: enabled)
     Active: active (running) since Tue 2021-11-16 13:23:34 UTC; 8s ago
       Docs: man:nginx(8)
    Process: 10453 ExecStartPre=/usr/sbin/nginx -t -q -g daemon on; master_process on; (code=exited, status=0/SUCCESS)
    Process: 10454 ExecStart=/usr/sbin/nginx -g daemon on; master_process on; (code=exited, status=0/SUCCESS)
   Main PID: 10455 (nginx)
      Tasks: 2 (limit: 2341)
     Memory: 2.5M
        CPU: 39ms
     CGroup: /system.slice/nginx.service
             ├─10455 nginx: master process /usr/sbin/nginx -g daemon on; master_process on;
             └─10456 nginx: worker process
Nov 16 13:23:34 debian11 systemd[1]: Starting A high performance web server and a reverse proxy server...
Step 5: Access WonderCMS Web Interface
Now, open your web browser and type the URL http://wondercms.example.com to access the WonderCMS. You should see the WonderCMS containing login password:
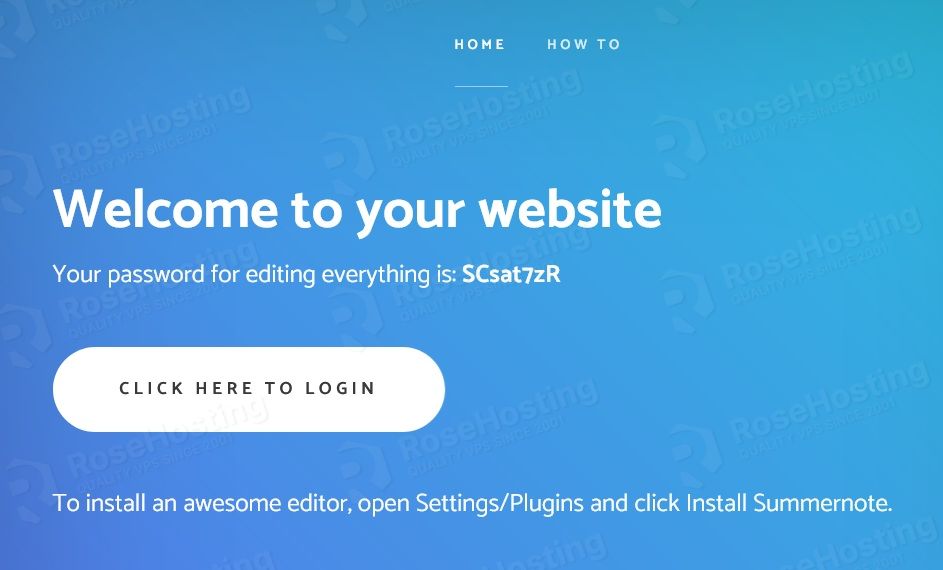
Next, copy the password from the above screen then open another tab in your web browser and access the WonderCMS login page using the URL http://wondercms.example.com/loginURL. You should see the WonderCMS login page:
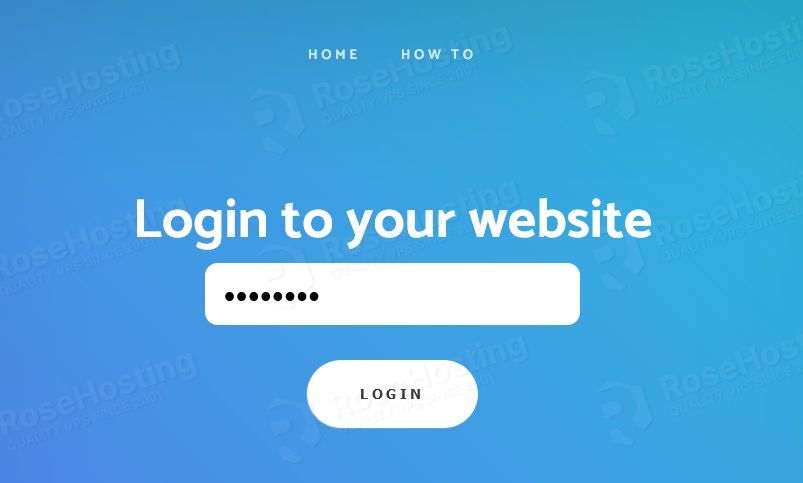
Paste or type your copied password and click on the Login button. You should see the following page:
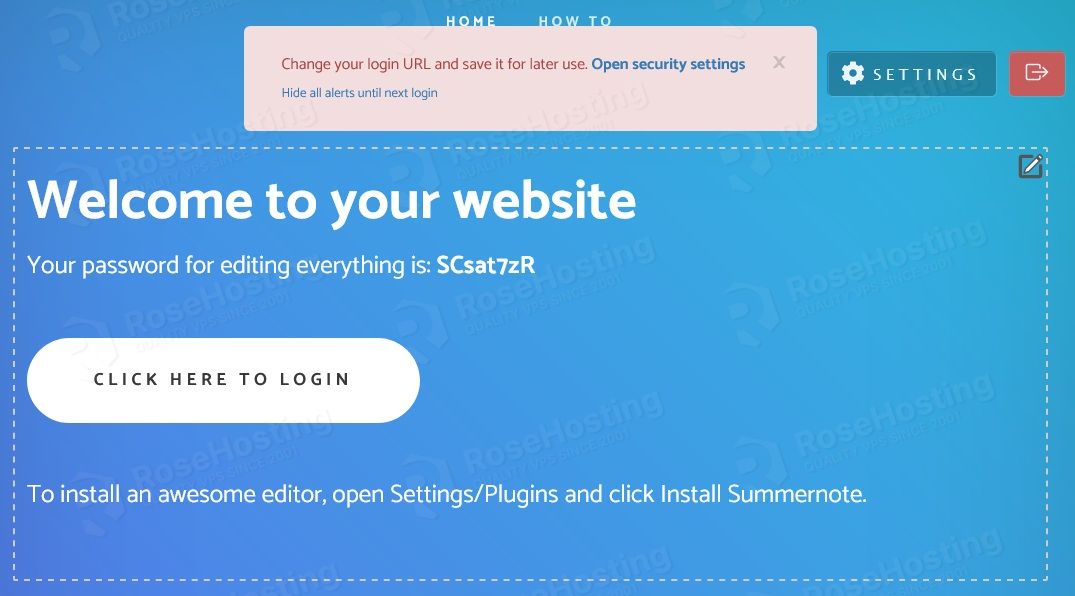
Now, click on “Open security settings” to change your default password and login URL. You should see the following page:
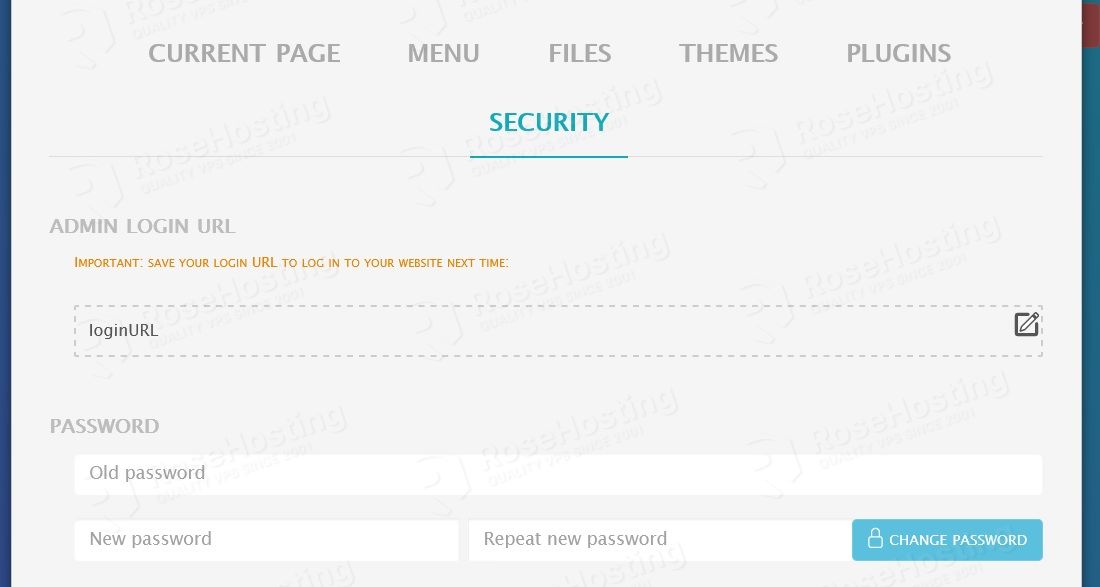
Change your default login URL, admin password, and click on the CHANGE PASSWORD button. You should see the WonderCMS login page:

Provide your new admin password and click on the Login button. You should see the WonderCMS dashboard on the following page:
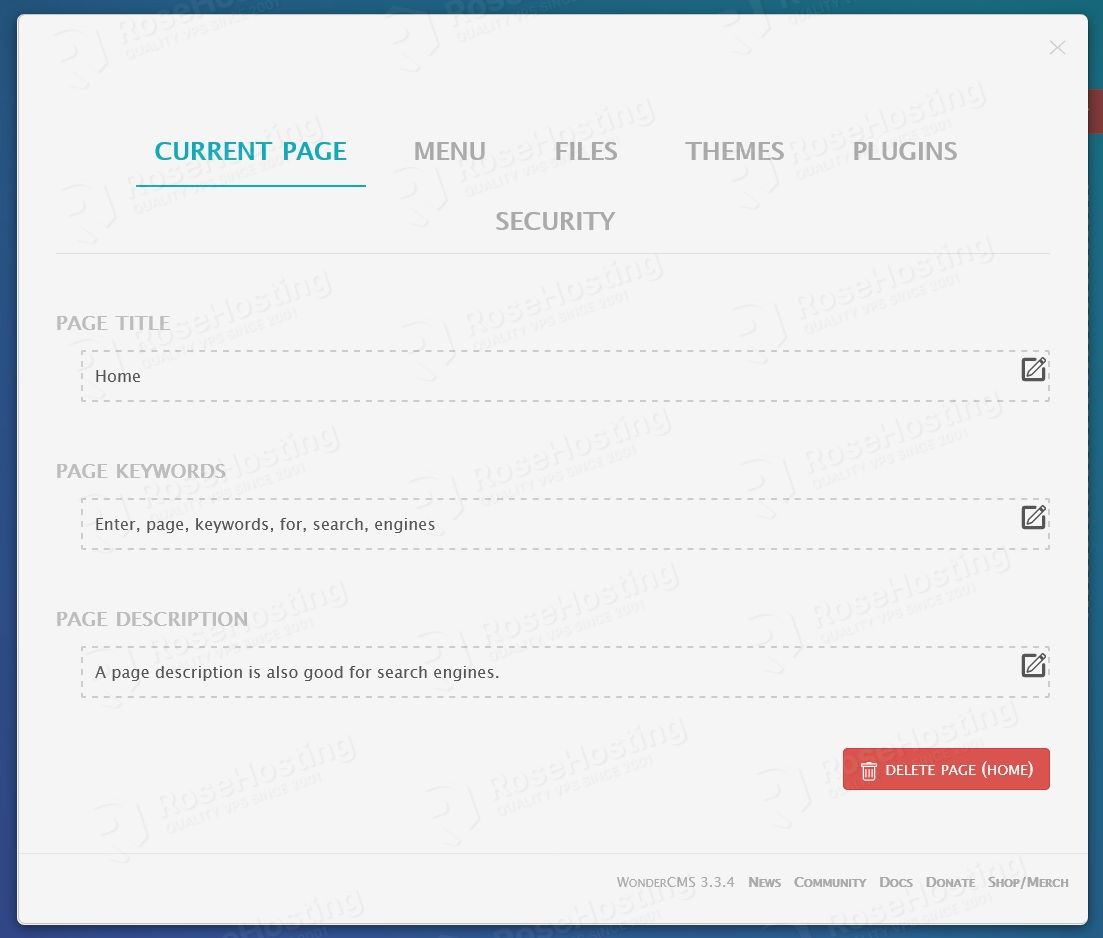
Congratulations! you have successfully installed and configured WonderCMS on Debian 11 server. You can now add a new page, install themes and plugins from the WonderCMS web interface. For more information, you can check the WonderCMS documentation.
However, if you are one of our Managed Debian Hosting customers, or if you use one of our Managed VPS Hosting plans, you don’t have to install WonderCMS on your Debian 11 VPS – simply ask our admins, sit back, and relax. Our admins will install WonderCMS on Debian 11 (or any other OS that you have with us) for you immediately.
PS. If you liked this post about installing WonderCMS on a Debian 11 VPS, please share it with your friends on the social networks using the buttons below, or simply leave a comment in the comments section. Thanks.