We will show you how to install Froxlor on a CentOS 7 VPS. Froxlor is a lightweight control panel that can be used for managing multi-user or shared servers. With Froxlor you can manage domain names, FTP accounts, email accounts, support tickets and customers that are associated with them.
The control panel does not come with preinstalled LAMP or LEMP so in this tutorial we will also install LAMP (Linux Apache, MariaDB & PHP).
Table of Contents
1. Requirements
We will be using our SSD 1 Linux VPS hosting plan for this tutorial.
Log in to your server via SSH:
# ssh root@server_ip
Before starting, enter the command below to check whether you have the proper version of CentOS installed on your machine:
# cat /etc/redhat-release
which should give you the underneath output:
CentOS Linux release 7.2.1511 (Core)
2. Update the system
Make sure your server is fully up to date:
# yum update
Once the updates are finished, install the EPEL and Webtatic repositories so you can install PHP 5.6 on your server. Froxlor requires PHP 5.4 or higher, but PHP 5.6 is recommended. Install the repos with the below commands:
# rpm -Uvh https://dl.fedoraproject.org/pub/epel/epel-release-latest-7.noarch.rpm

# rpm -Uvh https://mirror.webtatic.com/yum/el7/webtatic-release.rpm
Update the package index:
# yum update
3. Install LAMP
Now install Apache, PHP, MariaDB and some much needed php packages:
# yum install httpd mod_ssl openssl mariadb mariadb-server php56w php56w-opcache php56w-common php56w-cli php56w-mysql php56w-pdo php56w-mbstring php56w-bcmath
With the above command, the LAMP stack will be installed with its basic settings. For further tweaks, you can check our tutorial on how to install LAMP on CentOS 7.
Start Apache and MariaDB and then enable them to start on boot using:
# systemctl start mariadb

# systemctl start httpd

# systemctl enable mariadb

# systemctl enable httpd
Now navigate to your Apache web server default document root (/var/www/html/).
# cd /var/www/html/
Download the latest Froxlor version:
# wget http://files.froxlor.org/releases/froxlor-latest.tar.gz
Unpack the archive:
# tar xvfz froxlor-latest.tar.gz
Remove the tar.gz file:
# rm froxlor-latest.tar.gz
Assign the proper file/directories ownership for Froxlor.
# chown apache: -R froxlor/
4. Continue Froxlor installation via web browser
Now finish the Froxlor installation. Open your favorite web browser and navigate to http://your_server_IP/froxlor/. You will be welcomed by a page as shown in the underneath image:
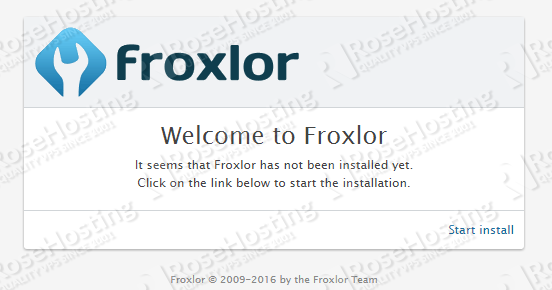
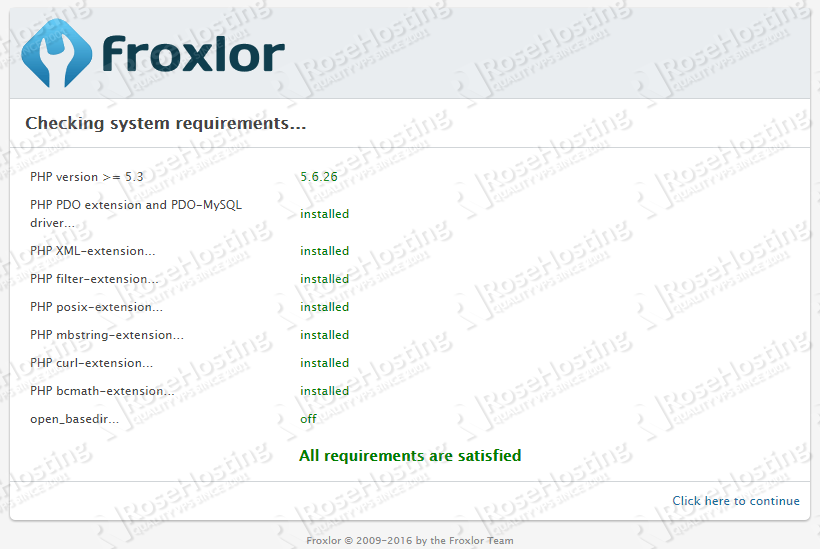
Click on “Start install”. In the next window, the system requirements will be checked. If everything is OK you should get the green light that all requirements are satisfied.
5. Configure a database for Froxlor
Next is the configuration page where you can configure a database for Froxlor (since you didn’t create a database for Froxlor, the installer itself will create it. You just need to set the password for the database user), the administrator account and it’s password for the panel, your server hostname and the web server type (you should choose Apache).
Once you’ve configured everything, click on “Click here to continue” to finish the Froxlor installation. Once that is done, you can click on “Click here to login” and you will be taken to the login page for Froxlor as shown in the below image.
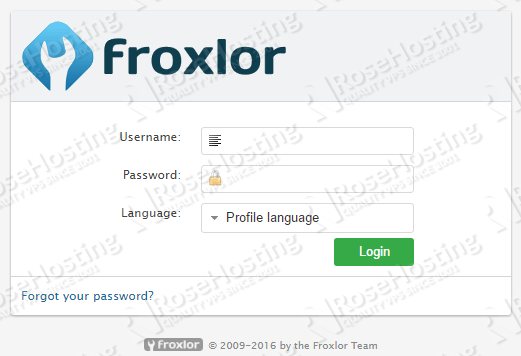
Congratulations, you have successfully installed Froxlor on your CentOS 7 VPS. Now, log in with the administrator user that you configured and start managing your server.
Of course, you don’t have to Install Froxlor on CentOS 7, if you use one of our Control Panel VPS Hosting services, in which case you can simply ask our expert Linux admins to install Froxlor on CentOS 7 for you. They are available 24×7 and will take care of your request immediately.
PS. If you liked this post, on how to Install Froxlor on CentOS 7, please share it with your friends on the social networks using the buttons on the left or simply leave a reply below. Thanks.
I managed to satisfy all installation requirements and went on to the configuration page. I entered the MariaDB root username and root password (double checked it to make sure i’m not wrong with the password) but i keep getting a message “There seems to be a problem with the database-connection. Cannot continue. Please go back and check your credentials.”
Any thoughts what might be the problem?
Hi Noam,
Please make sure that all information in the ‘lib/userdata.inc.php’ file is correct and try to change ‘localhost’ with ‘127.0.0.1’.
Hi admin,
Thank you for your reply.
I managed to work it out by enabling the queries log file in MariaDB and checking for the queries from Froxlor. I noticed no queries are going in so i went to check the firewall rules and these were ok. Finally i found that SELinux was blocking the queries from Froxlor for a reason i don’t understand yet. I disabled SELinux with # setenforce 0 and now it works but i would like to make it work while SELinux is enabled.
Understanding SELinux is more complex by nature and thus it is out of the scope of this tutorial.
Understood, just placed it here for other to know .
Great tutorial btw!
Thank you for this tutorial. On my fresh centos installation everything worked except it was missing the php posix extension. I fixed it like this.
yum install php66w-process
httpd restart
This is good tutorial. I have made to install and run Froxlor on my VPS running CentOS7. Now one question, is there any option that I can configure my sites inside Froxlor if they were setup before Froxlor installation?
You can try to add your site to Froxlor and then move the website content to the site’s document root defined by Froxlor. However, it is best to install Froxlor on a fresh Centos installation.