![]() Chive is another web based tool for managing MySQL databases just like the popular phpMyAdmin. It is free and open source tool written in PHP. Chive is used by thousands of customers because its administration is very easy and the user-interface is fast and simple. If you are looking for a replacement for phpMyAdmin, you should definitely install Chive on your Debian VPS.
Chive is another web based tool for managing MySQL databases just like the popular phpMyAdmin. It is free and open source tool written in PHP. Chive is used by thousands of customers because its administration is very easy and the user-interface is fast and simple. If you are looking for a replacement for phpMyAdmin, you should definitely install Chive on your Debian VPS.
The installation of Chive is pretty fast and easy and this blog article will show you how to do it in less than 10 minutes.
Make sure that your Debian VPS is up to date:
apt-get update && apt-get upgrade -y
Of course, in order to use Chive, you have to install MySQL, Apache and PHP on your server if they are not already installed.
Using the following command, install MySQL:
apt-get install mysql-server mysql-client mysql-common
and set your MySQL ‘root’ password:
mysqladmin -u root password NEW_PASSWORD
where NEW_PASSWORD is your actual password. Using password with both alphanumeric and grammatical symbols is good security practice
Now, install Apache and PHP on your server:
apt-get install apache2 php5 php5-mysql php5-common libapache2-mod-php5
Add Apache to system startup and start it:
update-rc.d apache2 enable
service apache2 start
Change the current working directory to the document root directory which by default is /var/www :
cd /var/www
and download the latest version of Chive their official website
wget -O - http://www.chive-project.com/Download/Redirect | tar -xzp
This command will download Chive and unpack it in a new ‘chive‘ directory under the document root.
That’s all.
Now, navigate your browser to https://yourIP/chive or https://yourdomain.tld/chive
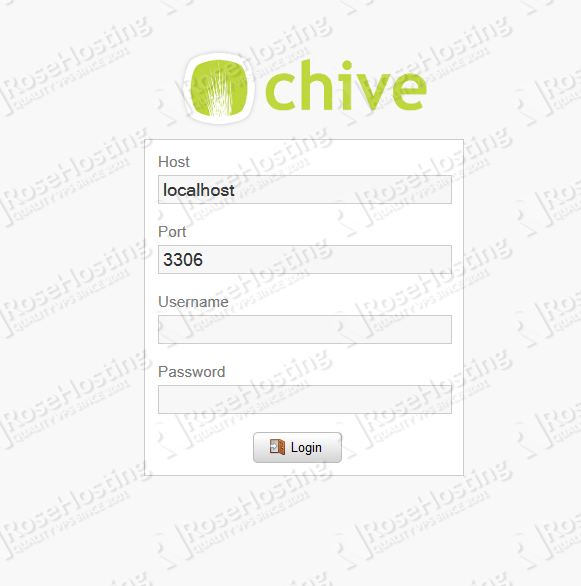
enter your MySQL username and password and enjoy working on your databases.
Of course you don’t have to do any of this if you use one of our Linux VPS Hosting services, in which case you can simply ask our expert Linux admins to install Chive for you. They are available 24×7 and will take care of your request immediately.
PS. If you liked this post please share it with your friends on the social networks using the buttons on the left or simply leave a thank you note below. Thanks.
Thanks for sharing this tutorial. :)