
In this tutorial, we are going to show you how to install CloudPanel on Ubuntu 24.04 OS. CloudPanel is a free and open-source server control panel designed for servers and cloud environments. CloudPanel offers a variety of features and key benefits, including a user-friendly interface, cloud integration, security tools, information about server resources, and the ability to manage PHP, NodeJS, and more. It is used daily mostly by the system administrators, developers, and users who work with hosting and are familiar with it.
Installing CloudPanel on Ubuntu 24.04 is a straightforward process that may take up to 15 minutes. Let’s get started!
Table of Contents
Prerequisites
- A server running Ubuntu 24.04 or any Linux OS is necessary for installing CloudPanel smoothly.
- User privileges: root or non-root user with sudo privileges
- A valid domain name with a pointed A record to the server IP address
Step 1. Update the system
Before we start the CloudPanel installation, we need to update the system packages to their latest available versions. To do that, execute the following commands:
sudo apt update -y && sudo apt upgrade -y
Step 2. Download and install the CloudPanel script
First, we need to install the following prerequisites for setting up CloudPanel on an Ubuntu 24.04 system:
sudo apt install curl wget -y
Then we need to download the installation script:
curl -sS https://installer.cloudpanel.io/ce/v2/install.sh -o install.sh
Make the script executable and run it with the following commands:
chmod +x install.sh

bash install.sh
The installation will start, and you should allow a couple of minutes for its completion.
Once the installation is complete, you should receive the following output:
~~~~~~~~~~~~~~~~~~~~~~~~~~~~~~~~~~~~~~~~~~~~~~~~~~~~~~~~~~~~
The installation of CloudPanel is complete!

CloudPanel can be accessed now: https://YourServerIPAddress:8443
Step 3. Finish Cloud Panel Installation
Once the Cloud Panel is installed, we can finish the installation by creating an admin user and password. This can be done by filling in the inputs as explained in the screenshot below:
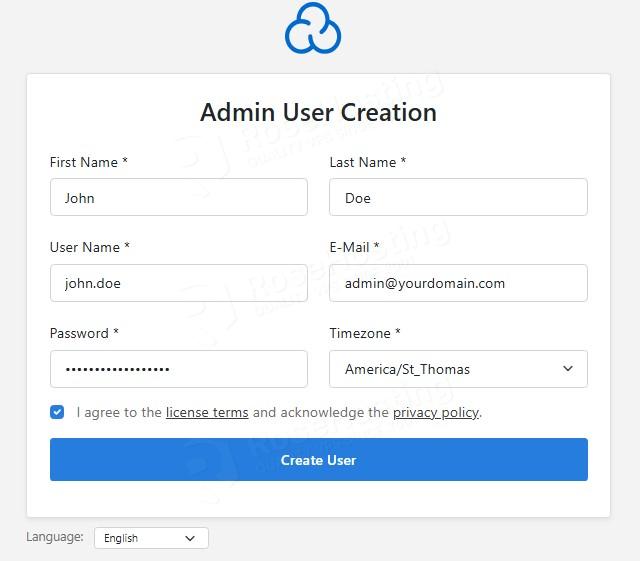
After filling in the information about the admin user and password, click on the “Create User” button, and you will be redirected to the following screen:
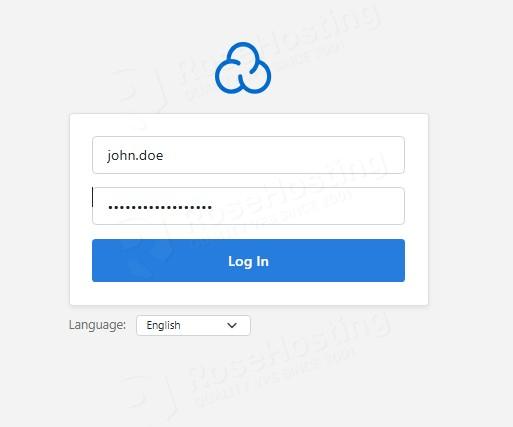
Fill in your username and password, and then click on the “Log In” button to complete the CloudPanel on Ubuntu 24.04 setup process.
As you can see, you have been redirected to the Cloud Panel dashboard. In the final step, we will explain the features that are offered by the Cloud Panel.
Step 4. Explaining the CloudPanel control panel
On the main menu, clicking on the “Dashboard” button will give a detailed explanation about the server resources available when running CloudPanel on Ubuntu 24.04.

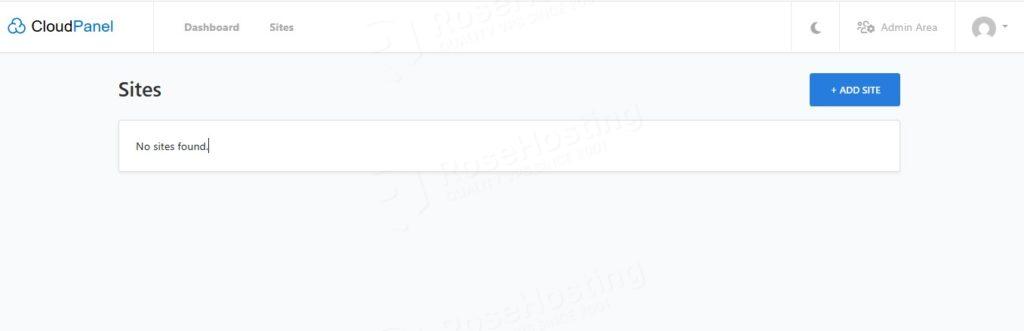
On the main menu, clicking on the “Sites” button will give a detailed explanation about the created websites. At the moment, we have no websites:
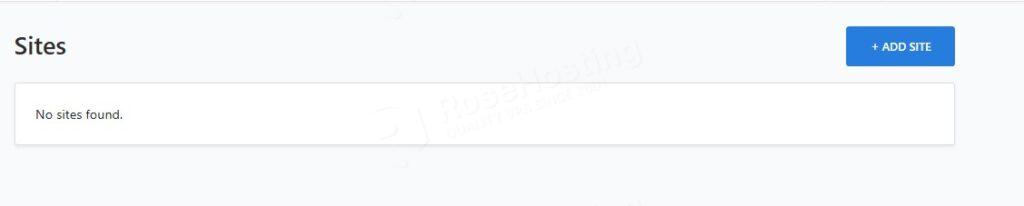
To add a website, click on the “+ ADD SITE” blue button in the top right corner.
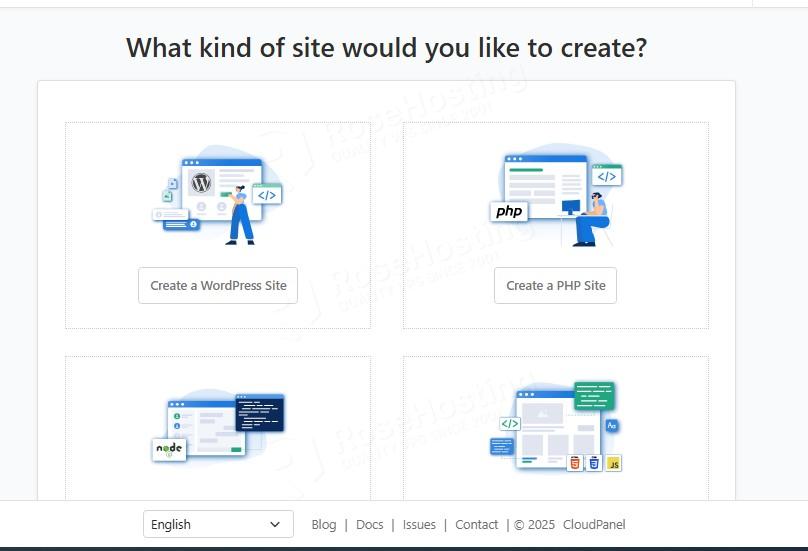
Here you can see the available types of web applications that can be created.
On the top menu, if you click on the “Admin Area,” you will be redirected to the following window:
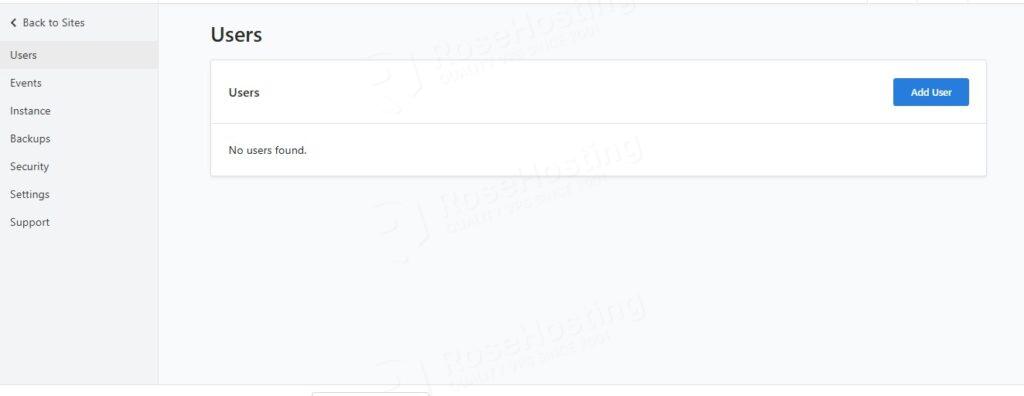
On this screen, you can create Users, configure backups, check the events, status of the services, set up firewall rules, configure the domain so you can access the CloudPanel via domain name securely, etc.
For example, to set up a domain, in the left menu, click on “Settings” and in the domain name input, enter your domain and click on the “Save” button.
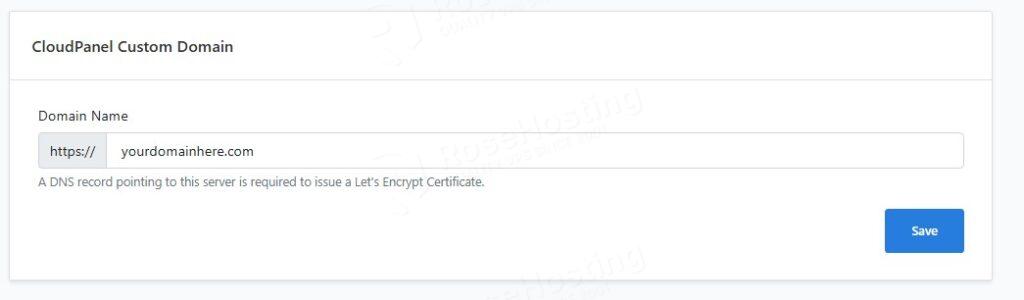
Please note that a DNS record pointing to this server is required to issue a Let’s Encrypt Certificate.
Congratulations
That’s it! You successfully installed CloudPanel on Ubuntu 24.04 OS.
Of course, you do not have to install it on your own if you have difficulties and are not familiar with Linux. All you have to do is sign up for one of our NVMe VPS plans and submit a support ticket. Our admins are available 24/7 and will help you with any aspect of installation.
If you liked this post on installing CloudPanel on Ubuntu 24.04, please share it with your friends on social networks or leave a reply below. Thanks.