
This tutorial is about installing a CloudPanel on Debian 13 OS. Managing servers with a control panel has never been easier, especially with user-friendly control panels like CloudPanel. CloudPanel is one of the best free hosting control panels, offering a variety of features. The installation requires only a script and a clean server. It is used daily by hosting companies, and administrators can easily install a variety of software for clients, including static websites, Python, PHP, and NodeJS applications, reverse proxies, SSL certificates, and many more, which will be explained in the next headings. This blog post will cover how to install CloudPanel on Debian 13, how to access it, and the features it offers.
Installing CloudPanel on Debian 13 is straightforward and typically takes between 5 and 10 minutes. Let’s get started with the installation!
Table of Contents
Prerequisites
- A server running Debian 13 OS is essential for installing CloudPanel.
- User privileges: root or non-root user with sudo privileges
Update the System
Before we start with the installation of CloudPanel, we assume that you have a freshly installed OS, which is why we will update the system packages to their latest versions. To do that, execute the following command and prepare your system for the next steps of installing CloudPanel on Debian 13.
sudo apt update -y && sudo apt upgrade -y
Install CloudPanel from the Installation Script
Once the system is updated, we will download the installation script to begin installing CloudPanel on Debian 13.
curl -sS https://installer.cloudpanel.io/ce/v2/install.sh -o install.sh
Next, we need to make the script executable:
sudo chmod +x install.sh
Then we need to execute the script with the supported DB_ENGINE for Debian 13, and in this case, we will use MySQL8.0. This is crucial when you decide to install CloudPanel on Debian 13.
sudo DB_ENGINE=MYSQL_8.0 bash install.sh
The installation process will begin, and you should allow some time for it to be completed.
Once the installation is complete, you will receive the following output:
Processing triggers for php8.4-fpm (8.4.12-3+clp-trixie) ...
Processing triggers for php7.1-fpm (7.1.33-5+clp-trixie) ...

The installation of CloudPanel is complete!

CloudPanel can be accessed now: https://YourServerIPAddress:8443
Finish the CloudPanel Installation
To finish the CloudPanel installation, you need to access the panel on port 8443 via your server IP address: https://YourServerIPAddress:8443. This step is integral to successfully installing CloudPanel on Debian 13.
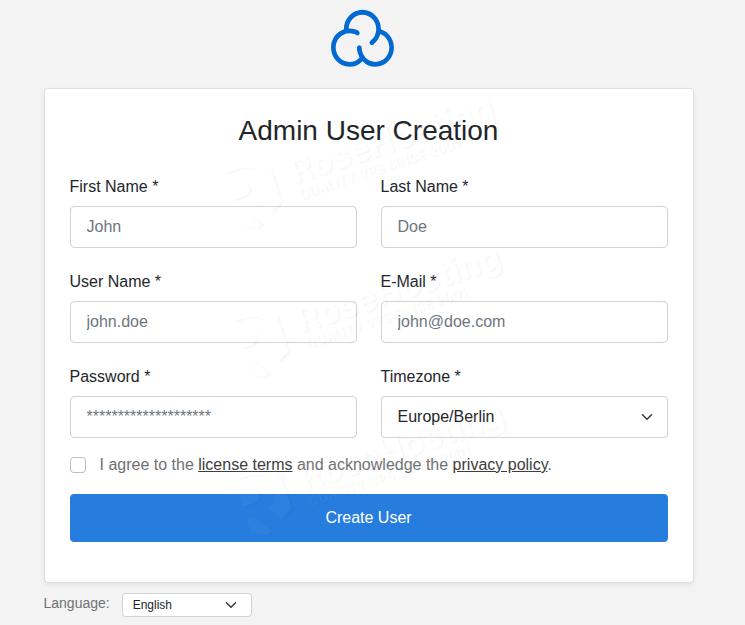
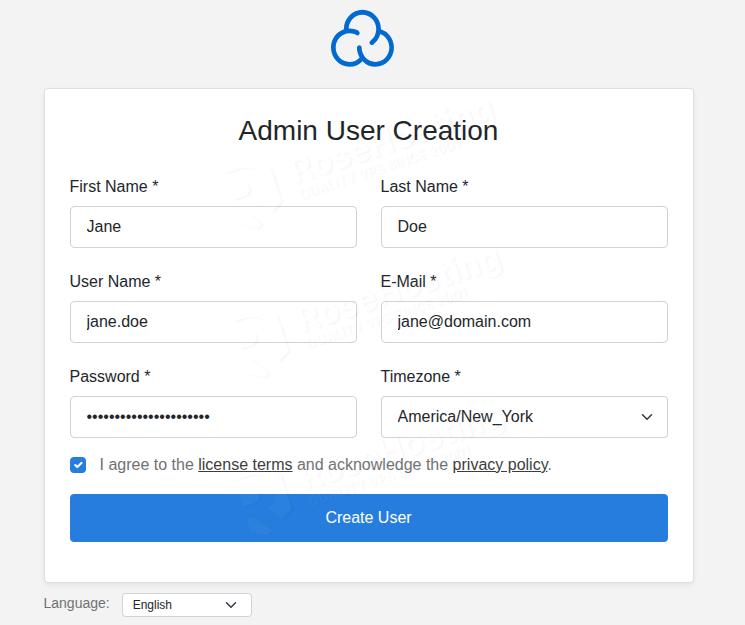
Fill in the information about the administrator user by setting its username, password, email address, and timezone, and then click on the “Create User” button:
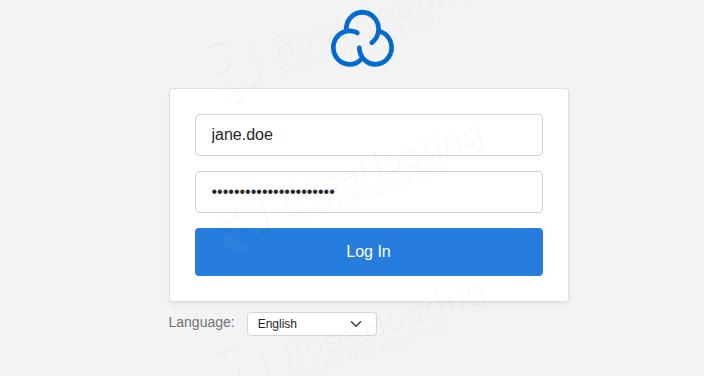
Then, you will be redirected to the login screen. Enter the credentials you set in the previous step and click on the “Log In” button.
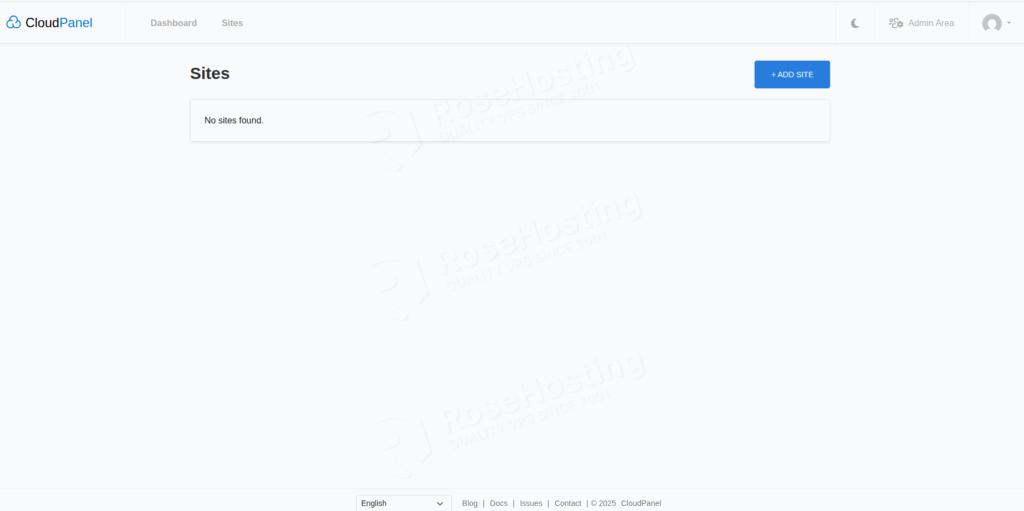
Once logged in, you will be redirected to the CloudPanel admin dashboard:
How to Secure the CloudPanel?
Securing CloudPanel is a very important part of the installation process. To secure CloudPanel in the Settings section, go to Security, and then you can set up 2FA (two-factor authentication) for system users. Another option is to limit the IP addresses that can access your server. You should consider that an insecure CloudPanel installation can lead to malicious files being uploaded to the server, which may pose a future risk to all system users installing CloudPanel on Debian 13.
How to Add a Domain Name?
Adding a domain name in CloudPanel is a straightforward process. On the home screen, click on the “Sites” section, then click “Add Site.” Next, you will have to choose the type of website. We will choose a PHP site. Then, add a valid domain that points to the server’s IP address, select the PHP version, and set a password for the site user. You can leave the application part with the default generic option. This process complements the installation process of CloudPanel on Debian 13.
Conclusion
CloudPanel is a free and open-source control panel that can only be installed on a server with root access, and not on shared hosting. Migration of an existing website to CloudPanel is possible only if you manually migrate the website by importing the databases and configuring the virtual hosts. CloudPanel offers numerous features, including database management, cron job scheduling, backups, service management, security configuration, and more. Achieving this setup by installing CloudPanel on Debian 13 will provide you with access to its extensive features.
Here’s a list of features offered by CloudPanel:
Site Settings / Site Management

Vhost Editor

Databases (MySQL / MariaDB)

Let’s Encrypt SSL / TLS Certificates

SSH / FTP Access

File Manager

Cron Jobs

Log Viewer / Logs

Dashboard with resource monitoring (CPU, Memory, Disk, Load)

User & Role Management

Event / Audit Logs

External Database Server support

Firewall rules / Security settings

Cloud integration (automated backups, cloud provider access keys)

Custom domain for the panel

Automation / CLI tools

Multiple PHP versions

Basic Auth for domains

IP & Bot Blocking

Domain / DNS management

Support for major cloud providers

Multi‑language / localization
That’s it all! You have successfully installed CloudPanel on Debian 13.
If you are one of our customers and use our managed CloudPanel hosting, you don’t have to follow this tutorial and install CloudPanel on Debian 13 yourself. Our experienced Linux admins will set up and configure a CloudPanel VPS for you. They are available 24×7 and will take care of your request immediately. Submit a ticket.
PS. If you liked this post, please share it with your friends or leave a comment below. Thanks.