In this tutorial, we’ll show you how to deploy Dokploy on AlmaLinux 10 with Docker and Automatic SSL. Dokploy is a free, open-source, self-hosted application deployment platform that helps you deploy and manage web applications on a Linux server through a web interface instead of manually configuring everything from the command line. It is an alternative to platforms such as Vercel, Heroku, and Netlify. Dokploy uses Docker to build, run, and manage applications in isolated containers, simplifying deployment and maintenance. It integrates with Traefik to route traffic to the correct application and automate SSL certificate provisioning through Let’s Encrypt. This enables HTTPS for configured domains without manually creating, installing, and renewing certificates.
Deploying Dokploy on AlmaLinux 10 with Docker and Automatic SSL is a straightforward process that may take up to 20 minutes. Let’s get started!
- A server running AlmaLinux 10 OS
- User privileges: root or a non-root user with sudo privileges
- A valid domain
Table of Contents
Step 1. Update your system
Before installing anything on the server, it is a good practice to update the system packages to the latest available versions. To do that, execute the following command in your AlmaLinux 10 terminal:

dnf update -y && dnf upgrade -y
Step 2. Install Docker
Installing Dokploy through Docker simplifies deployment, isolates dependencies from the host OS, makes updates and backups easier to manage, and provides a consistent environment across Linux distributions.
To install Docker, first add the repo:
dnf config-manager --add-repo https://download.docker.com/linux/rhel/docker-ce.repo
Once the repo is added, install Docker Engine and the Compose plugin:
dnf install -y docker-ce docker-ce-cli containerd.io docker-buildx-plugin docker-compose-plugin dnf-plugins-core
Once the installation is complete, start and enable the Docker service:
systemctl start docker && systemctl enable docker
To check the status of the Docker service, execute the command below:
systemctl status docker
You should get the following output:
[root@test ~]# systemctl status docker
● docker.service - Docker Application Container Engine
     Loaded: loaded (/usr/lib/systemd/system/docker.service; disabled; preset: disabled)
     Active: active (running) since Sat 2026-10-17 03:00:01 CEST; 3s ago
 Invocation: 138dba4274544e0f84b82d5e8731f334
TriggeredBy: ● docker.socket
       Docs: https://docs.docker.com
   Main PID: 165907 (dockerd)
      Tasks: 9
     Memory: 70.5M (peak: 72.6M)
        CPU: 912ms
     CGroup: /system.slice/docker.service
             └─165907 /usr/bin/dockerd -H fd:// --containerd=/run/containerd/containerd.sock
Step 3. Install Dokploy
To install Dokploy, download and run the installation script. It automatically configures Docker Swarm, Traefik as the reverse proxy, and the core Dokploy services required to manage your deployments:
curl -sSL https://dokploy.com/install.sh | sh
Once the installation process is complete, you should see the following output:
de5cbc806753: Pull complete
58e302bf3a34: Pull complete
55afa1ecc21d: Pull complete
43865a9fef03: Pull complete
a623aa2ecc9a: Download complete
5175c52b645d: Download complete
Digest: sha256:31267173a15b4944e797a76ffd9c419707c8d8b32fe5b610f80cd0cfa05f372d
Status: Downloaded newer image for traefik:v3.6.25
6e64d32959b1c58541993e210f484abfb9e8381463fa6d3ece591419a361f10f

Congratulations, Dokploy is installed!
Wait 15 seconds for the server to start
Please go to http://YourServerIPaddress:3000
To check the status of the containers with formatted output:
docker ps -a --format "table {{.Names}}\t{{.Image}}\t{{.Status}}\t{{.Ports}}"
The output should look like this:

In the next step, we will explain to you how to finish the Dokploy installation.
Step 4. Finish Dokploy Installation
As shown in the picture above, Dokploy is running on port 3000. To access Dokploy, you need to use the following URL:
http://YourServerIPaddress:3000
In the first window, we need to enter the credentials we want to use for the Dokploy setup:
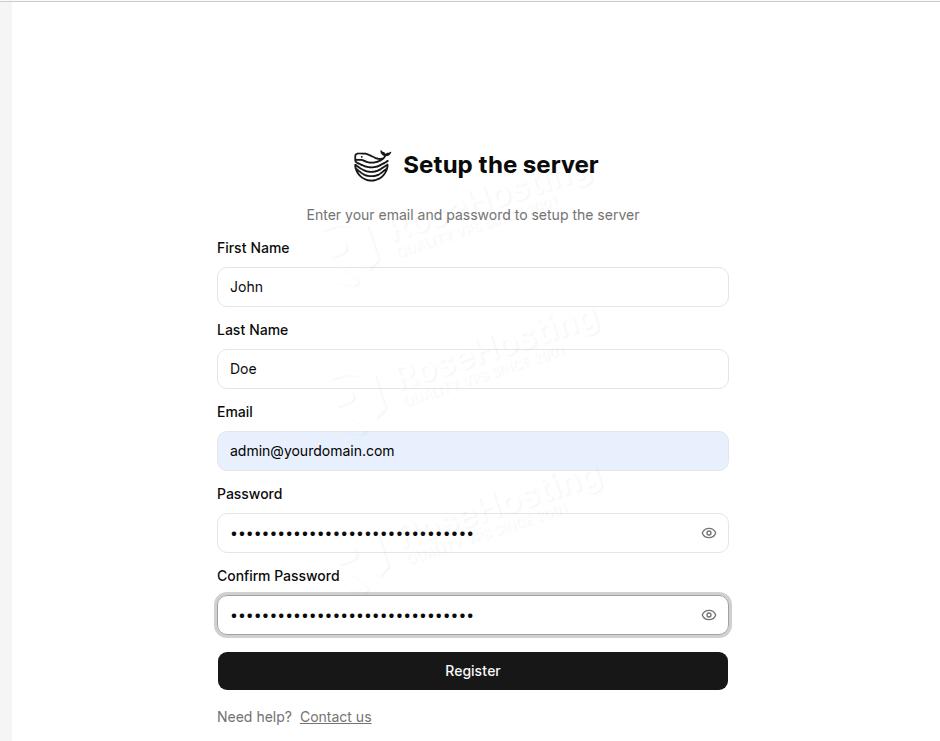
Once you click on Register, you will be redirected to the following screen:
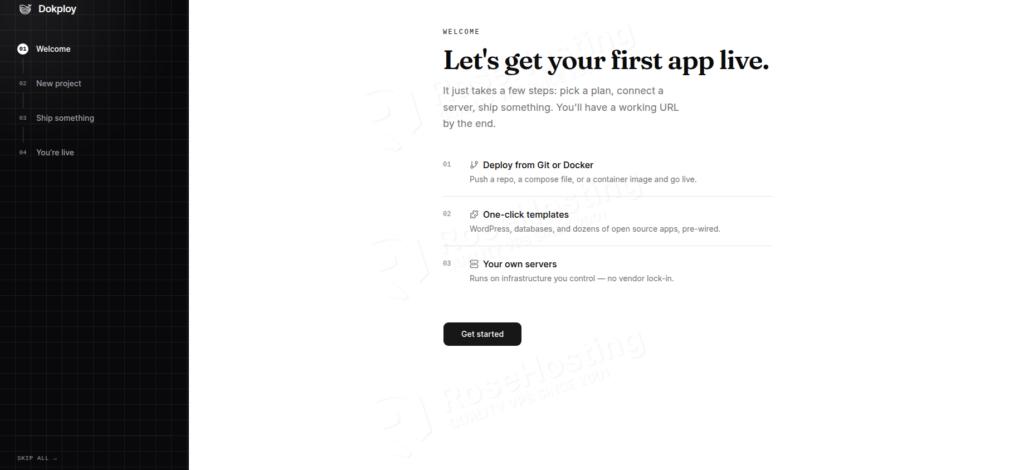
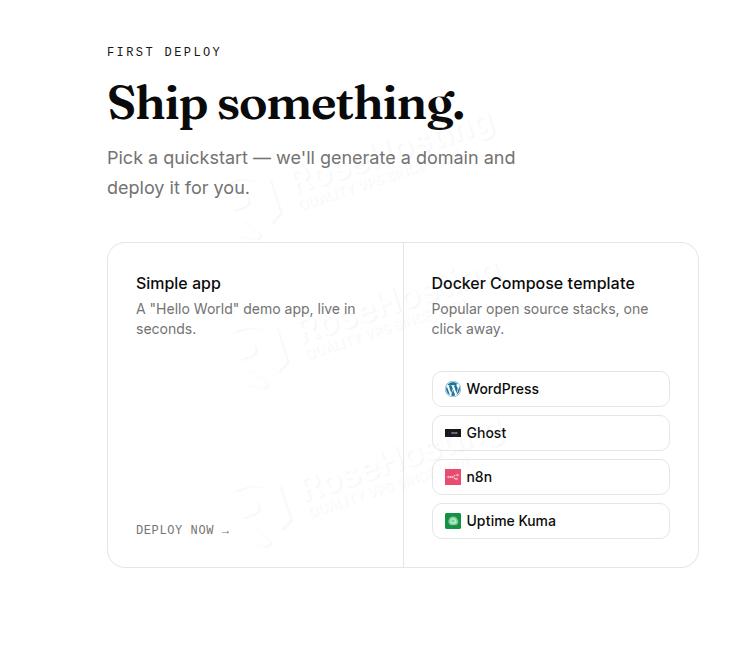
Click “Get Started” and create your first project.
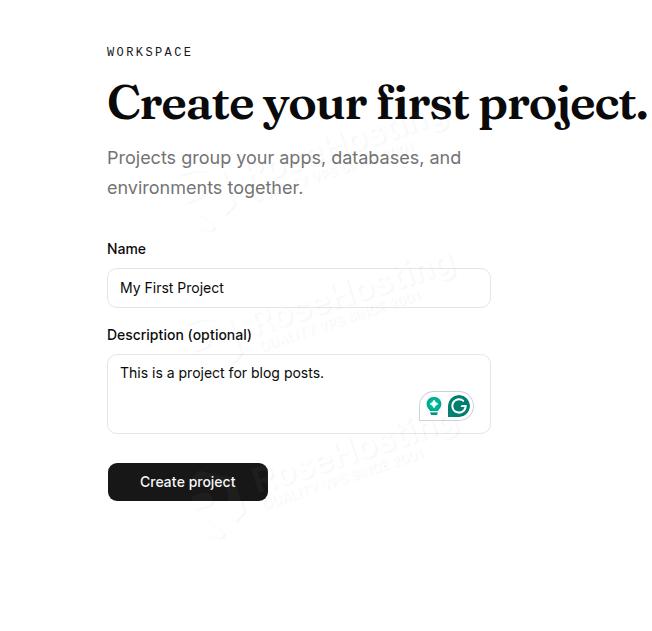
Next, click on one of the popular open-source stacks. We will use WordPress:
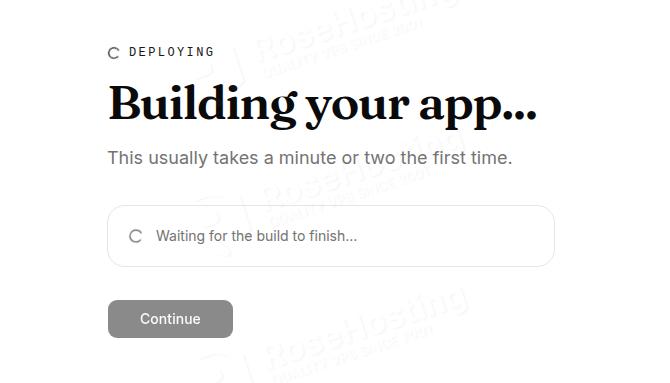
The application will start to deploy:
Once done, it should look like this:
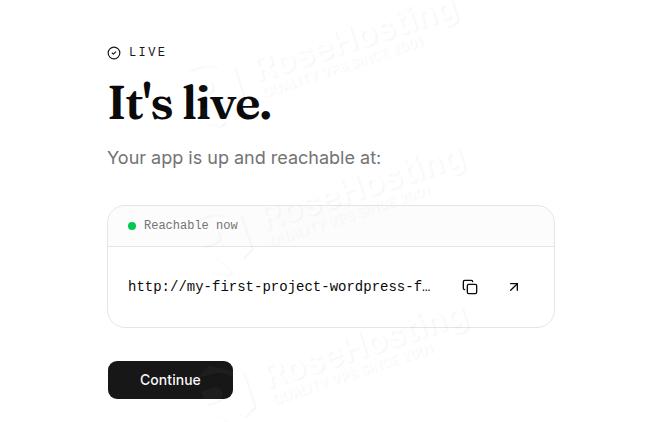
Click on the Continue button.
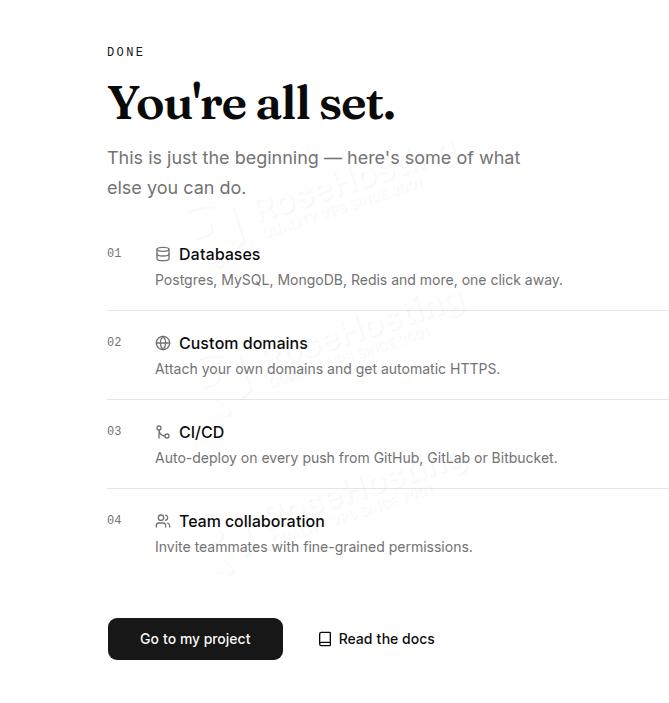
Next, click on “Go to my project” to set up the domain and automatic SSL certificate
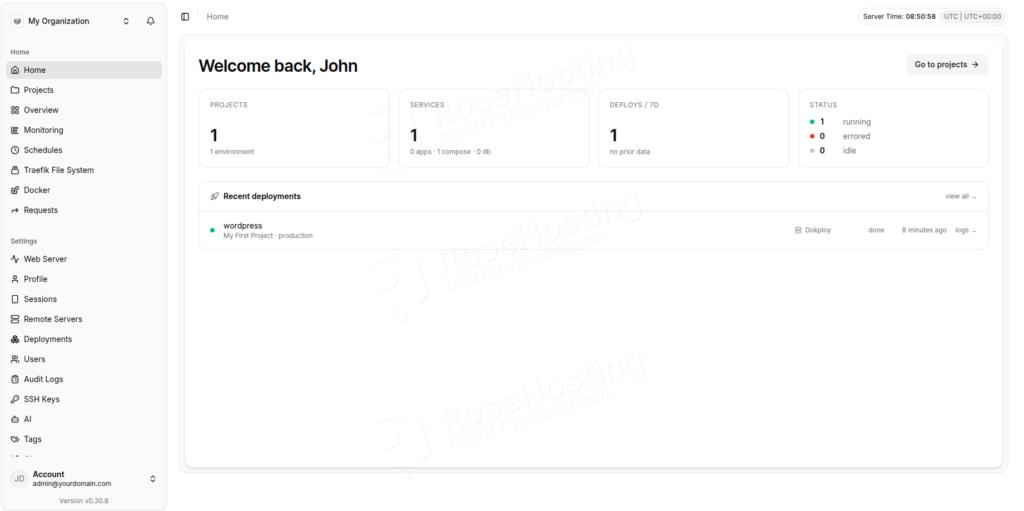
Step 5. Set up Domain and Automatic SSL Certificate
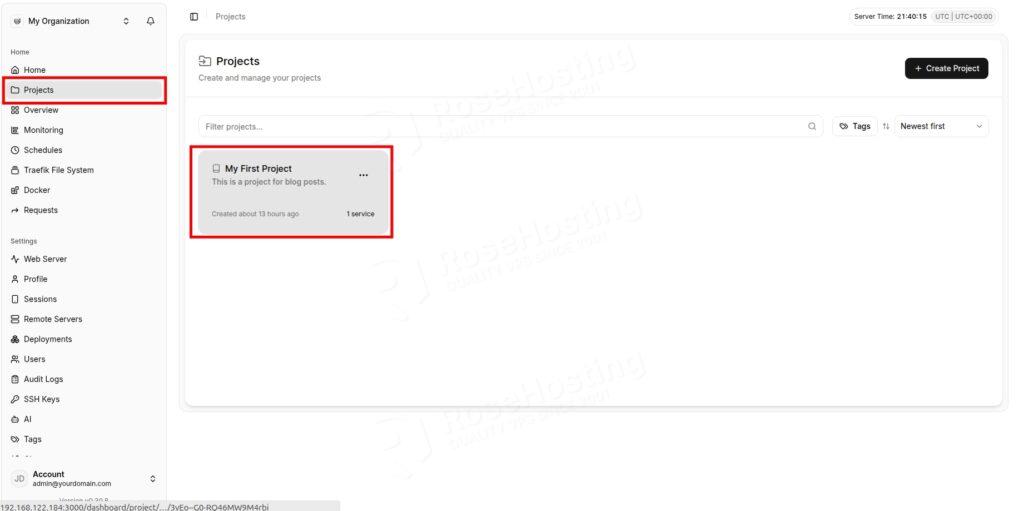
On the left menu, click on Projects, then select the created project:
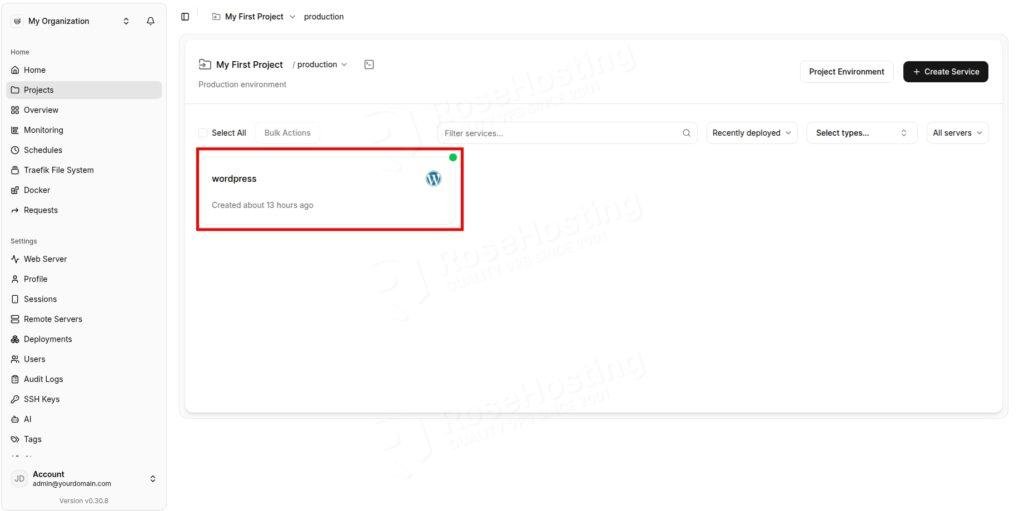
Then select the application on which you want to set up a domain and an Automatic SSL Certificate:
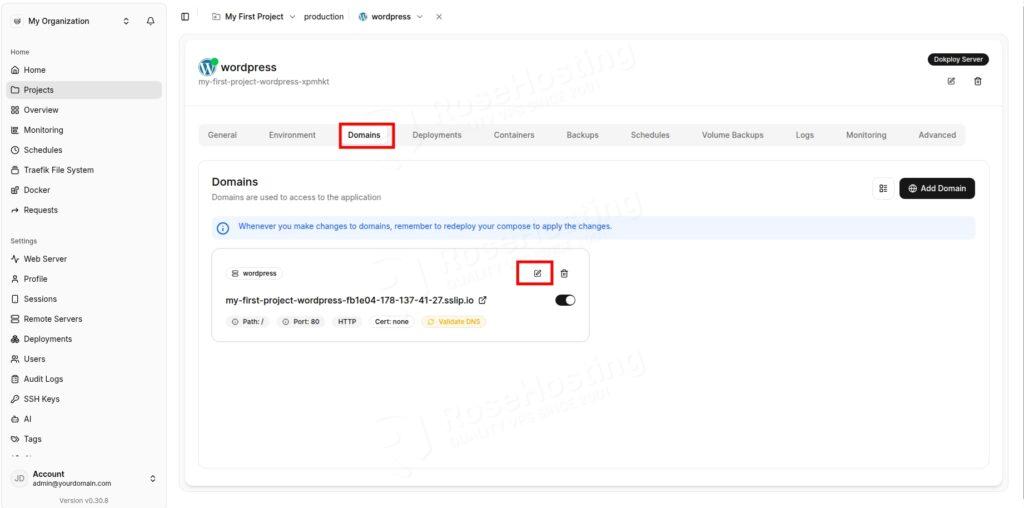
On the Domains tab, click on the Edit icon in the application section:
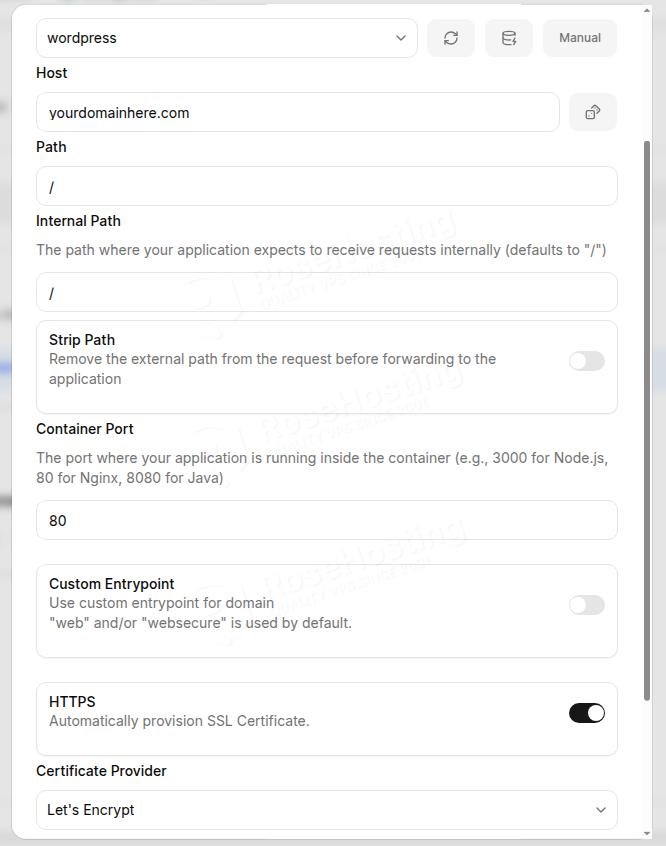
Then, change the default domain to your domain, enable HTTPS, and set the provider to Let’s Encrypt. Then click on the Update button at the bottom:
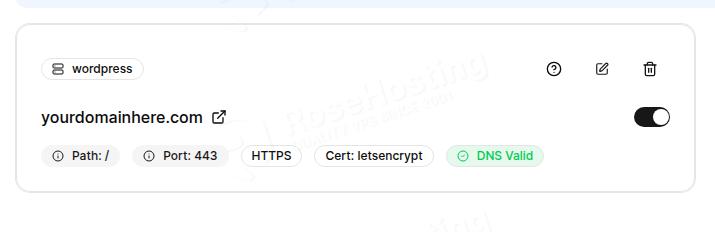
If everything is OK, the DNS should be validated, and it should look like this:
That’s it. You’ve successfully deployed Dokploy with Docker and Automatic SSL on AlmaLinux 10.
Of course, you don’t have to install it yourself if you’re having trouble or aren’t familiar with Linux. You can always contact our technical support. Just sign up for one of our monthly management plans and submit a support ticket. We are available 24/7 and will handle your request immediately.
If you liked this post about deploying Dokploy with Docker and Automatic SSL on AlmaLinux 10, please share it with your friends or leave a comment below.