
Akaunting is a free, open-source self-hostable accounting software that can be used to manage your invoices, quotes, and finances. Akaunting provides an elegant and intuitive UI will all the features and was designed for small businesses and freelancers.
In this tutorial, we are going to show you how to install Akaunting on Debian 11 VPS.
Table of Contents
Prerequisites
- Debian 11 VPS
- SSH root access or a regular system user with sudo privileges
Step 1: Log in via SSH and update the system
Log in to your Debian 11 VPS with SSH as a root user:
ssh root@IP_Address -p Port_number
Replace “IP_Address” and “Port_Number” with your server’s IP address and SSH port.
You can check whether you have the proper Debian version installed on your server with the following command:
lsb_release -a
You should get the following output:
No LSB modules are available.
Distributor ID: Debian
Description: Debian GNU/Linux 11 (bullseye)
Release: 11
Codename: bullseye
Now, run the following command to update all installed packages to the latest available version.
apt update && sudo apt upgrade
Step 2: Install Apache Webserver
Execute the following command to install Apache webserver:
apt install apache2
To start Apache and to enable it to auto-start on server boot, run these commands:
systemctl enable apache2
systemctl start apache2
To confirm that you have properly installed Apache2, you can open your preferred web browser and type your server IP address and you should be able to view the Apache2 Debian Default Page.
Step 3: Install PHP and extensions
The latest version of Akaunting requires a minimum PHP 8.0 version. PHP 8 packages are not available in the default Debian 11 package repositories.
So, to install PHP 8 first we have to enable SURY PHP PPA repository, which contains all the released versions of PHP to date.
Download the GPG key and add the required repository through the following commands:
apt install lsb-release apt-transport-https ca-certificates gnupg2
wget -qO - https://packages.sury.org/php/apt.gpg | apt-key add -
echo "deb https://packages.sury.org/php/ $(lsb_release -sc) main" | tee /etc/apt/sources.list.d/php.list
Once the SURY repository is added, you need to update your system’s repository:
apt-get update
Now run the following commands to install PHP modules required or recommended by Akaunting.
apt install php8.0 php8.0-common php8.0-mysql php8.0-gd php8.0-bcmath php8.0-curl php8.0-zip php8.0-xml php8.0-mbstring php8.0-bz2 php8.0-intl
Step 4: Install MariaDB
MariaDB is available in the Debian 11 default OS repository. You can install it by running the following command:
apt install mariadb-server
By default, the MariaDB service will start automatically after installing it in your system. You can verify it with the following command:
systemctl status mariadb
You should get the following output:
● mariadb.service - MariaDB 10.5.12 database server
     Loaded: loaded (/lib/systemd/system/mariadb.service; enabled; vendor preset: enabled)
     Active: active (running)
       Docs: man:mariadbd(8)
             https://mariadb.com/kb/en/library/systemd/
    Process: 561 ExecStartPre=/usr/bin/install -m 755 -o mysql -g root -d /var/run/mysqld (code=exited, status=0/SUCCESS)
    Process: 593 ExecStartPre=/bin/sh -c systemctl unset-environment _WSREP_START_POSITION (code=exited, status=0/SUCCESS)
    Process: 596 ExecStartPre=/bin/sh -c [ ! -e /usr/bin/galera_recovery ] && VAR= ||   VAR=`cd /usr/bin/..; /usr/bin/galera_recovery`; [ $? -eq 0 ]   && sy>
    Process: 802 ExecStartPost=/bin/sh -c systemctl unset-environment _WSREP_START_POSITION (code=exited, status=0/SUCCESS)
    Process: 804 ExecStartPost=/etc/mysql/debian-start (code=exited, status=0/SUCCESS)
   Main PID: 657 (mariadbd)
     Status: "Taking your SQL requests now..."
      Tasks: 12 (limit: 4639)
     Memory: 159.2M
        CPU: 6.445s
     CGroup: /system.slice/mariadb.service
             └─657 /usr/sbin/mariadbd
Once the installation is complete, issue the following command to secure your installation. This is optional, but strongly recommended:
mariadb_secure_installation
This script will set the MariaDB root password, disable remote root login and remove anonymous users. We suggest answering every question with the character ‘Y’ for yes.
Step 5: Configure Database for Akaunting
Next, you will need to create a database for Akaunting. First, log in to the MariaDB shell with the following command:
mysql -u root
Once logged in, create a database and user for Akaunting with the following command:
MariaDB [(none)]> CREATE DATABASE akauntingdb;
MariaDB [(none)]> CREATE USER 'akaunting'@'localhost' IDENTIFIED BY 'Str0ngPassw0rd';
MariaDB [(none)]> GRANT ALL PRIVILEGES ON akauntingdb.* TO 'akaunting'@'localhost';
MariaDB [(none)]> FLUSH PRIVILEGES;
MariaDB [(none)]> EXIT
Step 6: Download Akaunting
You can download the latest version of Akaunting from their website or directly from their GitHub repository.
cd /tmp
wget https://akaunting.com/download.php?version=latest -O akaunting.zip
unzip akaunting.zip -d /var/www/html/akaunting
Set the ownership of the directory to the webroot user and group.
chown -R www-data. /var/www/html/akaunting
Step 7: Create an Apache configuration file
To create a new configuration file for Akaunting, we can create a new Apache configuration file:
nano /etc/apache2/sites-available/akaunting.conf
A basic Apache configuration file looks similar to this:
<VirtualHost *:80>
   ServerAdmin webmaster@your-domain.com
   ServerName your-domain.com
   DocumentRoot /var/www/html/akaunting
   <Directory /var/www/html/akaunting/>
      Options FollowSymlinks
      AllowOverride All
      Require all granted
   </Directory>
   ErrorLog ${APACHE_LOG_DIR}/akaunting_error.log
   CustomLog ${APACHE_LOG_DIR}/akaunting_access.log combined
</VirtualHost>
Don’t forget to change the domain name next to ServerAdmin and ServerName (your-domain.com) in order to make it work with your unique registered domain name.
Save and close the file, then activate the Akaunting virtual host and rewrite the module with the following command:
a2ensite akaunting.conf
a2enmod rewrite
Restart the Apache service and you are ready:
systemctl restart apache2
Step 8: Install Akaunting on Debian 11
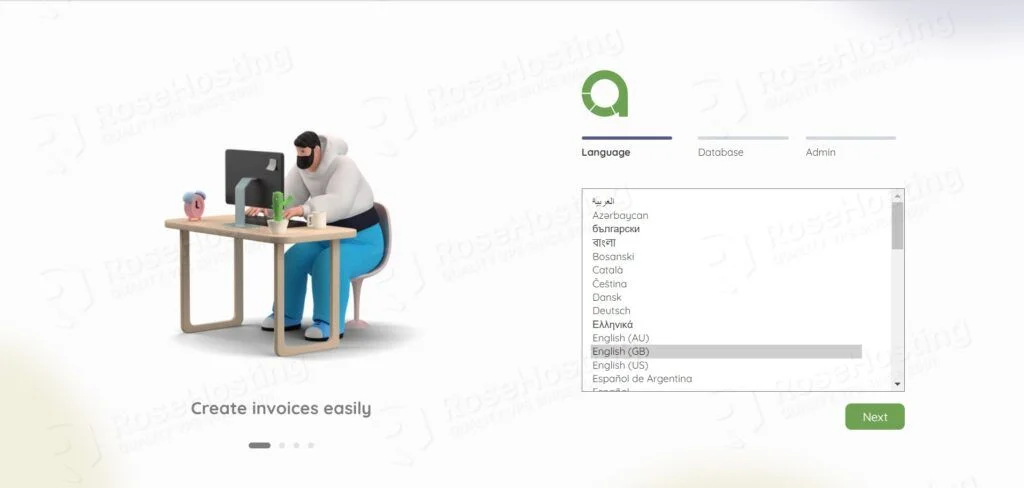
To access the Akaunting Web Interface go to http://your-domain.com. The first step is to choose your language and click on the Next button.
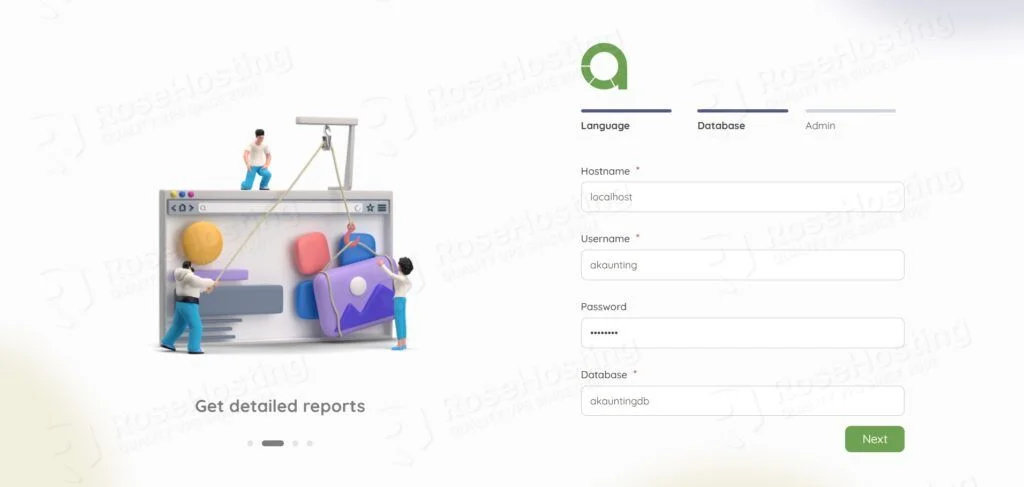
Provide your database details and click on the Next button.
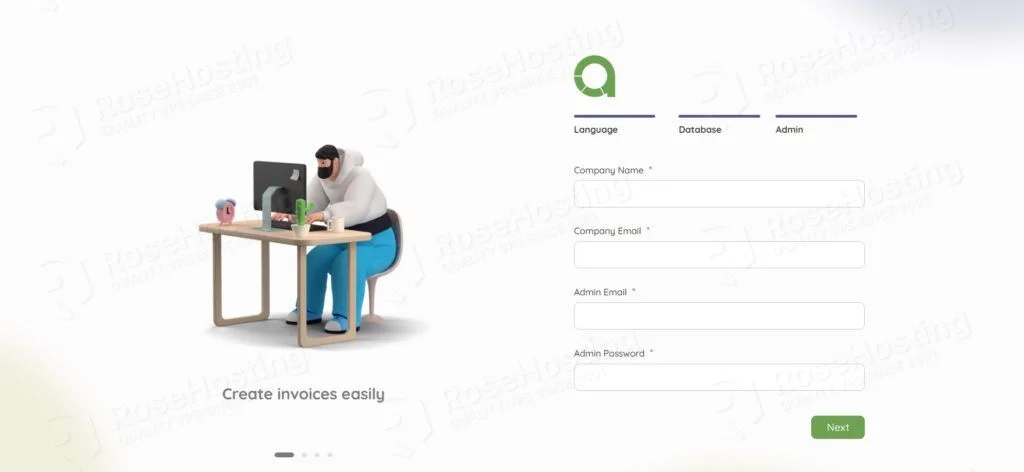
Provide your company name, email address, and admin email address, and click on the Next button.
Provide your admin email and password and click on the Login button.

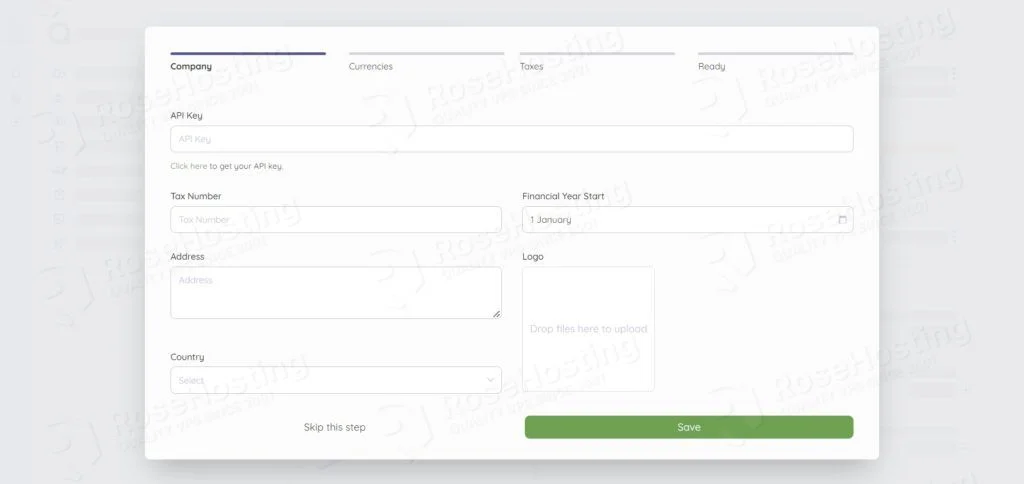
After logging in, you need to follow the wizard to create your first company.
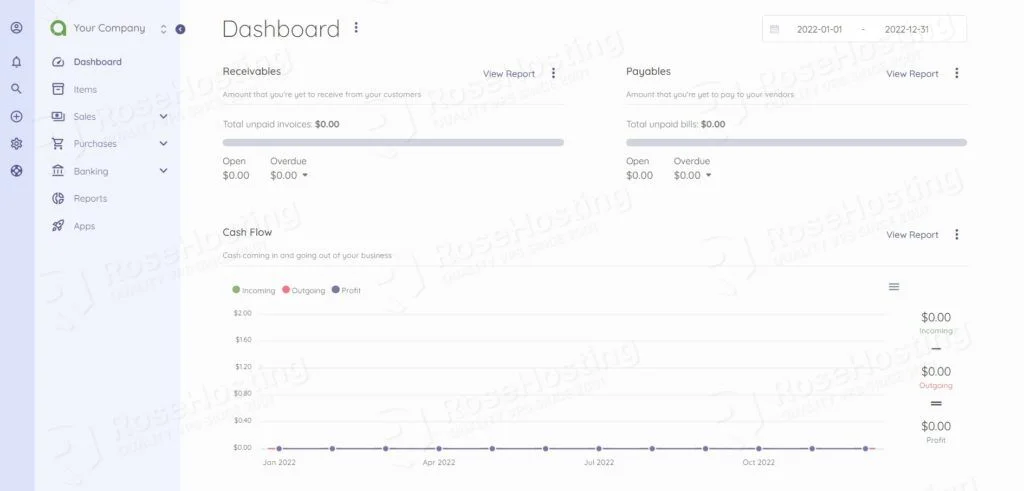
Now you can manage your finance in the web-based admin panel.
That’s it! Akaunting has been successfully installed on your Debian 11 server.
Of course, you don’t have to install Akaunting on Debian 11 if you use one of our Debian VPS Hosting services, in which case you can simply ask our expert Linux admins to install Akaunting for you. They are available 24×7 and will take care of your request immediately.
PS. If you liked this post on how to install Akaunting on Debian 11, please share it with your friends on social networks or simply leave a reply below. Thanks.