LibreNMS is a free and open-source network monitoring system built in PHP and MySQL which uses the SNMP protocol. It is a community-based fork of the Observium network monitoring tool. This tool is also a user-friendly monitoring system, it is easy to understand and use. It uses MySQL as its database backend and uses SNMP to discover remote clients.
It supports a wide range of network hardware and operating systems including, FreeBSD, Cisco, Linux, HP, etc. In this tutorial, we will show you how to install and configure LibreNMS on Ubuntu 20.04.
Table of Contents
Prerequisites
- An Ubuntu 20.04 VPS
- SSH access with root privileges or a regular system user with sudo privileges
Step 1. Log in to the server
First, log in to your Ubuntu 20.04 server through SSH as the root user:
ssh root@IP_Address -p Port_number
You will need to replace ‘IP_Address‘ and ‘Port_number‘ with your server’s respective IP address and SSH port number. Additionally, replace ‘root’ with the username of the system user with sudo privileges.
To check whether you have the proper Ubuntu version installed on your server, run the following command:
$ lsb_release -a
You should get an output like this:
No LSB modules are available.
Distributor ID: Ubuntu
Description: Ubuntu 20.04.3 LTS
Release: 20.04
Codename: focal
Before starting, you have to make sure that all Ubuntu OS packages installed on the server are up to date. You can do this by running the following commands:
$ sudo apt update -y
$ sudo apt upgrade -y
Step 2. Create a System User
Once logged in to Ubuntu 20.04 as root, we will create a new system user to complete this installation.
$ sudo useradd librenms -d /opt/librenms -M -r
$ sudo usermod -aG librenms www-data
Step 3. Install LEMP
We need to install a web server, database server, and PHP to proceed with installing LibreNMS. In this post, we will use Nginx instead of Apache. So, let’s run the command below to install LEMP.
$ sudo apt install software-properties-common
$ sudo add-apt-repository universe
$ sudo apt update
$ sudo apt install nginx-full mariadb-server mariadb-client php7.4-{cli,curl,fpm,gd,gmp,json,mbstring,mysql,snmp,xml,zip} acl curl composer fping git graphviz imagemagick mtr-tiny nmap rrdtool snmp snmpd whois unzip python3-pymysql python3-dotenv python3-redis python3-setuptools python3-systemd python3-pip
On Ubuntu 20.04, Nginx and MariaDB are configured to start running upon installation, you can check them by running this command:
$ sudo systemctl status mysql nginx --lines=0
Step 4. Configure Nginx
Nginx has a default server block, and we are going to delete it and create a new server block.
$ sudo rm /etc/nginx/sites-enabled/default -f
We will create an nginx server block for LibreNMS in librenms.conf, let’s run this command:
$ sudo nano /etc/nginx/sites-enabled/librenms.conf
Paste the following content into the file, make sure you edit the server_name as required.
server {
 listen      80;
 server_name librenms.rosehosting.com;
 root        /opt/librenms/html;
 index       index.php;

 charset utf-8;
 gzip on;
 gzip_types text/css application/javascript text/javascript application/x-javascript image/svg+xml text/plain text/xsd text/xsl text/xml image/x-icon;
 location / {
  try_files $uri $uri/ /index.php?$query_string;
 }
 location ~ [^/]\.php(/|$) {
  fastcgi_pass unix:/run/php/librenms.sock;
  fastcgi_split_path_info ^(.+\.php)(/.+)$;
  include fastcgi.conf;
 }
 location ~ /\.(?!well-known).* {
  deny all;
 }
}
Save the file and exit.
Step 5. Configure MariaDB and Create a Database
Before creating a new database for LibreNMS, let’s modify our default MariaDB configuration file.
$ sudo nano /etc/mysql/mariadb.conf.d/50-server.cnf
Add these lines to [mysqld] section
innodb_file_per_table=1
lower_case_table_names=0
Save the file then exit and restart MariaDB
$ sudo systemctl restart mysql
Once restarted, we can create a new database for LibreNMS installation. We need to log in to the MariaDB console and create a database for LibreNMS.
$ sudo mysql
In MySQL shell, run these commands as shown below.
MariaDB [(none)]> CREATE DATABASE librenms CHARACTER SET utf8mb4 COLLATE utf8mb4_unicode_ci;
Query OK, 1 row affected (0.000 sec)

MariaDB [(none)]> CREATE USER 'librenms'@'localhost' IDENTIFIED BY 'm0d1fyth15';
Query OK, 0 rows affected (0.000 sec)

MariaDB [(none)]> GRANT ALL PRIVILEGES ON librenms.* TO 'librenms'@'localhost';
Query OK, 0 rows affected (0.001 sec)

MariaDB [(none)]> FLUSH PRIVILEGES;
Query OK, 0 rows affected (0.000 sec)

MariaDB [(none)]> \q
Make sure you create a strong database password, replace m0d1fyth15 in the command above with a stronger one.
Step 6. Configure PHP-FPM
PHP-FPM has the default pool configuration file in www.conf. We are going to copy this file and make changes in librenms.conf.
$ sudo cp /etc/php/7.4/fpm/pool.d/{www.conf,librenms.conf}
The command above should create a copy of /etc/php/7.4/fpm/pool.d/www.conf at /etc/php/7.4/fpm/pool.d/librenms.conf. Next, we need to change the PHP-FPM pool name in librenms.conf, open librenms.conf make the following changes.
$ sudo nano /etc/php/7.4/fpm/pool.d/librenms.conf
In that file, change PHP-FPM pool name [www] to [librenms]. Then, change the user and group from www-data to librenms (we created a user called ‘librenms’ in the beginning of this tutorial)
user = www-data
group = www-data
to
user = librenms
group = librenms
Last, change the FPM listening socket from listen = /run/php/php7.4-fpm.sock to listen = /run/php/libnrenms.sock
Save the file then exit from nano editor and restart php-fpm
$ sudo systemctl restart php7.4-fpm
Step 7. Download LibreNMS
In this step, we will clone the LibreNMS git repository to /opt directory using git command:
$ cd /opt
$ sudo git clone https://github.com/librenms/librenms.git
The repository is now downloaded, and we need to give it the correct permissions.
$ sudo chown -R librenms. /opt/librenms
$ sudo chmod 771 /opt/librenms
$ sudo setfacl -d -m g::rwx /opt/librenms/bootstrap/cache/ /opt/librenms/logs /opt/librenms/rrd /opt/librenms/storage/
$ sudo setfacl -R -m g::rwx /opt/librenms/bootstrap/cache/ /opt/librenms/logs /opt/librenms/rrd /opt/librenms/storage/
Then, run this command to download the dependencies.
$ su - librenms
$ ./scripts/composer_wrapper.php install --no-dev
Step 8. Pre-installation
We need to complete the following prior to starting the LibreNMS installation through a web browser.
a. Enable LNMS command completion
To enable LNMS command completion, we need to copy the executables, run the commands:
$ sudo ln -s /opt/librenms/lnms /usr/bin/lnms
$ sudo cp /opt/librenms/misc/lnms-completion.bash /etc/bash_completion.d/
b. Configure SNMPD
To configure snmpd, copy the example configuration file
$ sudo cp /opt/librenms/snmpd.conf.example /etc/snmp/snmpd.conf
Open the snmpd.conf file, then modify the RANDOMSTRINGGOESHERE line and set your own string, then complete the following:
$ sudo curl -o /usr/bin/distro https://raw.githubusercontent.com/librenms/librenms-agent/master/snmp/distro
$ sudo chmod +x /usr/bin/distro
$ sudo systemctl enable snmpd
$ sudo systemctl restart snmpd
c. Cronjob
We need to copy the cronjob file, you can modify it if needed.
$ sudo cp /opt/librenms/librenms.nonroot.cron /etc/cron.d/librenms
d. Logrotate
In this installation method, LibreNMS log files will be stored in /opt/librenms/logs. These logs can grow bigger over time, and to lower the size we can use logrotate.
$ sudo cp /opt/librenms/misc/librenms.logrotate /etc/logrotate.d/librenms
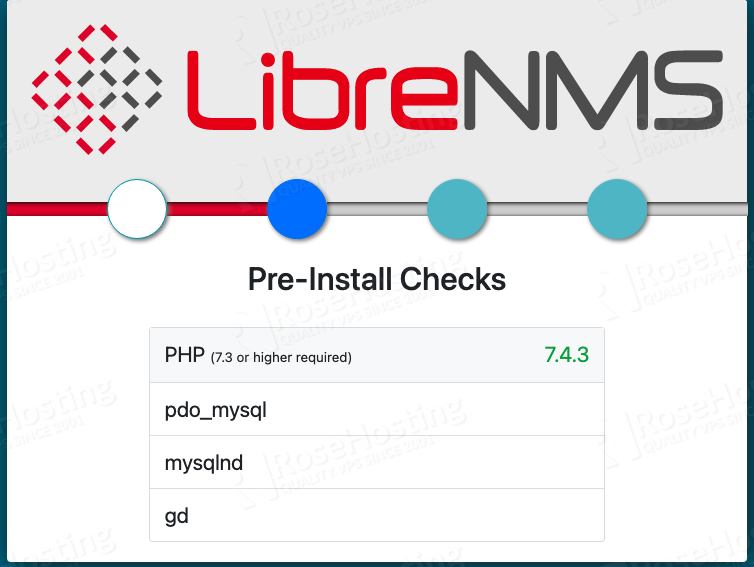
Step 9. Install LibreNMS
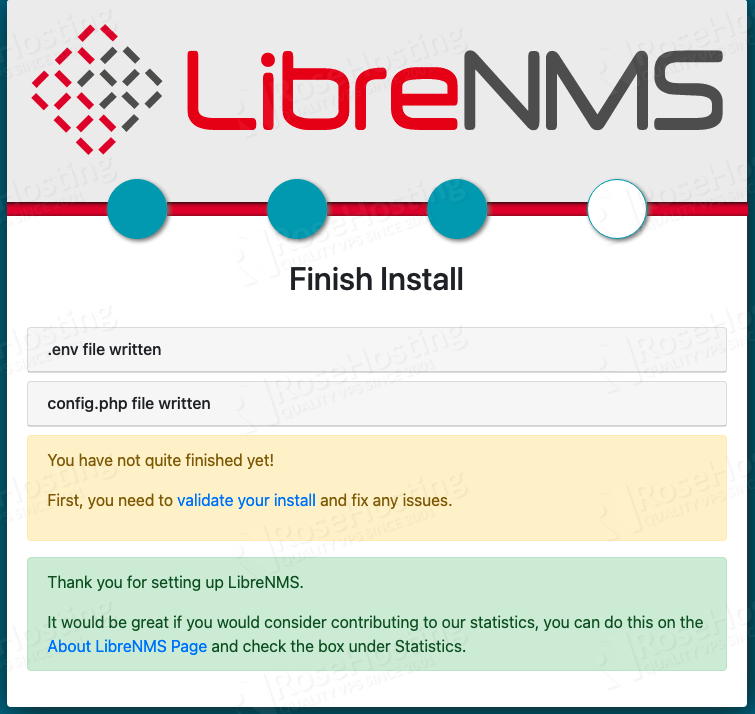
Finally, navigate to your http://librenms.domain.com to initiate the LibreNMS web installation.
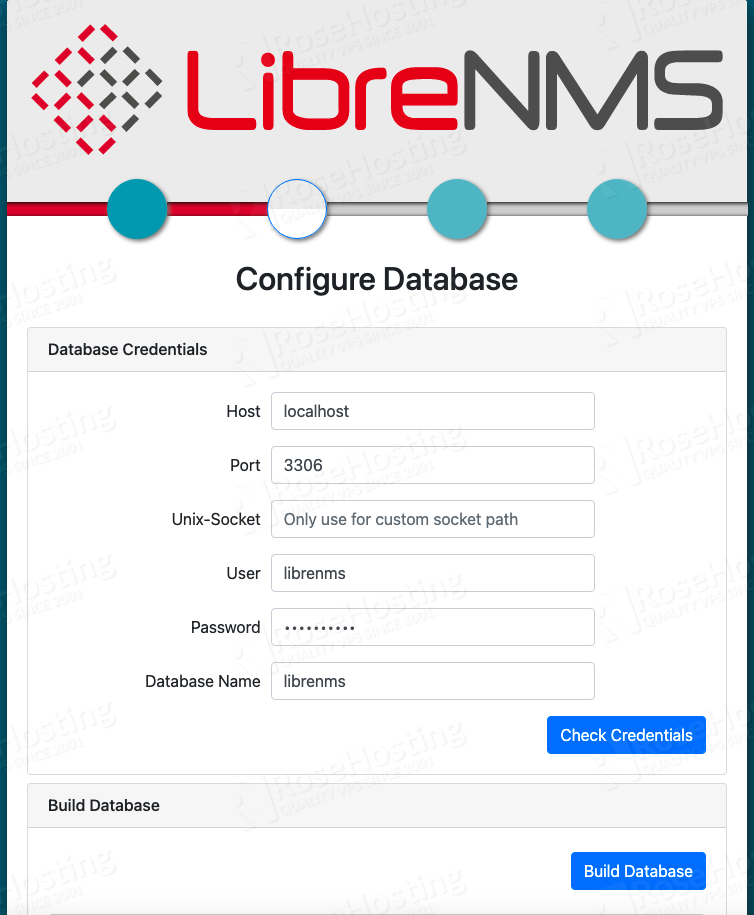
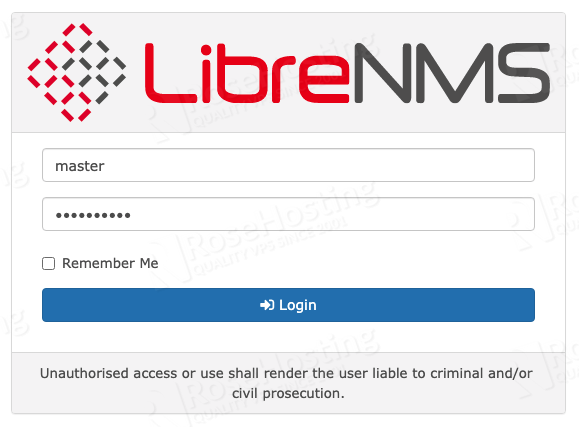
After the database is built, you will be brought to the next step and create an administrative user.
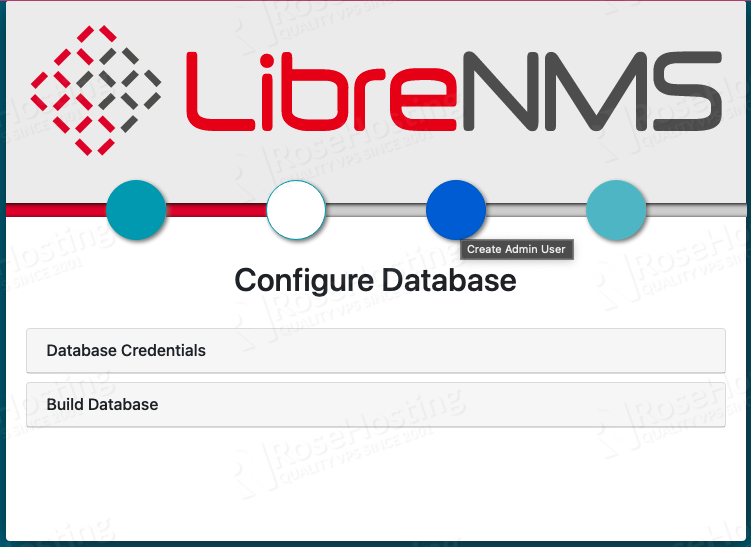
Click on the third circle and create an admin user.
That’s it, you have learned how to install and configure LibreNMS on Ubuntu 20.04.
Of course, you don’t have to install and configure LibreNMS on Ubuntu 20.04 if you use one of our Ubuntu VPS Hosting services, in which case you can simply ask our expert Linux admins to install and configure LibreNMS on Ubuntu 20.04 VPS for you. They are available 24×7 and will take care of your request immediately.
PS. If you liked this post on how to install and configure LibreNMS on Ubuntu 20.04, please share it with your friends on the social networks using the buttons below or simply leave a reply in the comments sections. Thanks.