LibreNMS is an open-source network monitoring tool constructed in PHP and MySQL, which utilizes the SNMP protocol. It is a community-derived branch of the Observium network monitoring tool.
This instrument is also a user-friendly monitoring system; it is simple to comprehend and employ. It employs MySQL as its database backend and SNMP to detect remote clients.
In this tutorial, we will show you how to install and configure LibreNMS on Ubuntu 22.04. For a previous version, check out our tutorial on how to install LibreNMS on Ubuntu 20.04.
Table of Contents
Prerequisites
- Ubuntu 22.04 VPS
- SSH root access or a regular system user with sudo privileges
Step 1. Login to the server
First, log in to your Ubuntu 22.04 server through SSH as the root user:
ssh root@IP_Address -p Port_number
You will need to replace ‘IP_Address‘ and ‘Port_number‘ with your server’s respective IP address and SSH port number. Additionally, replace ‘root’ with the username of the system user with sudo privileges.
You can check whether you have the proper Ubuntu version installed on your server with the following command:
# lsb_release -a
You should get this output:
No LSB modules are available.
Distributor ID: Ubuntu
Description: Ubuntu 22.04.2 LTS
Release: 22.04
Codename: jammy
Step 2. Install PHP
LibreNMS is a PHP-driven network monitoring tool. Hence, we will install PHP and its required extensions, along with other dependencies in this step.
# apt install software-properties-common -y
# add-apt-repository universe
Let’s update the package index files on our server before proceeding to install PHP.
# apt update
# apt install acl curl composer fping git graphviz imagemagick mtr-tiny nmap php-{cli,curl,gd,json,mbstring,mysql,snmp,xml,zip} rrdtool snmp snmpd whois python3-{memcache,mysqldb,pip}
Once you have installed all the packages, you must configure the timezone in your php.ini file. You need to edit the files below.
/etc/php/8.1/fpm/php.ini
/etc/php/8.1/cli/php.ini
Specify your system’s timezone according to the following example:
date.timezone = America/Chicago
Save the file and exit the file editor. Finally, restart the PHP-FPM service to implement the modifications:
# systemctl restart php8.1-fpm
Step 3. Create User
LibreNMS service will be run by a new system user called librenms. Let’s create a new system user now, and execute this command below.
# useradd -Mrd /opt/librenms librenms -s "$(which bash)"
Next, we will create a PHP pool called librenms.
# cp -a /etc/php/8.1/fpm/pool.d/www.conf /etc/php/8.1/fpm/pool.d/librenms.conf
We need to modify some parameters in this file.
# nano /etc/php/8.1/fpm/pool.d/librenms.conf
Change the pool name from [www] to [librenms]:
[librenms]
Change user and group to “librenms”:
user = librenms
group = librenms
And change the ‘listen’ parameter to this:
listen = /run/php/librenms.sock
Save the file; exit then restart the PHP-FPM service
# systemctl restart php8.1-fpm
Step 4. Install and Configure Nginx
LibreNMS supports Apache and Nginx. In this tutorial, we are going to use nginx as the web server.
# apt install nginx
On Ubuntu servers, nginx will automatically start and is enabled on boot. Now, let’s create a server block for our vTiger CRM website.
# nano /etc/nginx/conf.d/librenms.conf
Insert these lines
server {
 listen      80;
 server_name librenms.yourdomain.com;
 root        /opt/librenms/html;
 index       index.php;

 charset utf-8;
 gzip on;
 gzip_types text/css application/javascript text/javascript application/x-javascript image/svg+xml text/plain text/xsd text/xsl text/xml image/x-icon;
 location / {
  try_files $uri $uri/ /index.php?$query_string;
 }
 location ~ [^/]\.php(/|$) {
  fastcgi_pass unix:/run/php/librenms.sock;
  fastcgi_split_path_info ^(.+\.php)(/.+)$;
  include fastcgi.conf;
 }
 location ~ /\.(?!well-known).* {
  deny all;
 }
}
Save the file, then exit and restart nginx
# systemctl restart nginx
Step 5. Install MariaDB and Create a Database
In this step, we are going to install the MariaDB server from the default Ubuntu repository. To install the MariaDB server, invoke this command below:
# apt install mariadb-server
On an Ubuntu system, the MariaDB server will be running automatically upon installation. Therefore, we can now continue by creating a fresh database and database user for our LibreNMS website. Let’s log in to MySQL shell as root users and create a database for our LibreNMS website.
# mysql
Once logged in to MySQL shell, we can run the following commands.
mysql> CREATE DATABASE librenms;
mysql> GRANT ALL on librenms.* to librenms@localhost identified by 'm0d1fyth15';
mysql> FLUSH PRIVILEGES;
mysql> \q
Make sure to create a more complicated database password and substitute m0d1fyth15 in the command above with a stronger one.
After this, we also need to modify our SQL_MODE
# nano /etc/mysql/mariadb.conf.d/50-server.cnf
Add this line under section [mysqld]
sql_mode = ""
innodb_file_per_table=1
lower_case_table_names=0
Then, restart the MariaDB server
# systemctl restart mariadb
Step 6. Install LibreNMS
In the earlier step, we created a system user called ‘librenms’. Now, we will download LibreNMS and give permission to the new system user.
# cd /opt
# git clone https://github.com/librenms/librenms.git librenms
The files are downloaded; now, let’s give them the correct permission.
# chown -R librenms: /opt/librenms
# chmod 771 /opt/librenms
# setfacl -d -m g::rwx /opt/librenms/rrd /opt/librenms/logs /opt/librenms/bootstrap/cache/ /opt/librenms/storage/
# setfacl -R -m g::rwx /opt/librenms/rrd /opt/librenms/logs /opt/librenms/bootstrap/cache/ /opt/librenms/storage/
Then, run this command to download the dependencies.
# su - librenms
$ ./scripts/composer_wrapper.php install --no-dev
At this point, we can navigate to http://librenms.yourdomain.com to perform LibreNMS installation through a GUI using a web browser.
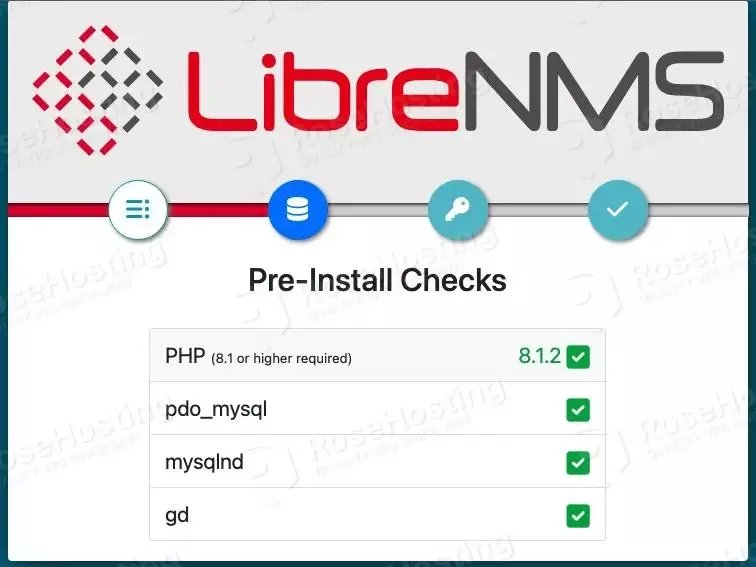
Click on the second circle from the left to continue
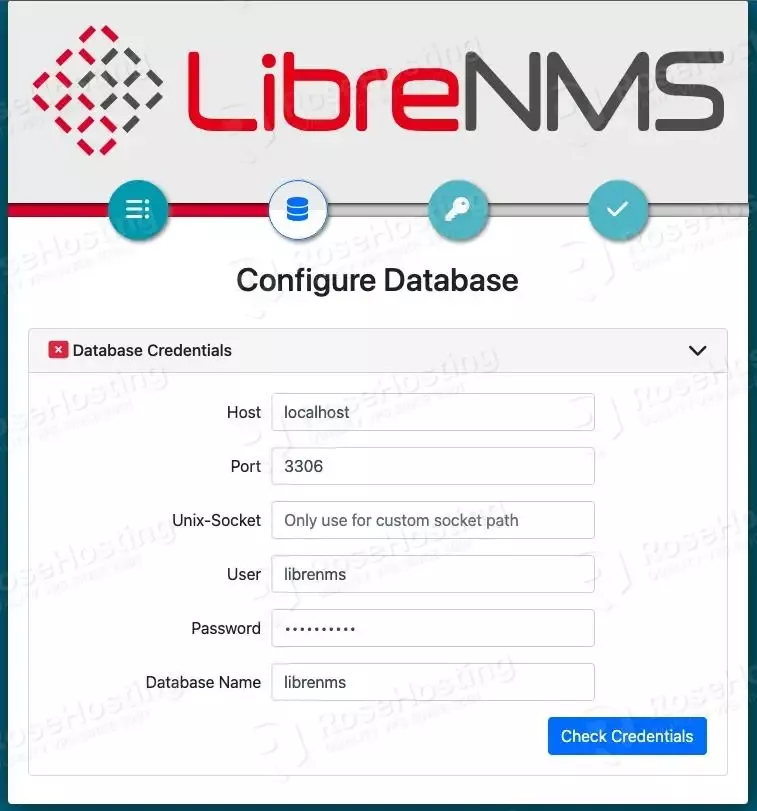
Fill in the database information we created in the previous step, then click on the ‘Check Credentials’ blue button
If you see an error message about the time difference between MySQL and PHP, you can add the following line into the [mysqld] section in /etc/mysql/mariadb.conf.d/50-server.cnf file.
default-time-zone = '-05:00'
You can modify the value to match the time between MySQL and PHP. Do not forget to restart MariaDB to apply the changes.

Click on Build Database, then wait until it’s completed
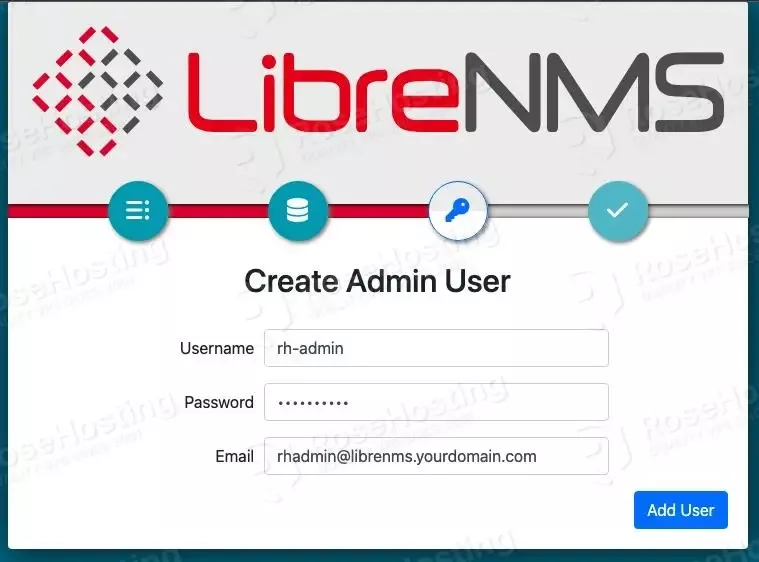
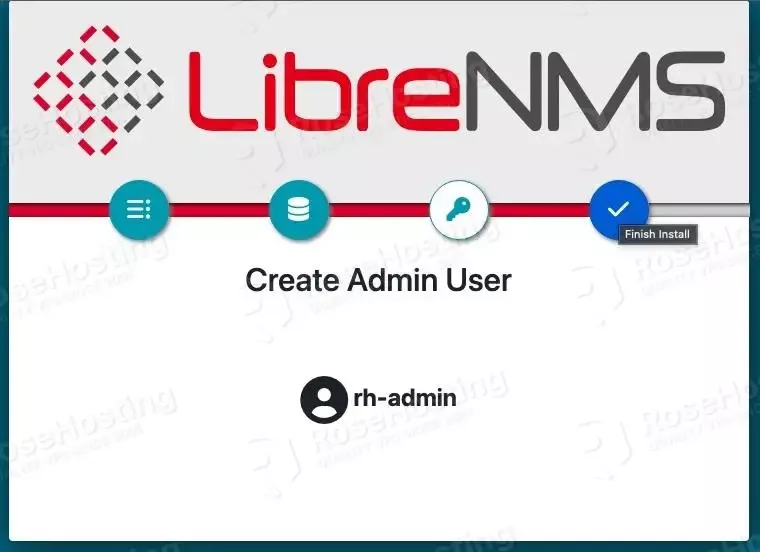
Next, click on the third circle button above to create an admin user, fill the information and click Add User
Click on the fourth circle button to finish the installation, then click on the Finish Install button
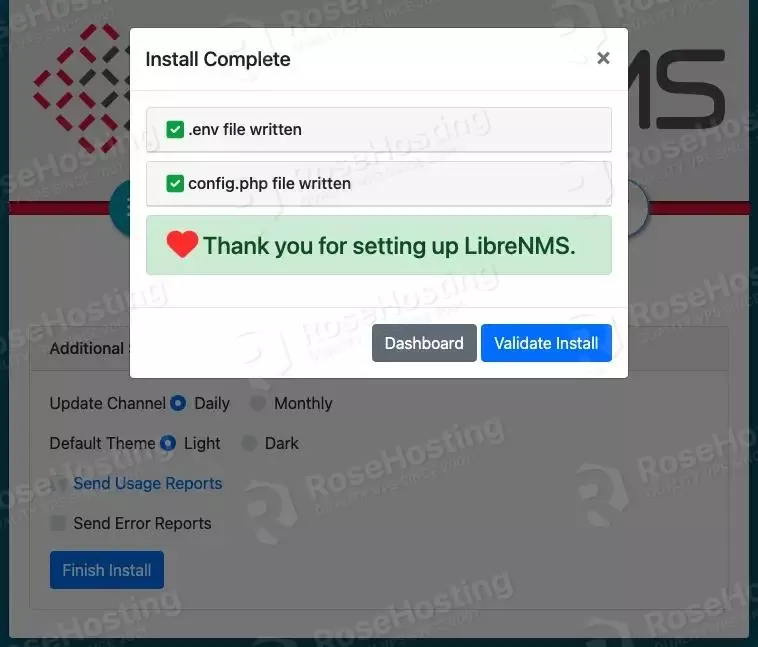
Then, click on Dashboard, and you will be asked to log in using the admin credential you created earlier
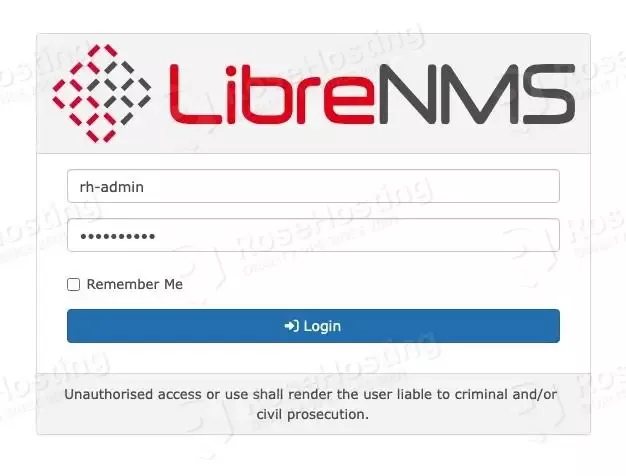
Once logged in, you will be brought to the dashboard
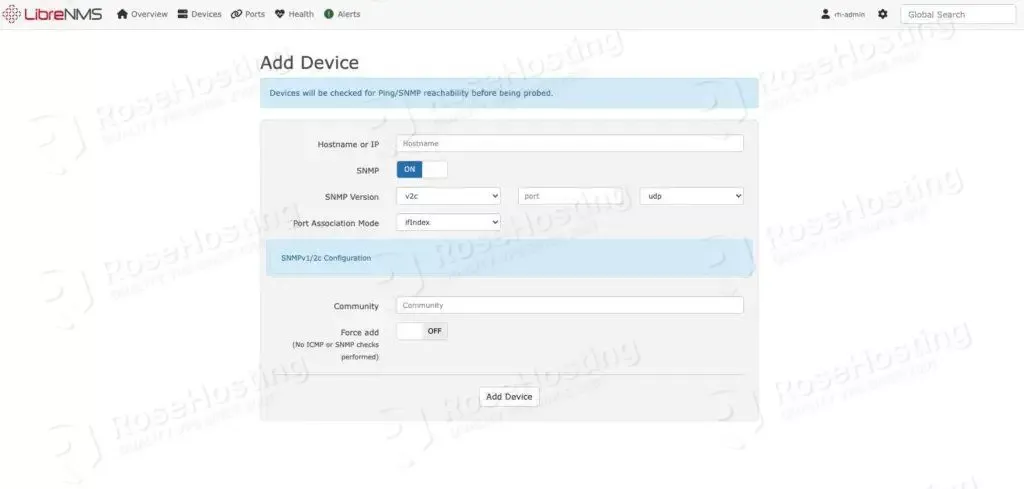
Here, you can add your devices, and you will be able to monitor them later.
Congratulation! You followed this article, and now you have successfully installed LibreNMS on the Ubuntu 22.04 machine.
Of course, you don’t have to spend your time and follow this article to install LibreNMS on Ubuntu 22.04 by yourself if you have an active Ubuntu VPS Hosting service with us, in which case you can simply ask our expert Linux admins to install LibreNMS for you. Our experienced system administrators are available 24×7 and will respond to your request immediately.
PS. If you liked this post on how to install LibreNMS on Ubuntu 22.04, please share it with your friends on social networks or simply leave a reply below. Thanks.
You forgot one packet in your install list
sudo apt install php-fpm
Also had Git download errors
error: RPC failed; HTTP 400 curl 22 The requested URL returned error: 400
fatal: error reading section header ‘shallow-info’
Increase the Git buffer size to the largest individual file size of your repo:\
git config –global http.postBuffer 157286400
git clone –depth 20 https://github.com/librenms/librenms.git librenms
Worked for me.