
AngularJS is a JavaScript-based open-source front-end web application framework that assists with running single-page applications. It allows developers to use HTML as their template language and lets them create robust, interactive websites without having to reload the browser for every new page view.
In this tutorial, we will show you how to install Angular CLI and create an AngularJS application on AlmaLinux OS.
Table of Contents
Step 1: Log in to the Server & Update the Server OS Packages
First, log in to your AlmaLinux server via SSH as the root user:
ssh root@IP_Address -p Port_number
You will need to replace ‘IP_Address‘ and ‘Port_number‘ with your server’s respective IP address and SSH port number. Additionally, replace ‘root’ with the username of the admin account if necessary.
Before starting, you have to make sure that all AlmaLinux packages installed on the server are up to date. You can do this by running the following command:
dnf update
Step 2: Install Node.js
First, install all required dependencies with the following command:
dnf install epel-release git curl unzip
Once all the dependencies are installed, check the available Node.js streams with the following command:
dnf module list nodejs
You should get similar output like this:
AlmaLinux 8 - AppStream
Name         Stream         Profiles
nodejs       10 [d]         common [d], development, minimal, s2i
nodejs       12             common [d], development, minimal, s2i
nodejs       14             common [d], development, minimal, s2i
nodejs       16             common [d], development, minimal, s2i

Extra Packages for Enterprise Linux Modular 8 - x86_64
Name         Stream         Profiles
nodejs       13             default, development, minimal
nodejs       16-epel        default, development, minimal

Hint: [d]efault, [e]nabled, [x]disabled, [i]installed
Next, install Node.js from the official repositories with the following command:
dnf module install nodejs:16
Once Node.js has been installed, you can verify the installed version of Node.js with the following command:
node -v
You should get the following output:
v16.13.1
To check the NPM version run the following command:
npm -v
You should get the following output:
8.1.1
Step 3: Installing Angular CLI
To install AngularJS, use the following command:
npm install -g @angular/cli
To verify that AngularJS is installed, check the version by running this command:
ng version
You should get an output like this:
Angular CLI: 13.3.3
Node: 16.13.1
Package Manager: npm 8.1.1
OS: linux x64
Step 4: Create a New Angular Application
You may use the ng command to create a new AngularJS application once you have Angular CLI installed.
ng new MyApplication
You should see the following output:
? Would you like to add Angular routing? Yes
? Which stylesheet format would you like to use? CSS [PRESS ENTER]
CREATE MyApplication/README.md (1067 bytes)
CREATE MyApplication/.editorconfig (274 bytes)
CREATE MyApplication/.gitignore (548 bytes)
CREATE MyApplication/angular.json (3082 bytes)
CREATE MyApplication/package.json (1077 bytes)
CREATE MyApplication/tsconfig.json (863 bytes)
CREATE MyApplication/.browserslistrc (600 bytes)
CREATE MyApplication/karma.conf.js (1431 bytes)
CREATE MyApplication/tsconfig.app.json (287 bytes)
CREATE MyApplication/tsconfig.spec.json (333 bytes)
CREATE MyApplication/.vscode/extensions.json (130 bytes)
CREATE MyApplication/.vscode/launch.json (474 bytes)
CREATE MyApplication/.vscode/tasks.json (938 bytes)
CREATE MyApplication/src/favicon.ico (948 bytes)
CREATE MyApplication/src/index.html (299 bytes)
CREATE MyApplication/src/main.ts (372 bytes)
CREATE MyApplication/src/polyfills.ts (2338 bytes)
CREATE MyApplication/src/styles.css (80 bytes)
CREATE MyApplication/src/test.ts (745 bytes)
CREATE MyApplication/src/assets/.gitkeep (0 bytes)
CREATE MyApplication/src/environments/environment.prod.ts (51 bytes)
CREATE MyApplication/src/environments/environment.ts (658 bytes)
CREATE MyApplication/src/app/app-routing.module.ts (245 bytes)
CREATE MyApplication/src/app/app.module.ts (393 bytes)
CREATE MyApplication/src/app/app.component.css (0 bytes)
CREATE MyApplication/src/app/app.component.html (23364 bytes)
CREATE MyApplication/src/app/app.component.spec.ts (1094 bytes)
CREATE MyApplication/src/app/app.component.ts (217 bytes)
✔ Packages installed successfully.
Successfully initialized git.
Change into the newly created MyApplication directory with the following command:
cd MyApplication
Serve up the new application with the command:
ng serve --host 0.0.0.0
You should get the following output:
✔ Browser application bundle generation complete.

Initial Chunk Files | Names | Raw Size
vendor.js | vendor | 1.97 MB |
polyfills.js | polyfills | 294.80 kB |
styles.css, styles.js | styles | 173.23 kB |
main.js | main | 49.80 kB |
runtime.js | runtime | 6.52 kB |

| Initial Total | 2.48 MB

Build at: 2022-04-19T21:06:08.919Z - Hash: 80933e939c98b336 - Time: 18108ms

** Angular Live Development Server is listening on 0.0.0.0:4200, open your browser on http://localhost:4200/ **

✔ Compiled successfully.
By default, the AngularJS application runs on port 4200
Step 5: Running AngularJS Application with PM2
Process Manager (PM2) will allow you to keep applications alive forever, reload them without downtime, and facilitate common system admin tasks. You can use npm to install PM2 as follows:
npm install -g pm2
After installing PM2, you can run these commands to start your AngularJS on port 4200.
cd MyApplication
pm2 start "ng serve --host 0.0.0.0"
If you want to run your AngularJS application on a specific port you need to run the following command:
pm2 start "ng serve --host 0.0.0.0 --port 8000"
Check the PM2 Status:
$ pm2 status
┌─────┬───────────────────────┬───────────┬─────────┬──────┬──────┬────────┬────┬────────┬─────┬──────┬──────┬─────────┐
│ id  │ name                  │ namespace │ version │ mode │ pid  │ uptime │ ↺  │ status │ cpu │ mem  │ user │ watching│
├─────┼───────────────────────┼───────────┼─────────┼──────┼──────┼────────┼────┼────────┼─────┼──────┼──────┼─────────┤
│ 0   │ ng serve --host 0.0.0 │ default   │ N/A     │ fork │ 1612 │ 0s     │ 0  │ online │ 0%  │ 1.2mb│ root │ disabled│
└─────┴───────────────────────┴───────────┴─────────┴──────┴──────┴────────┴────┴────────┴─────┴──────┴──────┴─────────┘
The following command is to allow incoming traffic on the TCP port 4200 in the firewall.
firewall-cmd --zone=public --add-port=4200/tcp --permanent
firewall-cmd --reload
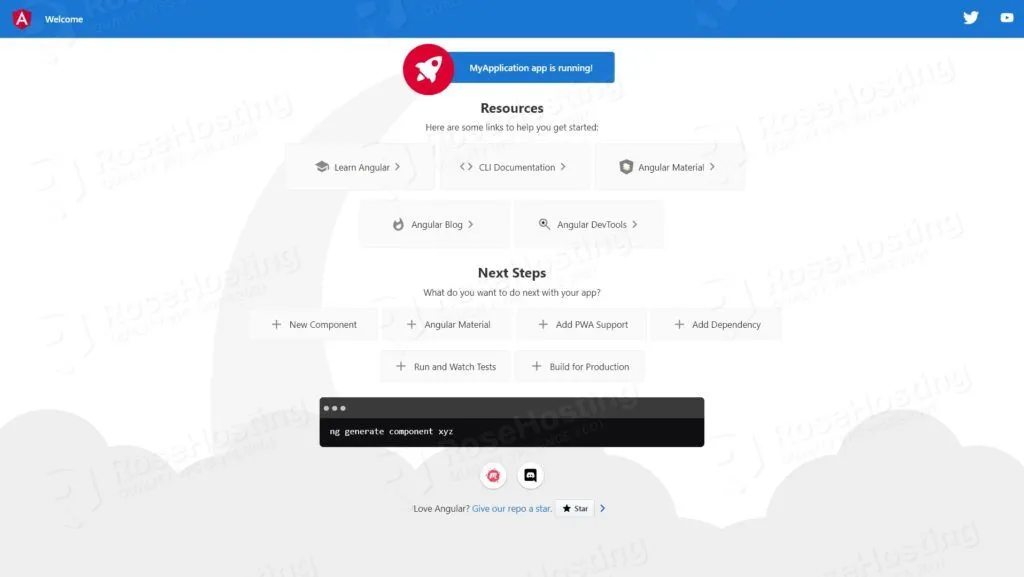
Step 6: Access AngularJS Application
Now, open your web browser and type:
http://your-server-ip-address:4200
You should see your AngularJS Application on the following screen:
Of course, you don’t have to install AngularJS on AlmaLinux, if you use one of our Managed AlmaLinux Hosting plans, in which case you can simply ask our expert Linux admins to install AngularJS on AlmaLinux for you. They are available 24×7 and will take care of your request immediately.
PS. If you liked this post on how to install AngularJS on AlmaLinux, please share it with your friends on social networks or simply leave a reply below. Thanks.