
If you’ve just got a shiny new VPS or dedicated server to play with, chances are that you want to use it as a web server – and that means Apache. Each Linux flavor has a slightly different Apache configuration and usage, so it’s important to know which one you want to use. In this tutorial, We’ll show you how to install Apache on CentOS and access basic files on it.
There’s a lot of stuff to do after the installation like setting up the DNS entries and configuring the virtual hosts etc, but for now, let’s just get Apache up and running.
Table of Contents
Directly Accessing the Server with the IP Address
If you don’t have a package on your system that listens to port 80 on your server, you’ll just get a message saying that the “Site can’t be reached”. To check, first find your IP address by running the following command:
ifconfig
This should give you an output like this:
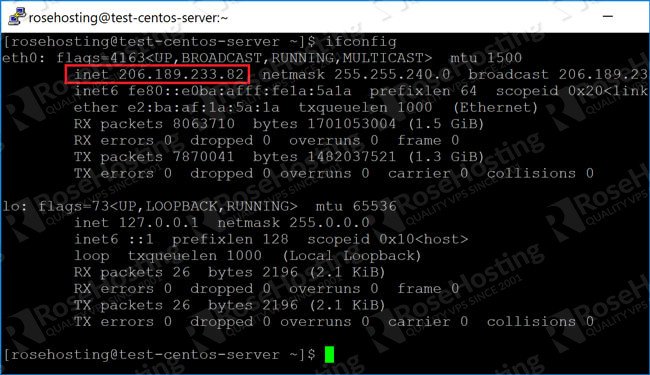
The numbers in red in the screenshot above represent the IP address for your server. Plugging this into the browser before installing Apache, I get nothing as shown here:
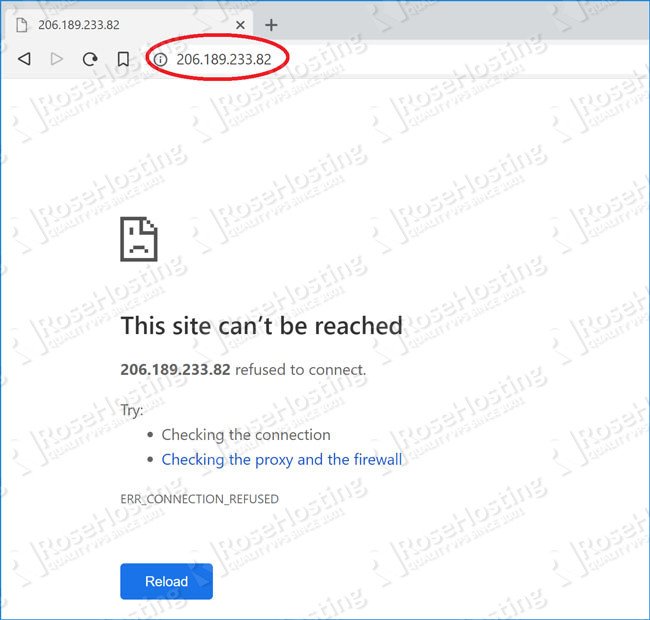
This is because there’s nothing attached to port 80 on my system. Port 80 is the default port on which all browsers make their HTTP requests. HTTPS requests, on the other hand, go to port no 442. After we finish installing Apache on our server, the above screenshot will look very different!
Step 1: Installing the httpd Package
On CentOS, the Apache server goes by the “httpd” package name. On Ubuntu, the package is called “apache2”. It doesn’t need the extended “epel-release” repository, and can be installed directly from the base packages with the following command:
sudo yum install httpd
This will run through the installation process and ask for confirmation like this:
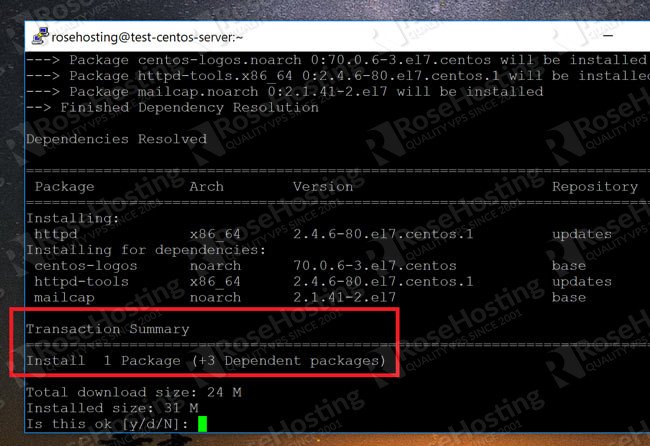
You can see here that it’s not large. Just one file, and three dependencies with a total of 31M.
Step 2: Starting the httpd Service
Now that we have httpd installed, we need to start the service. For this, make sure that you have sudo access or are root, and type in the following command:
sudo systemctl start httpd
Provide your admin password, and the httpd service will start. You can check the status of the service by typing the following:
systemctl status httpd
This will give you a response like this if everything is working great:
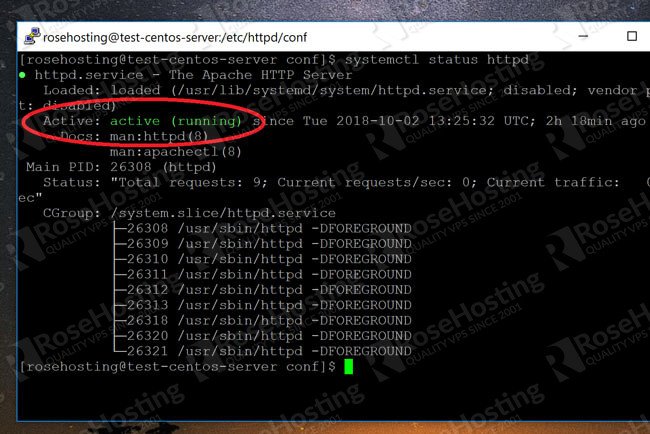
Note the green “active (running)” message. Not that we know httpd is functioning, it’s time to test it out!
Step 3: (Maybe) Open Port 80 from Your Firewall
Depending on whether or not you’ve installed a firewall yet, you need to ensure that port 80 is opened for incoming connections. There are many firewall programs out there, but my personal favorite is ConfigServer Security & Firewall (CSF).
If you haven’t installed a firewall yet, you can skip this step, but when you do have one, don’t forget open port 80 (and 443 for HTTPS) so that you can continue to use Apache.
Step 4: Testing Apache
We’ve already done the hard work. Open a browser and visit your IP address as you did before. If everything works, you should see a page like this:
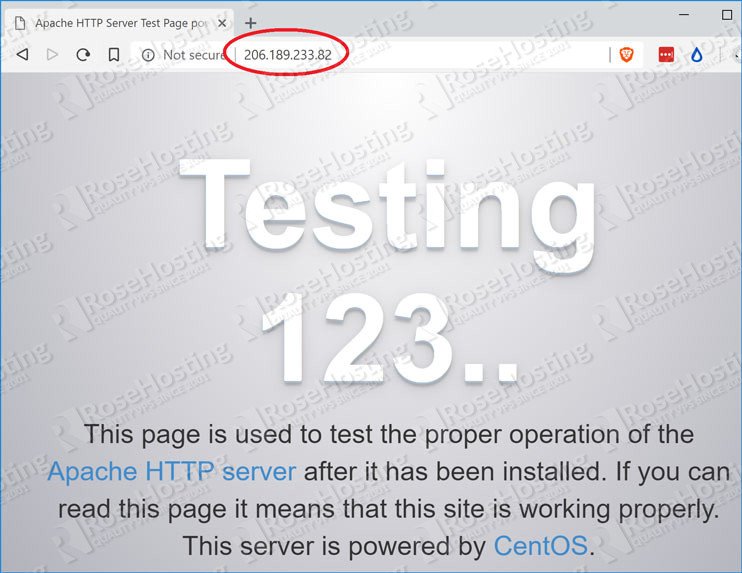
That’s it! You’ve successfully installed Apache on your CentOS server, and got it to work!
Step 5: Accessing a Page
By default, the directory on which Apache checks for files is:
/var/www/html
We can test this. For example, we created a file called “basic_html.html” with skeleton HTML code and placed it in /var/www/html.

We can access it directly like this:
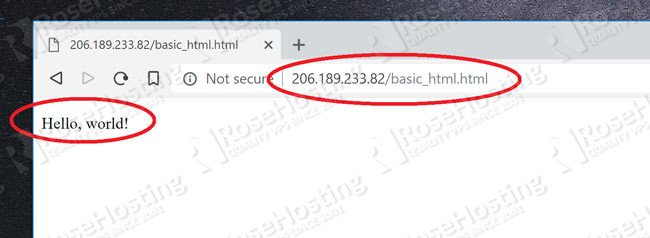
As you can see, it’s picked up and displayed.
Step 5: Further Configuration
Of course, there’s still a lot to be done. DNS configuration to point your own domain(s) to the server, configuring the virtual host’s file etc. We’ll look at all of that in future articles!
If you use one of our fully managed Linux VPS hosting services, you don’t have to do any of the above. Simply ask our dedicated admin team and they will gladly take care of all the server work for you.