
The defining feature of a Linux server is the command line. While there have been several successful GUI implementations, they haven’t really caught on with mainstream admins for the following reasons:
- The command line is faster for well-defined tasks
- A GUI is an extremely resource intensive, and a server needs all the CPU time it can get
- It’s easier to follow a set of instructions with one command after the other
- Most Linux administration happens remotely – so a full GUI is a bit of a headache
However, we can overcome some of these limitations (particularly point No. 2) by having a browser-based GUI that connects remotely and offloads all the graphics to the user’s browser. And this is where Webmin comes in.
Table of Contents
Webmin – A GUI for Server Administration
If you’re new to web-based GUI systems, Webmin will be a pleasant surprise. It’s easy to set up, and you can carry out most admin tasks using it, including monitoring resource usage graphically, creating and managing users, installing software, updating it etc.
Best of all, it comes nicely packaged with a yum repository, so there’s no need for you to do any manual configuration. It all works out of the box. Let’s get started!
Note: You’ll need sudo privileges for a lot of steps in this tutorial. So either make sure you’re included in the “sudoers” file or execute these with elevated privileges.
Step 1: Add the Repo to CentOS
Since we want to install everything via yum, first create the file:
vi /etc/yum.repos.d/webmin.repo
And add the following lines to it:
[Webmin]
name=Webmin Distribution Neutral
#baseurl=https://download.webmin.com/download/yum
mirrorlist=https://download.webmin.com/download/yum/mirrorlist
enabled=1
Next, we need the public key from the Webmin site to ensure that the files we receive are not tampered with:
wget http://www.webmin.com/jcameron-key.asc
rpm --import jcameron-key.asc
Now we’ve configured the source. Time to install Webmin.
Step 2: Install Webmin
We’ve already done the hard work in step 1. We can install it with:
yum install webmin
Click “yes” to complete the install. The yum command automatically installs all the dependencies, so you don’t have to do any more work. With one exception. When you log into Webmin you may see this error:
"No Perl MD5 hashing module found!"

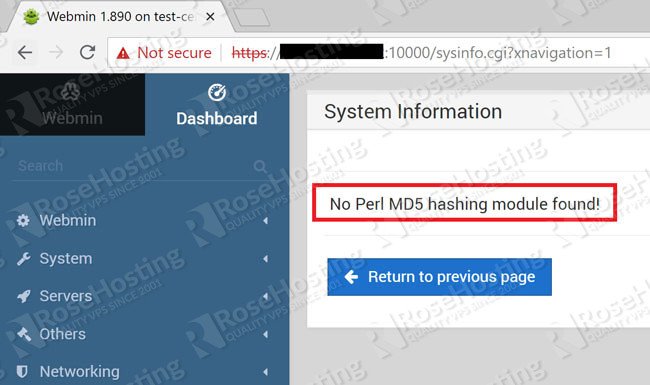
This is because of a missing module. Install it separately with yum:
yum install perl-Digest-MD5
And you’re done!
Step 3: Logging into Webmin
If the installation has gone smoothly, you can log into Webmin using the following address on your browser:
[yourIPAddress]:10000/
To get your IP address on Linux, use the “ifconfig” command like this:
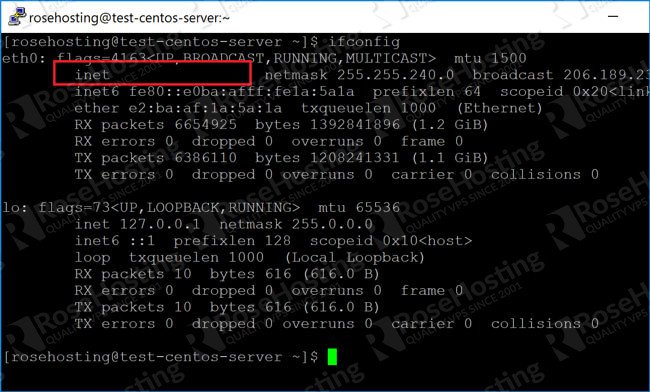
Plug in this IP address into the browser address bar and you’re on your way.
The one problem, however, is that the latest versions of Webmin enable SSL by default. So you’ll probably get this error message:
“Error – Document follows. This web server is running in SSL mode”
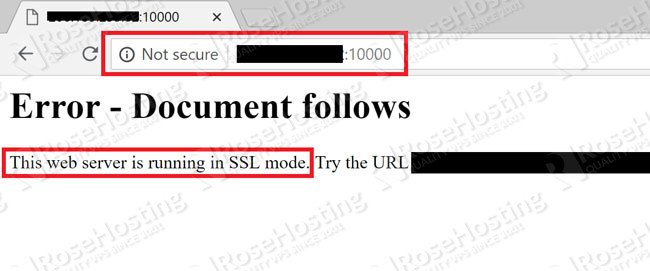
No avoid this, access the address using “https” instead. So the URL becomes:
https:// [yourIPAddress]:10000/
You’ll get a warning on Chrome about an insecure site. Ignore it and click “Advanced”, and then “Proceed to site (unsafe)”.
Now you’ll get the Webmin login as shown here:
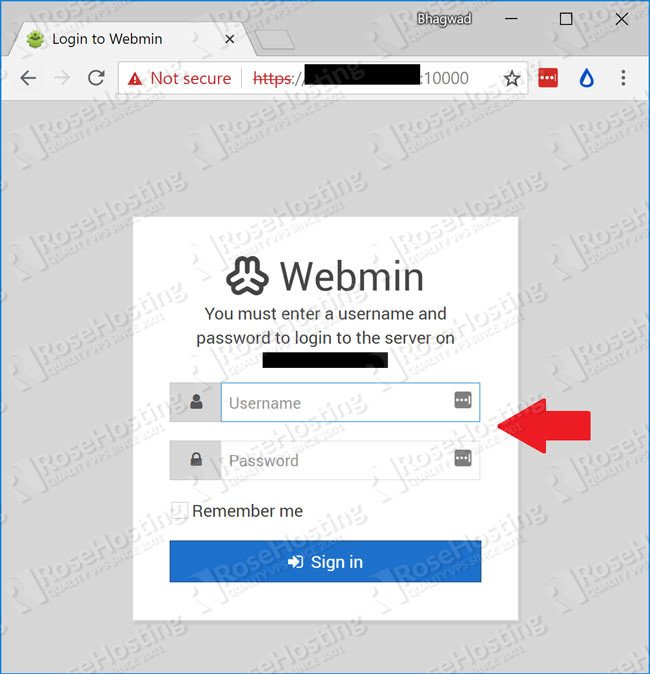
Enter root and your root password. And now you’re logged into Webmin!
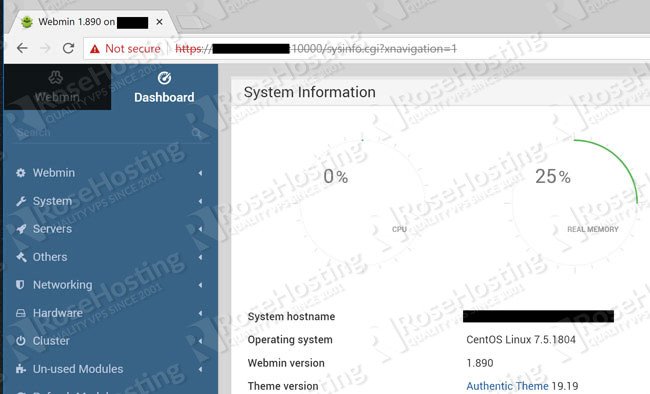
As you can see on the left-hand side, you can carry out all the common tasks of website administration, and quite a few advanced ones as well! You can monitor processes, clean up unused packages, manage cron jobs, and even open a command line shell for quick commands you need to execute.
There’s a lot to explore within Webmin, and you’ll probably be like a kid in a candy store, looking at all the features and actions that were previously accessible only via the command line! Webmin is a truly powerful and mature GUI platform for managing your server remotely and securely.
You can manage any of our Linux VPS hosting accounts using this GUI. Just ask our technical support representatives and they will install it and configure it for you immediately. No need for you to waste any time from running your business.