
In this tutorial, we will explain how to install and configure Askbot on a CentOS 7 VPS with Nginx.
 Askbot is an open-source question and answers forum system written in Django and Python. It is simple, easy-to-use, and very similar to StackOverflow. It is a powerful and highly-customizable software that allows you to create your own question and answer forum on the internet. Many companies, such as Fedora, OpenStack, and LibreOffice use Askbot for their Q&A sections.
Askbot comes with a rich set of features, including Q&A knowledge management, Customizable Email notifications, Tagging and categorization systems, Focused on-topic discussions, as well as supporting login via LinkedIn, Twitter, Facebook, and Google, to name a few. Let’s get started with the installation.
Table of Contents
Prerequisites
- A fresh CentOS 7 VPS with root access enabled or a user with sudo privileges.
- A valid domain name pointed to VPS IP address. In this tutorial, we will use
forum.mydomain.com.
Step 1: Log in and Update Packages
First, we’re going to need to log into our server using SSH. You can do that by entering this command:
ssh root@IP_Address -p Port_Number
Remember to replace “root” with your username if you are not using the root user. Change “IP_Address” and “Port_Number” according to your server’s IP address and SSH port number.
Once you are logged in, you should update all of your packages to their latest available versions.
yum update -y
Step 2: Getting Started
Before we begin, we will need to install all the dependencies required by Askbot.
First, install the “Development Tools” group of packages with the following command:
yum group install 'Development Tools'
Next, install the EPEL repository using the following command:
yum install epel-release
Finally, install Python packages by running the following command:
yum install python-pip python-devel python-six
Next, we will need to create a separate user for the Askbot installation. To create an Askbot user, run the following command:
useradd -m -s /bin/bash askbot
Next, set the user’s password with the following command:
passwd askbot
Next, we will need to add the askbot user to the wheel group for sudo command access. You can do this with the following command:
usermod -a -G wheel askbot
Step 3: Install and Configure PostgreSQL Database
Next, we will need to install PostgreSQL database server. Askbot uses PostgreSQL database to store their data. You can install the PostgreSQL database server along with other required packages by just running the following command:
yum install postgresql-server postgresql-devel postgresql-contrib
After installing PostgreSQL, initialize the database with the following command:
postgresql-setup initdb
Next, start the PostgreSQL service and enable it to start after system reboot with the following command:
systemctl start postgresql
systemctl enable postgresql
You can also verify the status of PostgreSQL with the following command:
systemctl status postgresql
You should get the following output:
● postgresql.service - PostgreSQL database server
   Loaded: loaded (/usr/lib/systemd/system/postgresql.service; disabled; vendor preset: disabled)
   Active: active (running) since Wed 2019-08-21 13:54:07 UTC; 8s ago
  Process: 15983 ExecStart=/usr/bin/pg_ctl start -D ${PGDATA} -s -o -p ${PGPORT} -w -t 300 (code=exited, status=0/SUCCESS)
  Process: 15978 ExecStartPre=/usr/bin/postgresql-check-db-dir ${PGDATA} (code=exited, status=0/SUCCESS)
 Main PID: 15986 (postgres)
   CGroup: /system.slice/postgresql.service
           ├─15986 /usr/bin/postgres -D /var/lib/pgsql/data -p 5432
           ├─15987 postgres: logger process
           ├─15989 postgres: checkpointer process
           ├─15990 postgres: writer process
           ├─15991 postgres: wal writer process
           ├─15992 postgres: autovacuum launcher process
           └─15993 postgres: stats collector process

Aug 21 13:54:05 centos systemd[1]: Starting PostgreSQL database server...
Aug 21 13:54:07 centos systemd[1]: Started PostgreSQL database server
Next, we will need to create a new PostgreSQL database and user for the Askbot instance. To do so, first log in to PostgreSQL with the following command:
su - postgres
-bash-4.2$ psql
Ouput:
psql (9.2.24)
Type "help" for help.
Once logged in, create a database and user with the following command:
postgres=# create database askbot;
postgres=# create user askbot with password 'password';
Make sure you replace “password” with a unique, good password.
Next, grant all the privileges to the askbot database and exit from the PostgreSQL shell with the following command::
postgres=# grant all privileges on database askbot to askbot;
postgres=# \q
Next, we will need to configure local user authentication. You can achieve this by editing the pg_hba.conf configuration file:
nano /var/lib/pgsql/data/pg_hba.conf
Replace peer with md5 to activate password authentication as shown below:
# "local" is for Unix domain socket connections only
local   all             all                                     md5
# IPv4 local connections:
host    all             all             127.0.0.1/32            md5
# IPv6 local connections:
host    all             all             ::1/128                 md5
Save and close the file, then restart the PostgreSQL service to apply configuration changes:
systemctl restart postgresql
Once you have done, you can proceed to the next step.
Step 4: Install and Configure Askbot
Before installing Askbot, we will need to upgrade the python-pip package to the latest version. Run the following command to upgrade python-pip:
pip install --upgrade pip
Next, run the following command to install python virtualenv:
pip install virtualenv six
Once installed, log in with the askbot user and create a new python virtual environment named my-askbot using the following command:
su - askbot
virtualenv my-askbot
You should get the following output:
No LICENSE.txt / LICENSE found in source
New python executable in /home/askbot/my-askbot/bin/python2
Also creating executable in /home/askbot/my-askbot/bin/python
Installing setuptools, pip, wheel...
done.
Next, change the directory to my-askbot and activate the virtual environment with the following command:
cd my-askbot/
[askbot@centos my-askbot]$ source bin/activate
Output:
(my-askbot) [askbot@centos my-askbot]$
Next, let’s start to install Askbot with other dependencies:
pip install six==1.10.0
pip install askbot psycopg2
Once installed, create a new directory for your project:
mkdir testapp
Next, change the directory to testapp and set up AskBot with the following commands:
cd testapp
askbot-setup
You will be asked to provide the directory path you want to deploy AskBot to, as shown below:
Deploying Askbot - Django Q&A forum application
Problems installing? -> please email admin@askbot.org

To CANCEL - hit Ctr-C at any time

Enter directory path (absolute or relative) to deploy
askbot. To choose current directory - enter "."
> .
Type “.” and hit [Enter] to continue. You will be asked to select a database engine:
Please select database engine:
1 - for postgresql, 2 - for sqlite, 3 - for mysql, 4 - oracle
type 1/2/3/4: 1
Type “1” and hit [Enter] for PostgreSQL database. Then, provide a database name, username, and password as shown below:
Please enter database name (required)
> askbot

Please enter database user (required)
> askbot

Please enter database password (required)
> password
Once the installation has been finished, you should see the following output:
Copying files:
* __init__.py
* manage.py
* urls.py
* django.wsgi
Creating settings file
settings file created

copying directories: * doc
* cron
* upfiles
Done. Please find further instructions at Askbot documentation.
Next, we will need to generate Askbot Django static files. You can do this using the following command:
python manage.py collectstatic
Generate the database using the following command:
python manage.py syncdb
You will need to provide your admin user name, password and email as shown below, as well as replacing mydomain.com with your domain name:
You have installed Django's auth system, and don't have any superusers defined.
Would you like to create one now? (yes/no): yes
Username (leave blank to use 'askbot'):
Email address: admin@mydomain.com
Password:
Password (again):
Superuser created successfully.
Askbot is now installed! You can test it with the following command:
python manage.py runserver 0.0.0.0:8080
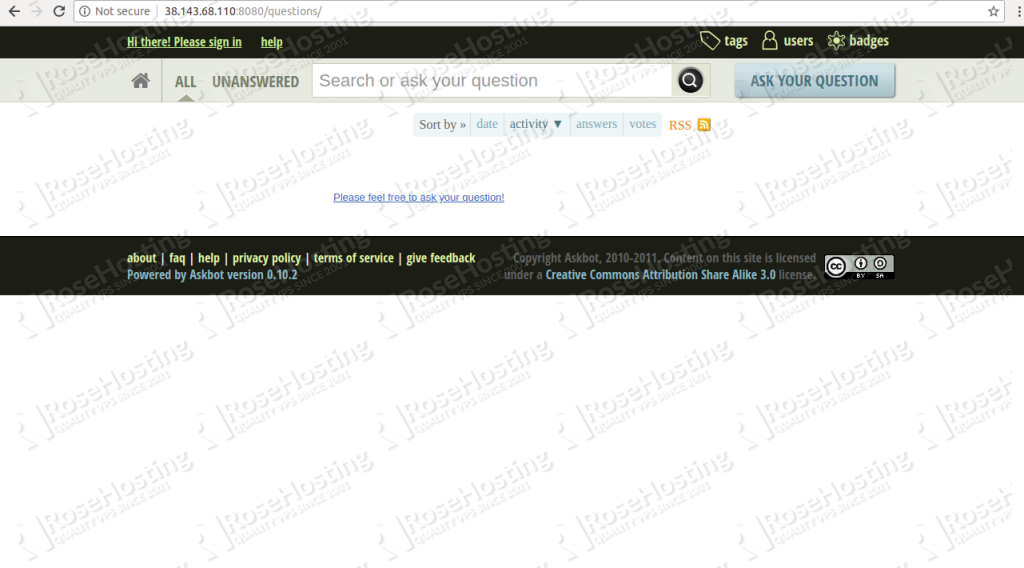
Now, open your web browser and type the URL http://your-server-ip:8080. You will be redirected to the Askbot dashboard as shown in the following screen:
Step 5: Install and Configure uWSGI
Next, we will need to install and configure uWSGI with Nginx to serve your Askbot application. uWSGI is a software tool that supports applications written in Python, Perl, and Ruby. It is typically used for running Python web applications.
You can install uWSGI using the pip command as a root user:
pip install uwsgi
Once installed, create a new directory for uWSGI:
mkdir -p /etc/uwsgi/sites
Next, create a new uWSGI configuration file using the following command:
nano /etc/uwsgi/sites/askbot.ini
Add the following lines:
[uwsgi]

chdir = /home/askbot/my-askbot/testapp
home = /home/askbot/my-askbot
static-map = /m=/home/askbot/my-askbot/testapp/static
wsgi-file = /home/askbot/my-askbot/testapp/django.wsgi
master = true
processes = 5
# Askbot will running under the sock file
socket = /run/uwsgi/askbot.sock
chmod-socket = 664
uid = askbot
gid = nginx
vacuum = true
# uWSGI Log file
ogto = /var/log/uwsgi.log
Save and close the file, when you are finished.
Next, create a systemd service file to manage uWSGI service.
nano /etc/systemd/system/uwsgi.service
Add the following lines:
[Unit]
Description=uWSGI service

[Service]
ExecStartPre=/bin/bash -c 'mkdir -p /run/uwsgi; chown askbot:nginx /run/uwsgi'
ExecStart=/bin/uwsgi --emperor /etc/uwsgi/sites
Restart=always
KillSignal=SIGQUIT
Type=notify
NotifyAccess=all

[Install]
WantedBy=multi-user.target
Save and close the file. Then, reload the systemd services with the following command:
systemctl daemon-reload
Install and Configure Nginx as a reverse Proxy for Askbot
Next, we will need to install and configure Nginx as a reverse proxy for the uWSGI application and Askbot.
First, install the Nginx webserver with the following command:
yum install nginx -y
Once installed, create a new virtual host configuration file for Askbot:
nano /etc/nginx/conf.d/askbot.conf
Add the following lines:
server {
         listen 80;
         server_name forum.mydomain.com;
         location / {
         include         uwsgi_params;
         uwsgi_pass	 unix:/run/uwsgi/askbot.sock;
    }
 }
Make sure to replace mydomain.com with your registered domain name.
Save and close the file, when you are finished.
Start Nginx and uWSGI services, and enable them to start after system reboot with the following command:
systemctl start nginx
systemctl enable nginx
systemctl start uwsgi
systemctl enable uwsgi
You can now check the status of uWSGI service with the following command:
systemctl status uwsgi
If everything goes fine, you should get the following output:
● uwsgi.service - uWSGI Emperor service
   Loaded: loaded (/etc/systemd/system/uwsgi.service; disabled; vendor preset: disabled)
   Active: active (running) since Wed 2019-08-21 14:34:03 UTC; 16s ago
  Process: 28557 ExecStartPre=/bin/bash -c mkdir -p /run/uwsgi; chown askbot:nginx /run/uwsgi (code=exited, status=0/SUCCESS)
 Main PID: 28560 (uwsgi)
   Status: "The Emperor is governing 1 vassals"
   CGroup: /system.slice/uwsgi.service
           ├─28560 /bin/uwsgi --emperor /etc/uwsgi/sites
           ├─28562 /usr/bin/uwsgi --ini askbot.ini
           ├─28570 /usr/bin/uwsgi --ini askbot.ini
           ├─28571 /usr/bin/uwsgi --ini askbot.ini
           ├─28572 /usr/bin/uwsgi --ini askbot.ini
           ├─28573 /usr/bin/uwsgi --ini askbot.ini
           └─28574 /usr/bin/uwsgi --ini askbot.ini

Aug 21 14:34:03 centos uwsgi[28560]: your processes number limit is 3854
Aug 21 14:34:03 centos uwsgi[28560]: your memory page size is 4096 bytes
Aug 21 14:34:03 centos uwsgi[28560]: detected max file descriptor number: 1024
Aug 21 14:34:03 centos uwsgi[28560]: *** starting uWSGI Emperor ***
Aug 21 14:34:03 centos systemd[1]: Started uWSGI Emperor service.
Aug 21 14:34:03 centos uwsgi[28560]: *** has_emperor mode detected (fd: 7) ***
Aug 21 14:34:03 centos uwsgi[28560]: [uWSGI] getting INI configuration from askbot.ini
Aug 21 14:34:03 centos uwsgi[28560]: [uwsgi-static] added mapping for /m => /home/askbot/my-askbot/testapp/static
Aug 21 14:34:04 centos uwsgi[28560]: Wed Aug 21 14:34:04 2019 - [emperor] vassal askbot.ini has been spawned
Aug 21 14:34:04 centos uwsgi[28560]: Wed Aug 21 14:34:04 2019 - [emperor] vassal askbot.ini is ready to accept requests
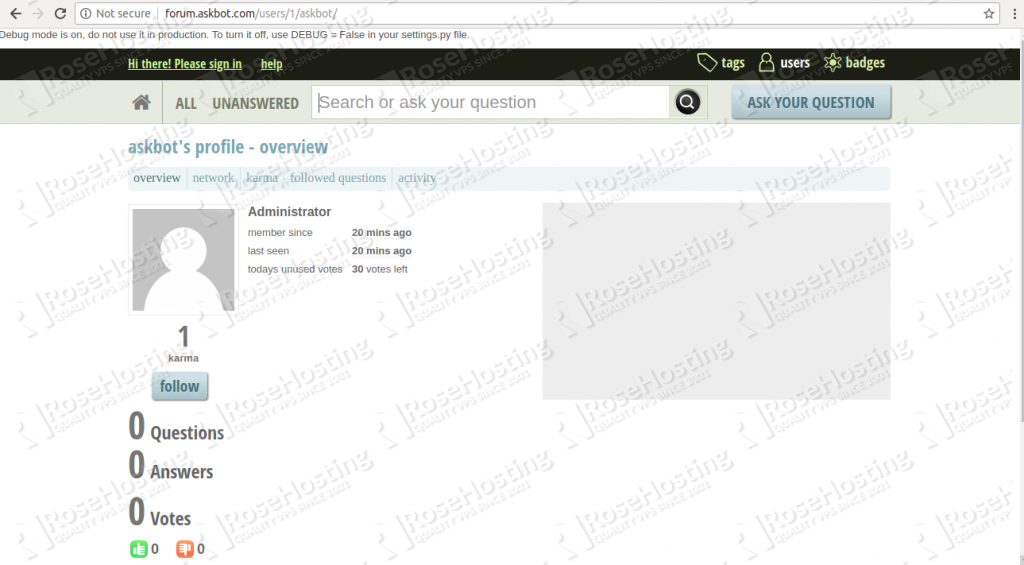
Access Askbot Web Interface
Askbot is now installed and configured with Nginx and uWSGI support. Next, open your web browser and visit the URL http://forum.mydomain.com. You will be redirected to the Askbot dashboard page, as shown in the following image:
Congratulations! You have successfully installed Askbot on your CentOS 7 VPS. You have also configured uWSGI to run Askbot, as well as configuring Nginx to serve as a reverse proxy for the uWSGI application and Askbot. For more information, you can visit the Askbot official documentation.
 Of course, you don’t have to install Askbot on CentOS 7 if you have a Managed CentOS VPS with us. In that case, you can simply ask our support team to install Askbot on CentOS 7 for you. They are available 24/7, and they will be able to help you with the installation.
PS. If you enjoyed reading this blog post on how to install Askbot on CentOS 7, feel free to share it on social networks by using the shortcuts below, or simply leave a comment in the comments section. Thank you.