
Bitwarden is a popular open-source password manager that allows you to securely store and share your passwords, notes, and other sensitive information. By running your own Bitwarden server, you gain complete control over your data and reduce your dependency on third-party services. Bitwarden offers different client applications: a web application, a browser extension, and a desktop application. In this tutorial, we will show you how to install Bitwarden on AlmaLinux 10 using Docker and Docker Compose.
Table of Contents
Prerequisites
- Minimum Requirements: 2GB (Recommended Requirements: 4GB)
- An AlmaLinux 10 server ready for Bitwarden installation.
- User privileges: root or non-root user with sudo privileges
Step 1. Update the system
Before we start with the installation of Bitwarden, we need to update the system packages to their latest available versions. To do that, execute the following command:
# dnf update -y && sudo dnf upgrade -yStep 2. Install Docker and Docker Compose
The Docker repository is not installed on AlmaLinux 10 by default. You can install the repository with:
# dnf config-manager --add-repo https://download.docker.com/linux/centos/docker-ce.repoThen you can install Docker, the Docker CLI tool, and the Docker Compose plugin by running the command:
# dnf install docker-ce docker-ce-cli containerd.io docker-buildx-plugin docker-compose-pluginOnce the installation is completed, you can check if Docker and Docker Compose are installed by running the command:
# docker –version
Docker version 28.3.3, build 980b856
# docker compose version
Docker Compose version v2.39.1
Now you can enable Docker to start on server reboot and run the Docker service with the commands
# systemctl enable docker
# systemctl start docker
To make sure Docker is running, check with the command:
# systemctl status docker

● docker.service - Docker Application Container Engine
     Loaded: loaded (/usr/lib/systemd/system/docker.service; enabled; preset: disabled)
     Active: active (running) since Mon 2025-08-11 18:13:18 EDT; 1s ago
 Invocation: 28453deabeec4f839f02efff11151b8a
TriggeredBy: ● docker.socket
       Docs: https://docs.docker.com
   Main PID: 18453 (dockerd)
      Tasks: 11
     Memory: 25.2M (peak: 26.8M)
        CPU: 199ms
     CGroup: /system.slice/docker.service
             └─18453 /usr/bin/dockerd -H fd:// --containerd=/run/containerd/containerd.sock
Step 3. Install Bitwarden
Now you can get the Bitwarden installation key and ID from the official Bitwarden website at https://bitwarden.com/host/. Once you enter the email account and choose your region, you will reach this step.
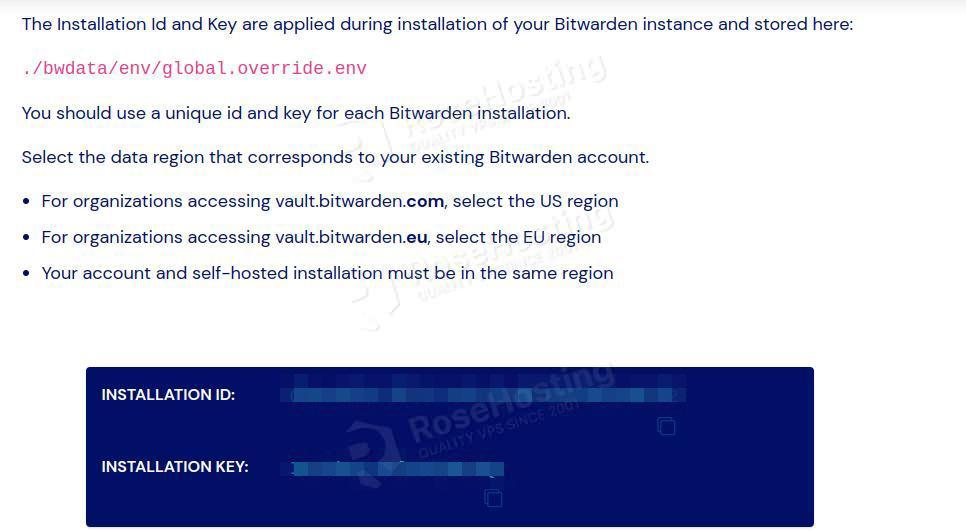
Save the installation key and ID, and proceed with the installation.
Now you can create a system user; this user can be called Bitwarden. Make sure to also add the Bitwarden user to the Docker group with the commands.
# adduser bitwarden
# usermod -G docker bitwarden
Now you can start the installation by downloading and running the script on your AlmaLinux 10 server.
# curl -Lso bitwarden.sh https://go.btwrdn.co/bw-sh
# chmod +x bitwarden.sh
# ./bitwarden.sh install
You will need to enter the Installation key and Installation ID during the installation, once the application is completed and the docker containers are started, you should receive this message.
Bitwarden is up and running!
===================================================

visit https://my.bitwarden.com
to update, run `./bitwarden.sh updateself` and then `./bitwarden.sh update`
Step 5. Finish Bitwarden Installation
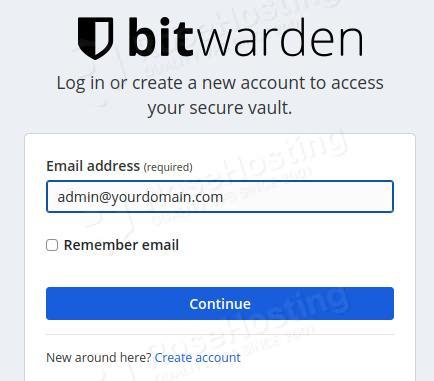
Now, you can access https://YourDomain.com to finish the installation and set administrator login credentials:
Enter your email address and click on the Create Account button:
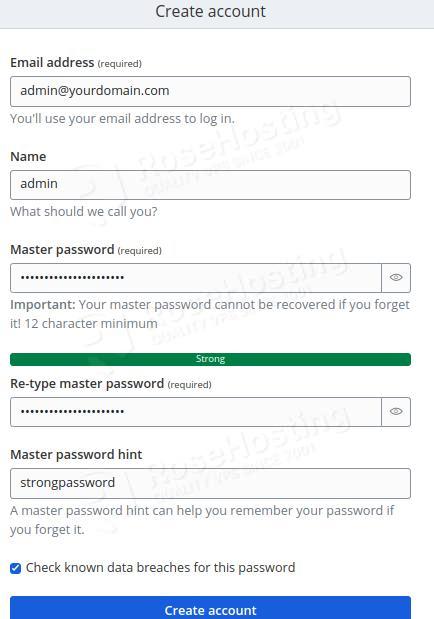
Then enter your master password twice, along with the password hint and username:
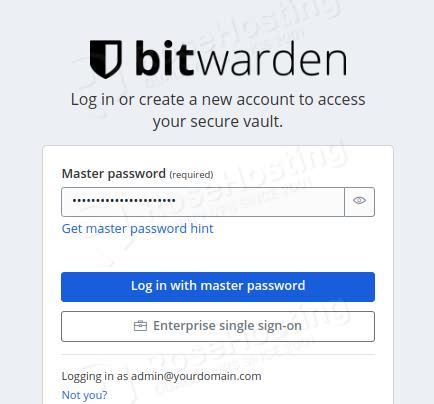
Use your master password to log in to your Bitwarden website:
Once logged in, you will get the following screen:
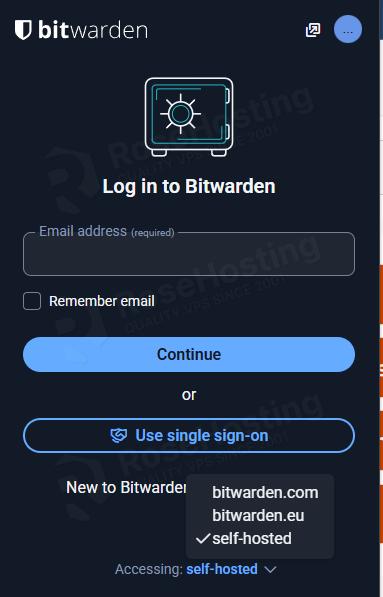
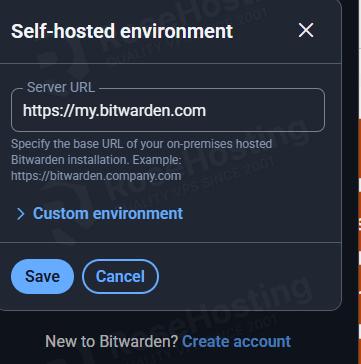
You can also use the Bitwarden plugin in the Chrome and Firefox browsers by choosing the self-hosted option
Conclusion
You have successfully installed Bitwarden on AlmaLinux 10. You can now store and manage your credentials securely on your own server.
If you want a fully managed, secure, and optimized environment without dealing with server maintenance, you can always get a Managed Bitwarden hosting VPS from us — we’ll set up and secure everything for you.