
Fathom Analytics is the best alternative to Google Analytics. It is an open source web analytics application that offer privacy law compliance and simplicity. Fathom Analytics has a minimalist design and it is written in Go and ships as a single binary file. The installation of Fathom Analytics is pretty easy and straightforward. In this tutorial, we will show you how to install Fathom Analytics on Debian 11 VPS.
Table of Contents
Prerequisites
Debian 11 VPS
SSH root access or a regular system user with sudo privileges
Step 1. Log in to the server
First, log in to your Debian 11 server through SSH as the root user:

ssh root@IP_Address -p Port_number
You will need to replace ‘IP_Address‘ and ‘Port_number‘ with your server’s respective IP address and SSH port number. Additionally, replace ‘root’ with the username of the system user with sudo privileges.
You can check whether you have the proper Debian version installed on your server with the following command:
# lsb_release -a
You should get this output:
No LSB modules are available.
Distributor ID: Debian
Description: Debian GNU/Linux 11 (bullseye)
Release: 11
Codename: bullseye
Step 2. Add a System User
Now, let’s add a new system user. A system user that will run fathom, it has no password and we cannot use it to log in to the system like any other system users.
# useradd -r -d /opt/fathom -m fathom
By running the command above, a new system user ‘fathom’ is created, and /opt/fathom directory is also created.
Step 3. Install Database Server
Fathom Analytics supports PostgreSQL, SQLite3, and MySQL. By default, it will use SQLite3, but in this tutorial we will show you how to install Fathom with MySQL/MariDB as the database server. In this step, we will install MariaDB from Debian 11 repository.
Run this command below to install the MariaDB server from the official Debian repositories:
# apt install mariadb-server mariadb-client -y
Once installed, MariaDB will run and it’s already configured to run after reboot, by default.
Next, let’s secure the MariaDB installation.
# mysql_secure_installation
By running the command above, you will set the MariaDB root password, disable remote root login and remove anonymous users as shown below:
Enter current password for root (enter for none):
Set root password? [Y/n] Y
New password:
Re-enter new password:
Remove anonymous users? [Y/n] Y
Disallow root login remotely? [Y/n] Y
Remove test database and access to it? [Y/n] Y
Reload privilege tables now? [Y/n] Y
Step 4. Create a Database
MySQL has a root password now, so to create a new database you need to log in to mysql using this command:
# mysql -u root -p
You will be brought to MySQL shell.
Welcome to the MariaDB monitor. Commands end with ; or \g.
Your MariaDB connection id is 44
Server version: 10.5.12-MariaDB-0+deb11u1 Debian 11

Copyright (c) 2000, 2018, Oracle, MariaDB Corporation Ab and others.

Type 'help;' or '\h' for help. Type '\c' to clear the current input statement.

MariaDB [(none)]>
Once logged in, let’s run the following commands:
MariaDB [(none)]> CREATE DATABASE fathom;
Query OK, 1 row affected (0.000 sec)

MariaDB [(none)]> CREATE USER 'fathom'@'localhost' IDENTIFIED BY 'm0d1fyth15';
Query OK, 0 rows affected (0.000 sec)

MariaDB [(none)]> GRANT ALL PRIVILEGES ON fathom.* TO 'librenms'@'localhost';
Query OK, 0 rows affected (0.000 sec)

MariaDB [(none)]> FLUSH PRIVILEGES;
Query OK, 0 rows affected (0.000 sec)

MariaDB [(none)]> \q
Make sure you create a strong database password, replace m0d1fyth15 in the command above with a stronger one.
Step 5. Download Fathom
We will download the latest version of Fathom Analytics.
# cd /tmp
# wget https://github.com/usefathom/fathom/releases/download/v1.2.1/fathom_1.2.1_linux_amd64.tar.gz
Now, extract the downloaded file.
# tar -xzvf fathom_1.2.1_linux_amd64.tar.gz
Then, move the executable file.
# mv fathom /usr/local/bin/
Run this command below to check the Fathom version we have on the server.
# fathom --version
You will get an output like this:
Fathom version 1.2.1, commit 8f7c6d2e45ebb28651208e2a7320e29948ecdb2c, built at 2018-11-30T09:21:37Z
Step 6. Run Fathom
In the previous step, we created a system user called ‘fathom’, and we will use this user to run Fathom Analytics.
# sudo -u fathom bash
$ cd /opt/fathom
After entering the directory, we can create a new environment file.
$ nano .env
Paste the following into the file.
FATHOM_SERVER_ADDR=9000
FATHOM_GZIP=true
FATHOM_DEBUG=true
FATHOM_DATABASE_DRIVER="mysql"
FATHOM_DATABASE_NAME="fathom"
FATHOM_DATABASE_USER="fathom"
FATHOM_DATABASE_PASSWORD="m0d1fyth15"
FATHOM_DATABASE_HOST="localhost"
FATHOM_SECRET="your_secret_string_change_it_to_a_sronger_string"
Save the file, exit, then run this command
$ fathom user add --email="master@yourdomain.com" --password="m0d1fyth15"
Replace the email address and password with your own credentials.
This is the first time you’re running fathom with the database configured. You will see an output like this:
INFO[0000] Fathom version 1.2.1, commit 8f7c6d2e45ebb28651208e2a7320e29948ecdb2c, built at 2018-11-30T09:21:37Z
INFO[0000] Configuration file: /opt/fathom/.env
INFO[0000] Connected to mysql database: fathom on localhost
INFO[0000] Applied 24 database migrations!
INFO[0000] Created user master@yourdomain.com
Now, you can run Fathom by invoking this command.
$ fathom server
fathom@instance-1:~$ fathom server
INFO[0000] Fathom version 1.2.1, commit 8f7c6d2e45ebb28651208e2a7320e29948ecdb2c, built at 2018-11-30T09:21:37Z
INFO[0000] Configuration file: /opt/fathom/.env
INFO[0000] Connected to mysql database: fathom on localhost
INFO[0000] Server is now listening on :9000
You can check Fathom from your other SSH session with this command below:
$ curl localhost:9000
You will see an output like this:
<!DOCTYPE html>
<html class="no-js" lang="en">
<head>
  <title>Fathom - simple website analytics</title>
  <link href="assets/css/styles.css?t=1543569696966" rel="stylesheet">
  <meta charset="utf-8">
  <meta name="referrer" content="no-referrer">
  <meta name="viewport" content="width=device-width, initial-scale=1.0">
  <link rel="icon" type="image/png" sizes="32x32" href="assets/img/favicon.png">
</head>
<body class="fathom">
  <div id="root"></div>
  <noscript>To use Fathom, please enable JavaScript.</noscript>
  <script>
    document.documentElement.className = document.documentElement.className.replace('no-js', '');
  </script>
  <script src="assets/js/script.js?t=1543569696966"></script>
</body>
</html>
Step 7. Create a SystemD file
To manage the Fathom service, we will create a systemd unit file at /etc/systemd/system/fathom.service.
# nano /etc/systemd/system/fathom.service
Then paste the following content in to the file
[Unit]
Description=Fathom Analytics
Requires=network.target
After=network.target

[Service]
Type=simple
User=fathom
Group=fathom
Restart=always
RestartSec=3
WorkingDirectory=/opt/fathom
ExecStart=/usr/local/bin/fathom server

[Install]
WantedBy=multi-user.target
Save then exit nano editor.
Run the command below to reload systemd configuration.
# systemctl daemon-reload
Now, you can run Fathom using this command:
# systemctl start fathom
Fathom is now running, you can check the status.
root@debian11:/opt/fathom# systemctl status fathom
● fathom.service - Fathom Analytics
     Loaded: loaded (/etc/systemd/system/fathom.service; disabled; vendor preset: enabled)
     Active: active (running) since Fri 2022-03-11 10:54:19 UTC; 1min 16s ago
   Main PID: 3577 (fathom)
      Tasks: 7 (limit: 4694)
     Memory: 11.2M
        CPU: 111ms
     CGroup: /system.slice/fathom.service
             └─3577 /usr/local/bin/fathom server

Mar 11 10:54:19 instance-1 systemd[1]: Started Fathom Analytics.
Mar 11 10:54:19 instance-1 fathom[3577]: time="2022-03-11T10:54:19Z" level=info msg="Fathom version 1.2.1, commit 8f7c6d2e45ebb28651208>
Mar 11 10:54:19 instance-1 fathom[3577]: time="2022-03-11T10:54:19Z" level=info msg="Configuration file: /opt/fathom/.env"
Mar 11 10:54:19 instance-1 fathom[3577]: time="2022-03-11T10:54:19Z" level=info msg="Connected to mysql database: fathom on localhost"
Mar 11 10:54:19 instance-1 fathom[3577]: time="2022-03-11T10:54:19Z" level=info msg="Server is now listening on :9000"
Step 8. Install nginx
Since Fathom is now running on port 9000 and we want to access it using our domain or subdomain, we can install a web server as a reverse proxy to Fathom. In this step, we will install and configure nginx.
# apt install nginx
Nginx is running and we are now ready to configure it to act as a reverse proxy to our Fathom Analytics project. Let’s create an nginx server block for Fathom Analytics.
# nano /etc/nginx/conf.d/fathom.conf
Then, add these content below in to the file.
server {

    listen 80;

    server_name yourdomain.com;
    location / {
        proxy_pass http://localhost:9000;
        proxy_http_version 1.1;
        proxy_set_header X-Forwarded-Host $host;
        proxy_set_header X-Forwarded-Server $host;
        proxy_set_header X-Real-IP $remote_addr;
        proxy_set_header X-Forwarded-For $proxy_add_x_forwarded_for;
        proxy_set_header X-Forwarded-Proto $scheme;
        proxy_set_header Host $http_host;
        proxy_set_header Upgrade $http_upgrade;
        proxy_set_header Connection "Upgrade";
        proxy_pass_request_headers on;
    }
    location ~ /.well-known {
       allow all;
    }
}
Before saving the file above, make sure you replace yourdomain.com with your actual domain or subdomain name. Then, check for any error and restart nginx to reload the new configuration.
# nginx -t
# systemctl restart nginx
You should be able to access your Fathom Analytics website at http://yourdomain.com now.
Step 9. Install SSL Certificate
This is an optional step but highly recommended to complete. We will install a free SSL certificate from Let’s Encrypt using certbot.
# apt install python3-certbot-nginx -y
Once installation is completed, we can run this command to install the free SSL certificate.
# certbot
You will be asked for your email address, accept the Let’s Encrypt TOS and whether you want to share your email address with the Electronic Frontier Foundation or not. Then, you need to choose which domain or subdomain you like to activate HTTPS for.
Choose the domain or subdomain that is connected to your Fathom website by typing the number and hit ENTER. Let’s encrypt will install the certificate and it will ask you whether to configure HTTP to HTTPS redirect or not, you can choose redirect then certbot will create the redirection and reload nginx if everything is okay.
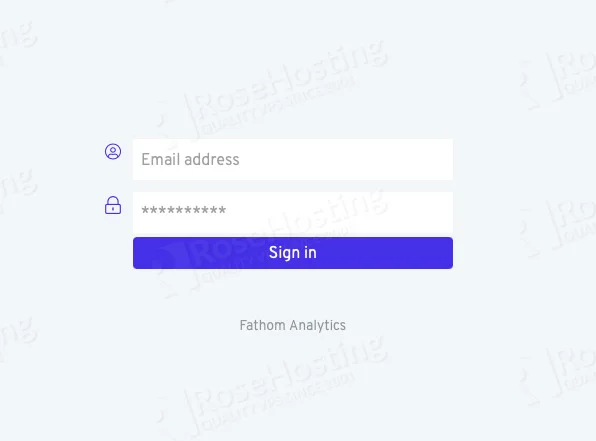
Now, you should be able to access your Fathom Analytics website in HTTPS mode at https://yourdomain.com, you can proceed with building your application using the Fathom.
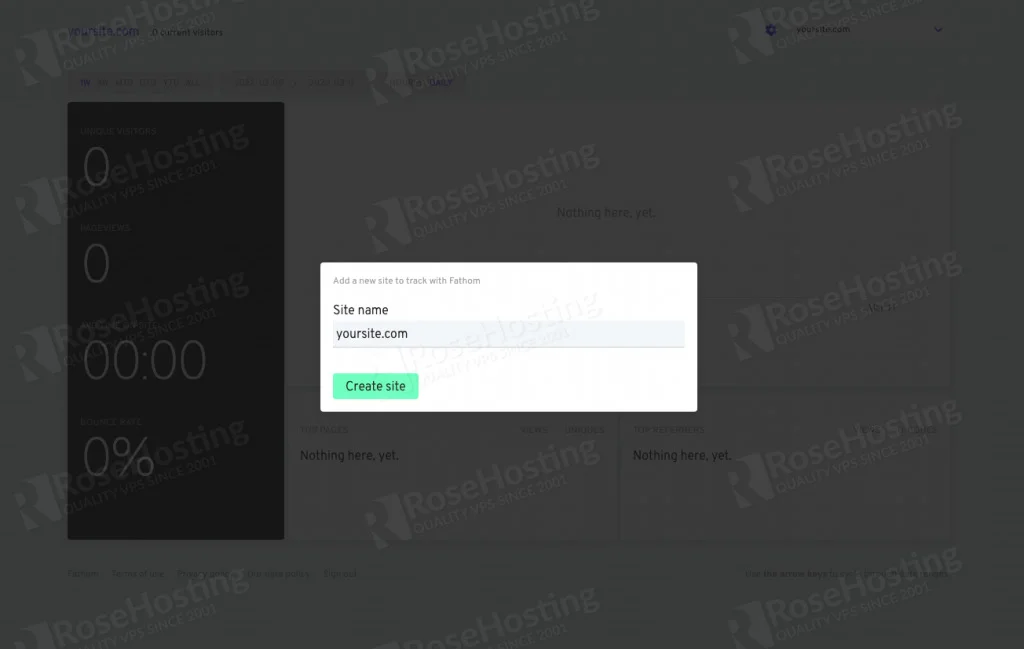
Congratulation! You have successfully installed Fathom Analytics on your Debian VPS. For more information about Fathom Analytics, please refer to the Fathom Analytics website.
If you are one of our web hosting customers and use our managed Linux Hosting, you don’t have to install Fathom Analytics On Debian 11, our Linux admins will set up and configure a Fathom Analytics VPS for you. They are available 24×7 and will take care of your request immediately.
PS. If you liked this post, on how to install Fathom Analytics On Debian 11, please share it with your friends on social networks or simply leave a reply below. Thanks.