In this tutorial, we’ll guide you through the process of installing GlassFish on a CentOS 7 VPS.
 GlassFish is a complete Java EE application server, including an EJB container and all the other features of this stack. GlassFish is free software, dual-licensed under two free software licences: the Common Development and Distribution License (CDDL) and the GNU General Public License (GPL) with the classpath exception.
The install process won’t take more than 10-15 minutes. Let’s begin with the installation.

Table of Contents
Prerequisites:
Make sure that your server meets the following minimum requirements:
- A VPS with CentOS 7 running on it
- A user account with root access, or access to the “root” user
Step 1: Install Updates and Fix Dependencies
Log in to your server via SSH:
ssh username@server_ip -p port_number
Remember to replace “username” with the username which you wish to use on the server (e.g. “root” for the root account), as well as replacing “server_ip” and “port_number” with your server’s respective IP address and SSH port number.
Before starting with the GlassFish Server installation, it is a good idea to update the system packages to their latest versions, if any are available:
yum -y update
Install software package dependencies needed by GlassFish by running the following command:
yum install unzip wget
Step 2: Installing and Configuring Java 8
Since GlassFish is powered by Java, we must first install and configure Java on your CentOS server. GlassFish 5.0 requires Java JDK 8 or later.
In this tutorial we will install OpenJDK, the open source implementation of the Java Platform – which is also the default Java development and runtime available in CentOS 7’s default software repositories.
The installation is simple and straightforward:
yum install java-1.8.0-openjdk-devel
After the installation, you can check the active Java version using this command:
java -version
You should see the following message:
openjdk version "1.8.0_212"
OpenJDK Runtime Environment (build 1.8.0_212-b04)
OpenJDK 64-Bit Server VM (build 25.212-b04, mixed mode)
Step 3: Create a New System User
Create a new user for the GlassFish server:
useradd -s /sbin/nologin glassfish
Step 4: Installing the Latest GlassFish Server
First, we need to change our current directory to /opt:
cd /opt
We can now download the latest nightly build version of GlassFish from their official GlassFish website. However, for this tutorial, you don’t need to – we already have the download link inserted as part of the tutorial below.
There are two editions of Glassfish are available, Web Profile and Full Platform.
Full Platform is the fully fledged Java EE server, with complete Java Platform support, whereas Web Profile is the subset of GlassFish Full Platform, which provides only commonly used elements.
For this tutorial, we will download GlassFish 5.0 Full Platform.
su glassfish
wget http://download.oracle.com/glassfish/5.0/release/glassfish-5.0.zip
Extract the files to the current directory. You can choose a different directory if you wish to keep your installation of GlassFish elsewhere – just make sure to reflect this change everywhere that the directory is referenced.
unzip glassfish-5.0.zip
If you wish to extract to a specific directory, use this command instead:
unzip glassfish-5.0.zip -d /path/to/desired/directory
Switch back to the root user:
exit
Step 5: Setting Up the GlassFish Service
GlassFish by default runs inside of your active terminal session. While this makes it easy to see the output of the program, it also means it won’t continue running once you close your session. To get around this, we will create a system service that will run and manage GlassFish for us.
Create the service file:
nano /etc/systemd/system/glassfish.service
Copy and paste the following. Make sure to modify the GlassFish path in respect to the directory of your GlassFish install:
[Unit]
Description = GlassFish Server v5.0
After = syslog.target network.target

[Service]
User = glassfish
ExecStart = /usr/bin/java -jar /opt/glassfish5/glassfish/lib/client/appserver-cli.jar start-domain
ExecStop = /usr/bin/java -jar /opt/glassfish5/glassfish/lib/client/appserver-cli.jar stop-domain
ExecReload = /usr/bin/java -jar /opt/glassfish5/glassfish/lib/client/appserver-cli.jar restart-domain
Type = forking

[Install]
WantedBy = multi-user.target
Save and exit the file. Now we need to reload system services:
systemctl daemon-reload
Step 6: Managing the GlassFish Service
To enable GlassFish at boot:
systemctl enable glassfish
To start GlassFish:
sudo systemctl start glassfish
Check the service status using this command:
systemctl status glassfish
Step 7: Accessing GlassFish
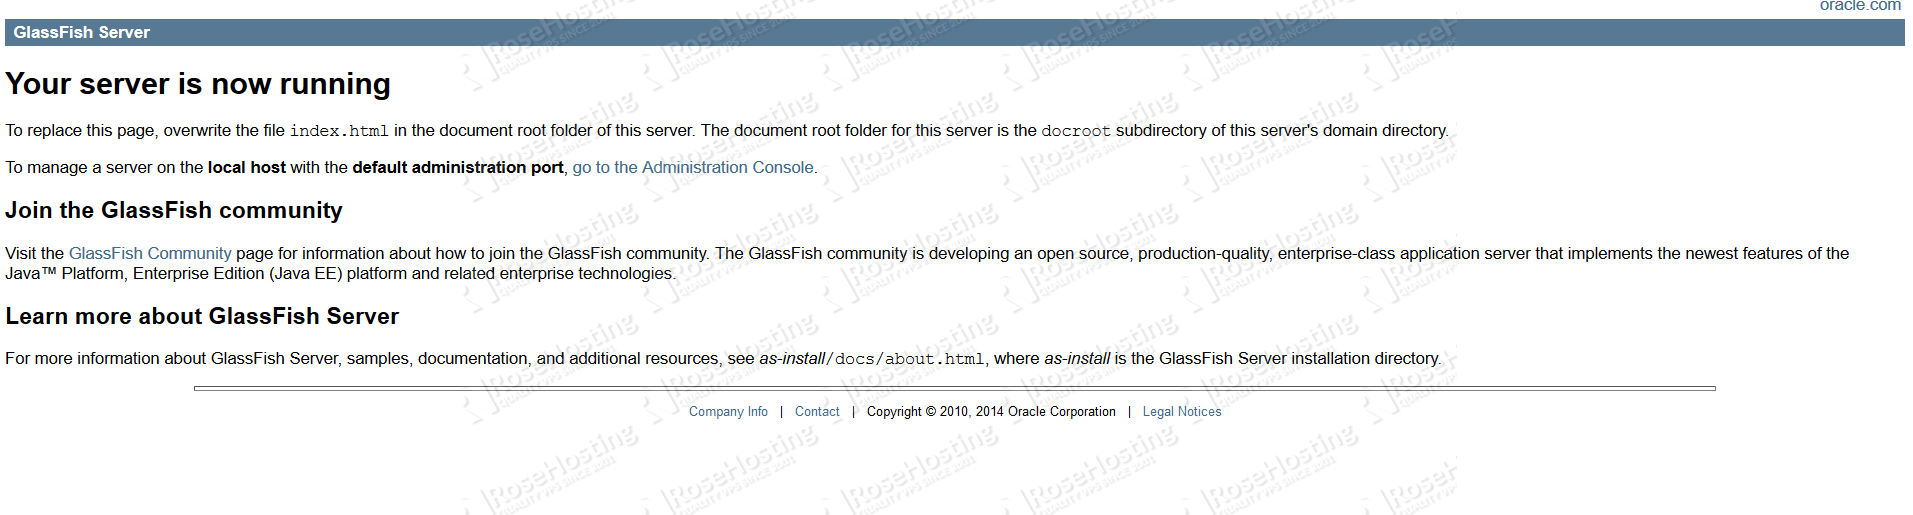
Once GlassFish has started, you can now access the default page on port 8080.
http://<server-ip-address>:8080
Step 8: Securing the GlassFish Admin Console
You can access the web administrator console on port 4848.
http://<server-ip-address>:4848

Remember to replace “server-ip-address” with your server’s IP address.
GlassFish has a utility called asadmin which accepts commands for setting up GlassFish via a command line. To run the asadmin executable anywhere, execute the following command:
export PATH=/opt/glassfish5/bin:$PATH
The default admin password is blank. To update the admin password, run the following command:
asadmin change-admin-password
Enter admin user name [default: admin]>admin

Enter the admin password> <blank>

Enter the new admin password>

Enter the new admin password again>

Command change-admin-password executed successfully.
After changing the admin password, we now need to enable the “secure admin” feature. It will ask for the credentials we added earlier.
asadmin enable-secure-admin
We must restart GlassFish for the changes to take effect:
sudo systemctl restart glassfish
Step 9: Testing GlassFish
Now that we have a GlassFish Server that uses secure admin access, we can now test the server by deploying a sample WAR file.
First, we need to download a sample WAR file on domain1’s document root directory:
cd /opt/glassfish5/glassfish/domains/domain1/docroot/
wget https://github.com/dmatej/Glassfish/raw/master/v2/www/downloads/quickstart/hello.war
To deploy, run the following command. It will ask for admin credentials:
asadmin deploy hello.war
After successfully deploying, navigate to:
http://<server-ip-address>:8080/hello
You should see the following message:

And that’s it! You now have a working GlassFish server on your CentOS 7 VPS.
 Of course, you don’t have to install GlassFish on CentOS 7 if you have use one of our GlassFish Hosting plans. If you do, you can simply ask our support team to install GlassFish on Ubuntu 18.04 for you. They are available 24/7 and will be able to help you with the installation.
PS. If you enjoyed reading this blog post on how to install GlassFish on CentOS 7, or if you found the tutorial helpful, feel free to share it on social networks by using the share shortcuts, or simply leave a comment down below. Thank you.
Very thanks to you!.
I have followed this steps and now its working with glassfish 5.0.1
Only the part of
useradd -s /sbin/nologin glassfish
and “su glassfish” doesn’t work but I have created a user in this way.
# adduser glassfish
# id glassfish
# grep -w ‘^glassfish’ /etc/passwd
[root@portaldesarrollo opt]# passwd glassfish
Changing password for user glassfish.
New password: //Latinus01
[root@portaldesarrollo opt]# su glassfish
[glassfish@portaldesarrollo ~]$ pwd
/home/glassfish
Very thanks.