

Jupyter Notebook is an open-source and web-based development tool that allows you to create and share live codes and equations. It is flexible, extensible, and supports many programming languages including, Python, Julia, Haskell, Ruby, and more. Generally, it is used for data and machine learning. It comes with the IPython kernel that allows you to write your programs in Python.
In this post, we will show you how to install Jupyter Notebook on Ubuntu 20.04.
Table of Contents
Prerequisites
- An Ubuntu 20.04 VPS (we’ll be using our SSD 2 VPS plan)
- Access to the root user account (or access to an admin account with root privileges)
Log in to the Server & Update the Server OS Packages
First, log in to your Ubuntu 20.04 server via SSH as the root user:
ssh root@IP_Address -p Port_number
Once logged in, update your system packages with the following command:
apt-get update -y

Install Required Dependencies
Jupyter Notebook is based on Python. So you will need to install Python and other libraries to your system. You can install all of them with the following command:
apt-get install python3 python3-pip python3-dev -y
Next, verify the installed version of Python with the following command:
python3 --version
Output:
Python 3.8.5
Next, upgrade the PIP to the latest version using the following command:
pip3 install --upgrade pip
Next, verify the PIP version with the following command:
pip3 --version
Output:
pip 20.0.2 from /usr/lib/python3/dist-packages/pip (python 3.8)
Next, install the Virtual Environment package with the following command:
pip3 install virtualenv
Install Jupyter Notebook
First, create a separate user for Jupyter Notebook. You can create it with the following command:
adduser jupyter
Next, log in with Jupyter user with the following command:
su - jupyter
Next, create a Jupyter directory and create a virtual environment for Jupyter notebook.
mkdir ~/Jupyter
cd ~/Jupyter
virtualenv notebook
Next, activate the virtual environment with the following command:
source notebook/bin/activate
Next, install the Jupyter with the following command:
(notebook) jupyter@jupyter:~/Jupyter$ pip install jupyter
Once installed, run the Jupyter notebook with the following command:
(notebook) jupyter@jupyter:~/Jupyter$ jupyter notebook
You should get the following output:
[I 06:12:57.527 NotebookApp] Writing notebook server cookie secret to /home/jupyter/.local/share/jupyter/runtime/notebook_cookie_secret
[I 06:12:57.786 NotebookApp] Serving notebooks from local directory: /home/jupyter/Jupyter
[I 06:12:57.786 NotebookApp] Jupyter Notebook 6.3.0 is running at:
[I 06:12:57.787 NotebookApp] http://localhost:8888/?token=9a7e565bbe40a36e7afbcd9cda890823288c61312e9f1eed
[I 06:12:57.787 NotebookApp]  or http://127.0.0.1:8888/?token=9a7e565bbe40a36e7afbcd9cda890823288c61312e9f1eed
[I 06:12:57.787 NotebookApp] Use Control-C to stop this server and shut down all kernels (twice to skip confirmation).
[W 06:12:57.791 NotebookApp] No web browser found: could not locate runnable browser.
[C 06:12:57.791 NotebookApp]

    To access the notebook, open this file in a browser:
        file:///home/jupyter/.local/share/jupyter/runtime/nbserver-11919-open.html
    Or copy and paste one of these URLs:
        http://localhost:8888/?token=9a7e565bbe40a36e7afbcd9cda890823288c61312e9f1eed
     or http://127.0.0.1:8888/?token=9a7e565bbe40a36e7afbcd9cda890823288c61312e9f1eed
Press CTRL+C to stop the Jupyter Notebook.
Next, you will need to generate a configuration file for Jupyter Notebook. You can generate it with the following command:
(notebook) jupyter@jupyter:~/Jupyter$ jupyter notebook --generate-config
You should get the following output:
Writing default config to: /home/jupyter/.jupyter/jupyter_notebook_config.py
Next, set the password for Jupyter with the following command:
(notebook) jupyter@jupyter:~/Jupyter$ jupyter notebook password
You should see the following output:
Enter password:
Verify password:
[NotebookPasswordApp] Wrote hashed password to /home/jupyter/.jupyter/jupyter_notebook_config.json
Next, deactivate from the Python virtual environment with the following command:
(notebook) jupyter@jupyter:~/Jupyter$ deactivate
Next, logout from the Jupyter user with the following command:
exit
Create a Systemd Service File for Jupyter
Next, you will need to create a systemd service file to manage the Jupyter Notebook. You can create it with the following command:
nano /etc/systemd/system/jupyter.service
Add the following lines:
[Unit]
Description=Jupyter Notebook

[Service]
Type=simple
PIDFile=/run/jupyter.pid
ExecStart=/home/jupyter/Jupyter/notebook/bin/jupyter-notebook --config=/home/jupyter/.jupyter/jupyter_notebook_config.py
User=jupyter
Group=jupyter
WorkingDirectory=/home/jupyter/Jupyter/notebook
Restart=always
RestartSec=10

[Install]
WantedBy=multi-user.target
Save and close the file then reload the systemd daemon with the following command:
systemctl daemon-reload
Next, start the Jupyter service and enable it to start at system reboot with the following command:
systemctl start jupyter
systemctl enable jupyter
You can also verify the status of the Jupyter with the following command:
systemctl status jupyter
Output:
● jupyter.service - Jupyter Notebook
     Loaded: loaded (/etc/systemd/system/jupyter.service; disabled; vendor preset: enabled)
     Active: active (running) since Tue 2021-04-06 06:32:47 UTC; 2min 33s ago
   Main PID: 14630 (jupyter-noteboo)
      Tasks: 1 (limit: 2353)
     Memory: 40.6M
     CGroup: /system.slice/jupyter.service
             └─14630 /home/jupyter/Jupyter/notebook/bin/python /home/jupyter/Jupyter/notebook/bin/jupyter-notebook --config=/home/jupyter/.jup>

Apr 06 06:32:47 jupyter systemd[1]: Started Jupyter Notebook.
Apr 06 06:32:48 jupyter jupyter-notebook[14630]: [I 06:32:48.023 NotebookApp] Serving notebooks from local directory: /home/jupyter/Jupyter/no>
Apr 06 06:32:48 jupyter jupyter-notebook[14630]: [I 06:32:48.024 NotebookApp] Jupyter Notebook 6.3.0 is running at:
Apr 06 06:32:48 jupyter jupyter-notebook[14630]: [I 06:32:48.024 NotebookApp] http://localhost:8888/
Apr 06 06:32:48 jupyter jupyter-notebook[14630]: [I 06:32:48.024 NotebookApp] Use Control-C to stop this server and shut down all kernels (twi>
Apr 06 06:32:48 jupyter jupyter-notebook[14630]: [W 06:32:48.030 NotebookApp] No web browser found: could not locate runnable browser.
Configure Nginx as a Reverse Proxy for Jupyter Notebook
Next, you will need to configure the Nginx as a reverse proxy for Jupyter Notebook.
First, install the Nginx with the following command:
apt-get install nginx -y
Once installed, create an Nginx virtual host configuration file with the following command:
nano /etc/nginx/conf.d/jupyter.conf
Add the following lines:
upstream jupyter {
server 127.0.0.1:8888;
}

server {
listen 80;
server_name jupyter.example.com;

access_log /var/log/nginx/example.com.access.log;
error_log /var/log/nginx/example.com.error.log;

location / {
     proxy_pass http://localhost:8888;
     proxy_set_header X-Forwarded-For $proxy_add_x_forwarded_for;
     proxy_set_header X-Real-IP $remote_addr;
     proxy_set_header Host $http_host;
     proxy_http_version 1.1;
     proxy_redirect off;
     proxy_buffering off;
     proxy_set_header Upgrade $http_upgrade;
     proxy_set_header Connection "upgrade";
     proxy_read_timeout 86400;
     }
}
Save and close the file then verify the Nginx with the following command:
nginx -t
Output:
nginx: the configuration file /etc/nginx/nginx.conf syntax is ok
nginx: configuration file /etc/nginx/nginx.conf test is successful
Next, restart the Nginx to apply the changes:
systemctl restart nginx
Next, add the Jupyter user to www-data group with the following command:
usermode -g www-data jupyter
Next, edit the Jupyter Notebook config file and allow remote access.
nano /home/jupyter/Jupyter/.jupyter/jupyter_notebook_config.py
Change the following line:
c.NotebookApp.allow_remote_access = True
Save and close the file then restart the Jupyter service to apply the changes:
systemctl restart jupyter
Access Jupyter Notebook
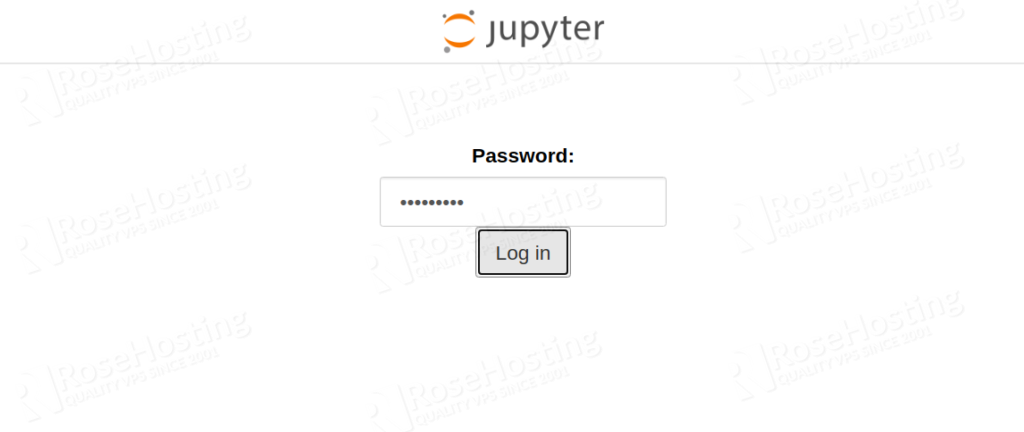
Now, open your web browser and access the Jupyter Notebook using the URL http://jupyter.example.com. You will be asked to provide a password as shown below:
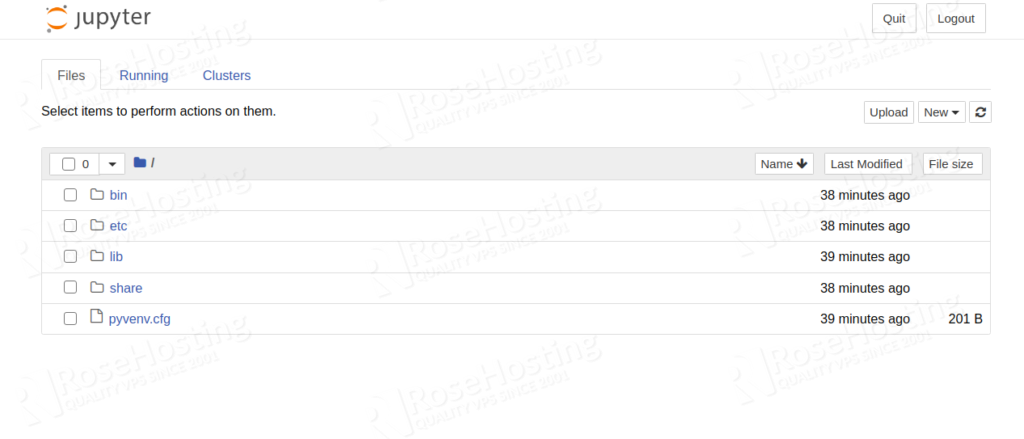
Provide your password and click on the Login button. You should see the Jupyter Notebook dashboard in the following screen:
Congratulations! you have successfully installed Jupyter Notebook on Ubuntu 20.04 VPS.

Now that you know how to install the Jupyter Notebook on Ubuntu 20.04, you can see how our Managed Linux VPS hosting can be easy and affordable. You really don’t need to install Jupyter Notebook on Ubuntu yourself, simply ask one of our system administrators to install this for you, completely free of charge. They are available 24/7/365 and are ready to help you out with any aspect of managing your server.