RoseHosting PaaS provides an HTTP/3 Premium CDN add-on that leverages a highly interconnected global network with massive bandwidth, advanced caching, fast-routing IP anycast technology for powerful performance around the globe. RoseHosting CDN network spans around the globe with 130+ Super PoPs located on 6 continents. It allows you to attach a CDN network to your website with a few clicks.
In this post, we will show you how to install and set up HTTP/3 Premium CDN for Magento Cloud Hosting on RoseHosting’s Cloud PaaS.
Table of Contents
Create a Magento Environment
First, log in to RoseHosting Cloud platform as shown below:
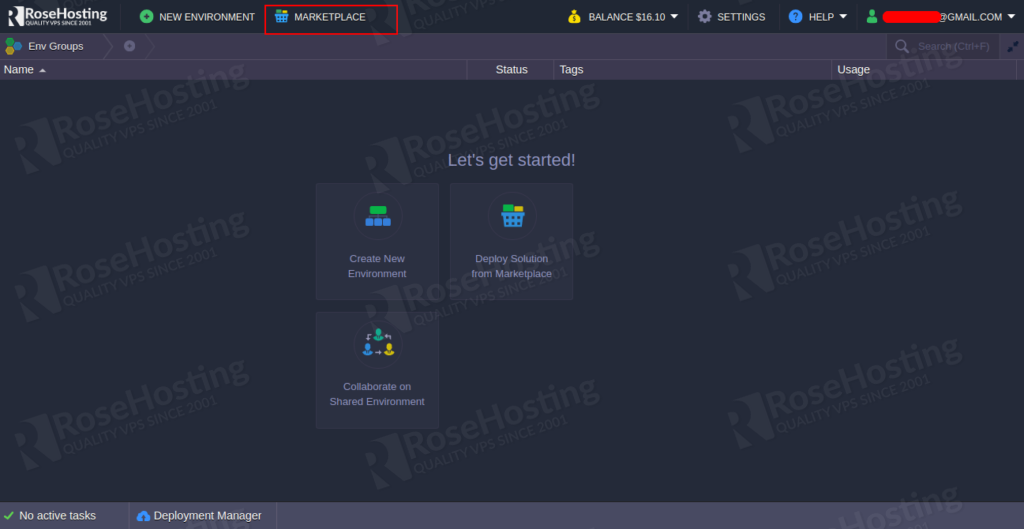
Next, click on the MARKETPLACE button. You should see the following screen:
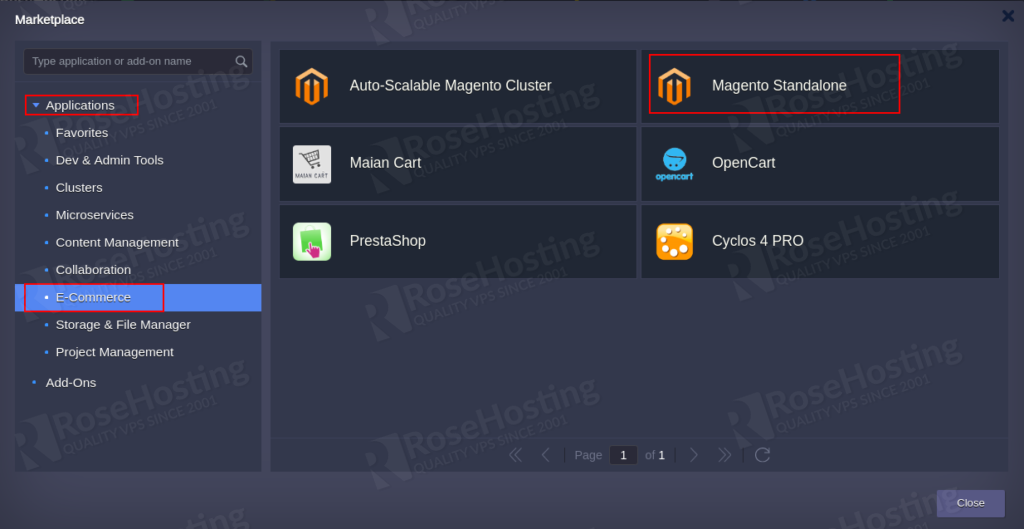
Click on the Applications => E-Commerce => Magento Standalone and click on the Install button. You should see the following screen:
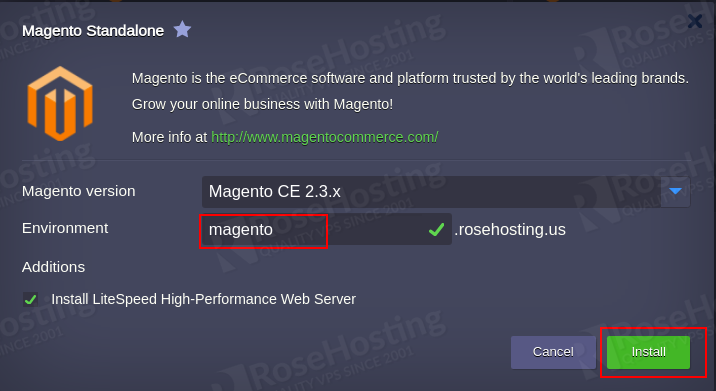
Provide your Magento environment name and click on the Install button. Once the installation has been finished, you should see the following screen:
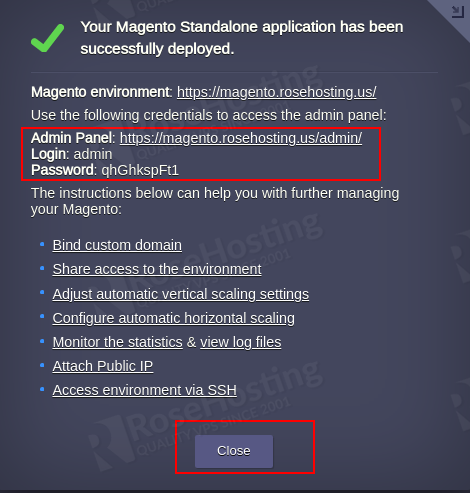
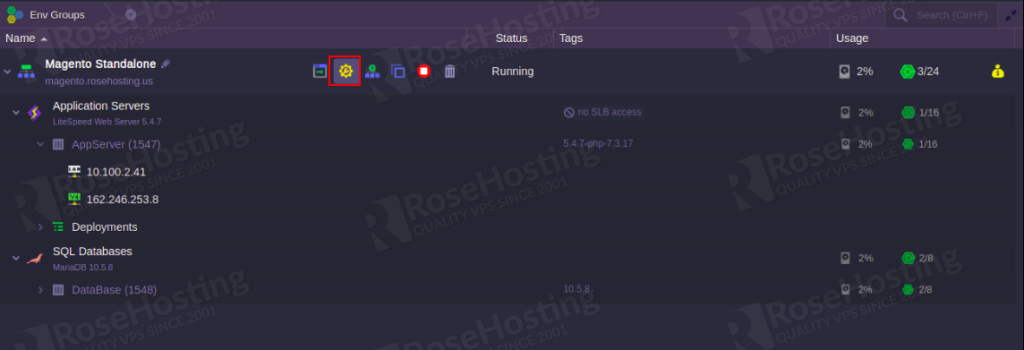
Click on the Close button. You should see the Magento environment in the following screen:
Attach a Public IP and Install Let’s Encrypt SSL
Next, you will need to attach a public IP address to the Magento environment so that LiteSpeed Web Server responding via the HTTP/3.
On the Magento environment, click on the change environment button. You should see the following screen:
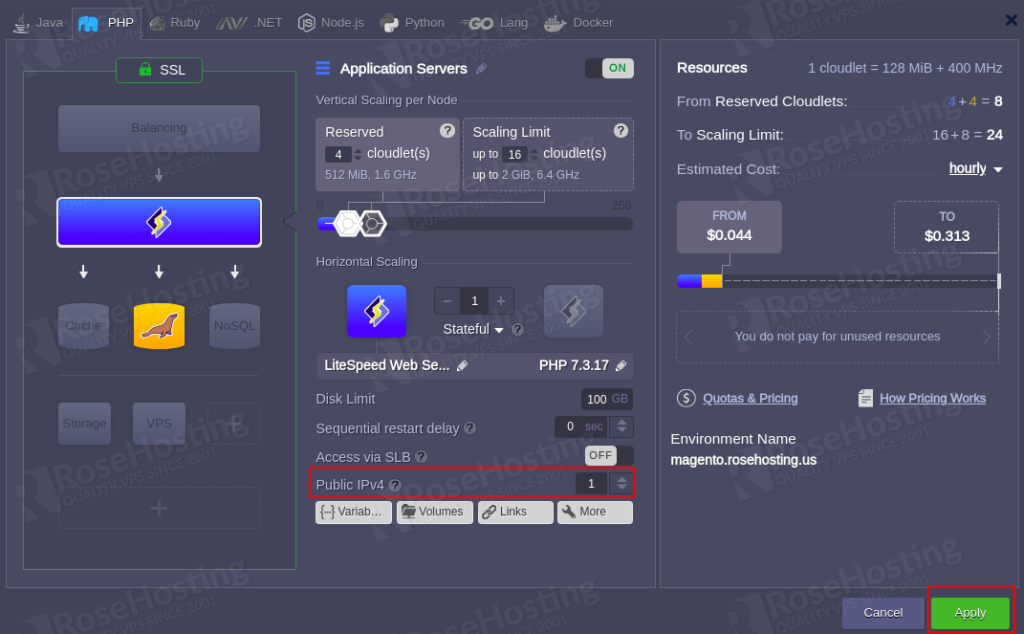
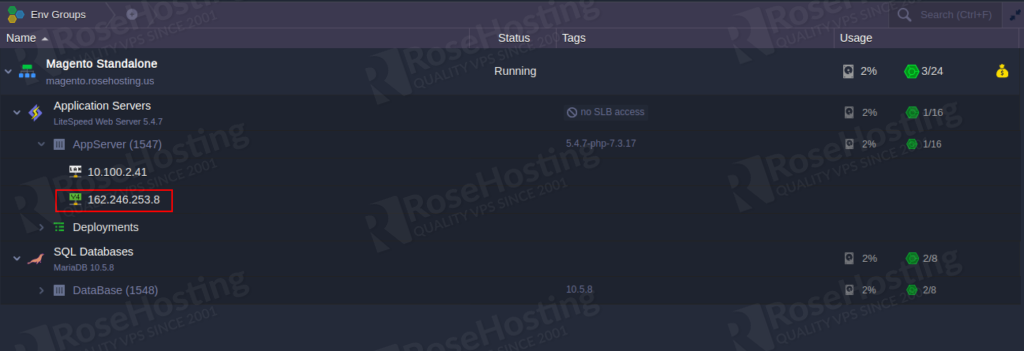
Add a Public IP address and click on the Apply button. This will add a new Public IP address to the Magento environment as shown below:
Next, you will need to bind your custom domain name to the Public IP address via DNS panel.
Next, you will need to install the Let’s Encrypt SSL add-on on your custom domain.
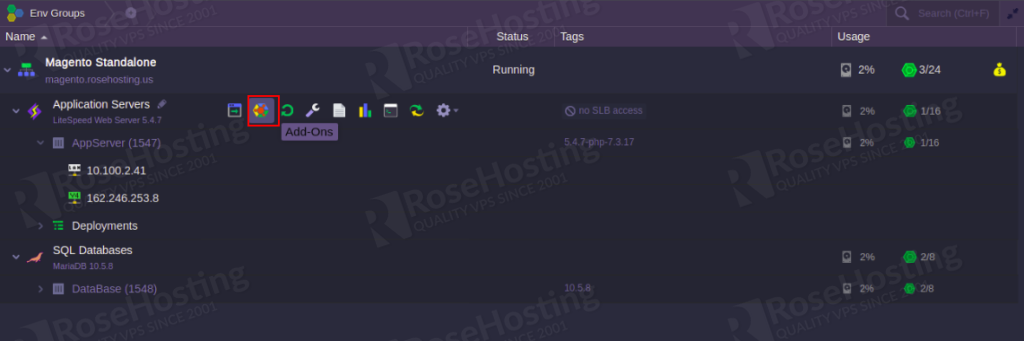
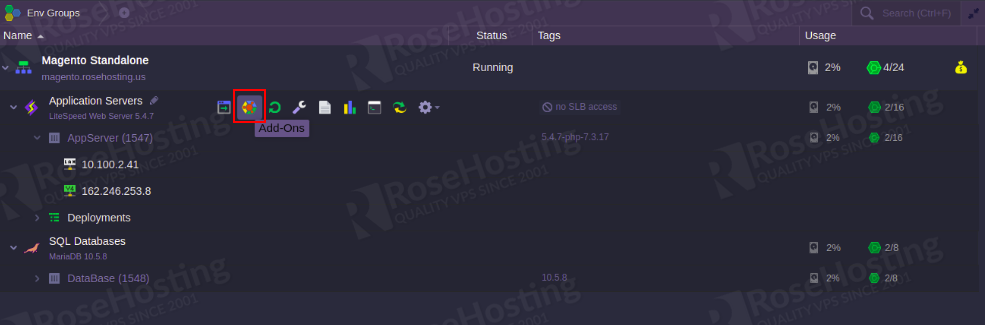
To do so, click on the Add-Ons icon on the application server as shown below:
Select Let’s Encrypt Free SSL as shown below:
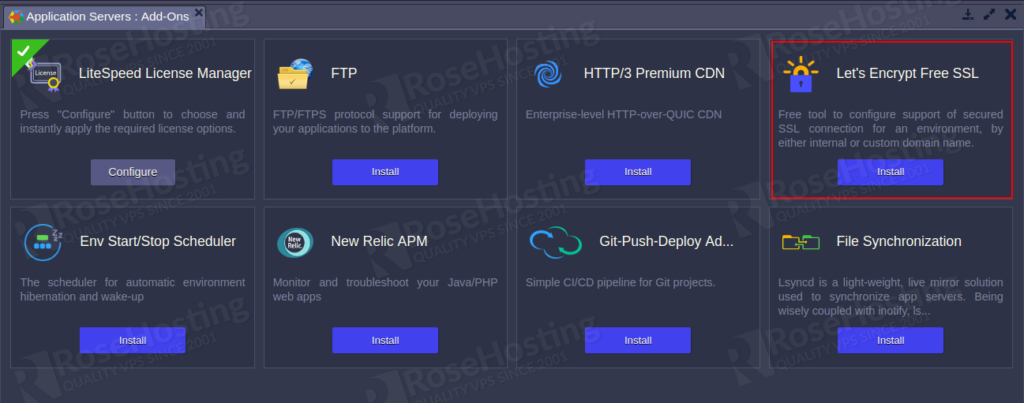
Then, click on the Install button. You should see the following screen:
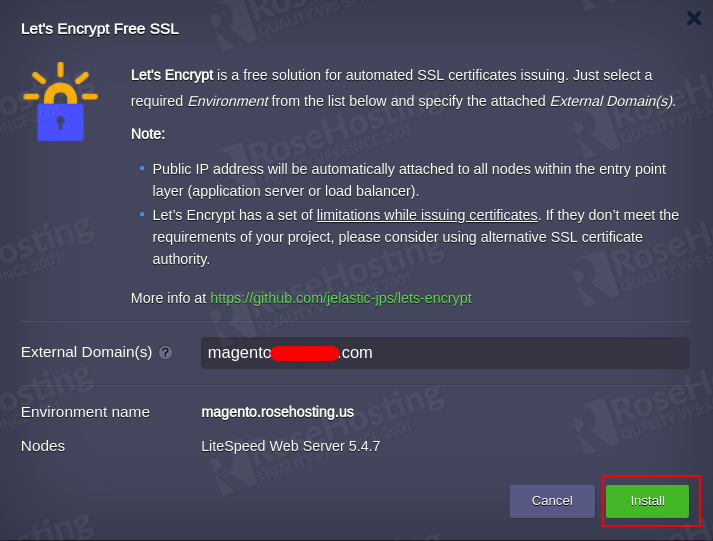
Provide your custom domain name and click on the Install button to install the Let’s Encrypt SSL on your domain.
Install HTTP/3 Premium CDN
Next, you will need to install HTTP/3 Premium CDN add-on from the RoseHosting dashboard.
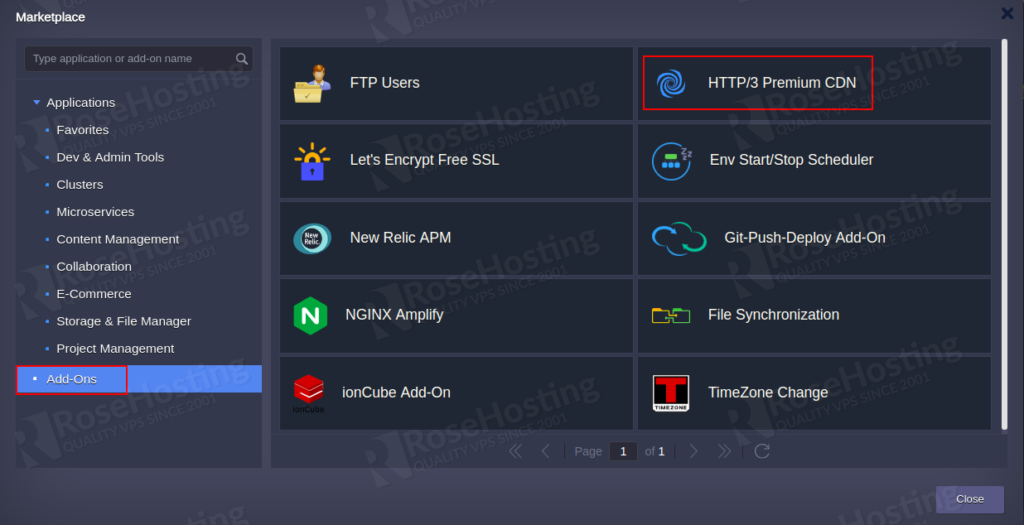
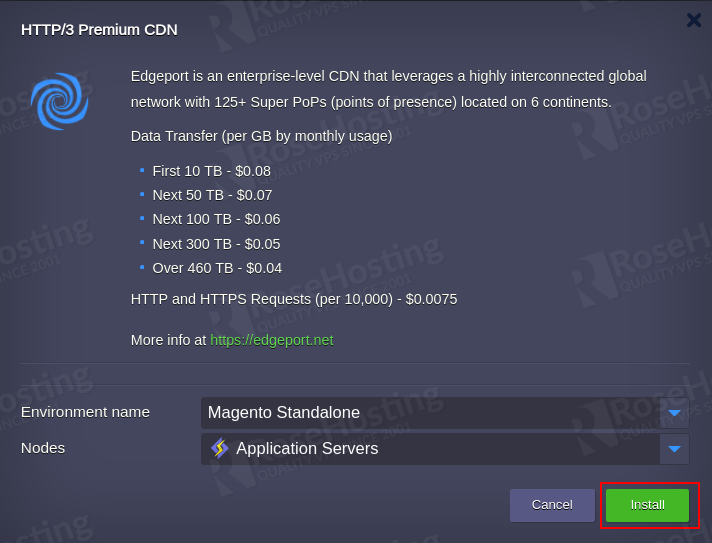
Click on the MARKETPLACE => Add-Ons => HTTP/3 Premium CDN. You should see the following screen:
Now, Select your Environment, Nodes and click on the Install button.
Once the CDN has been installed, you should see the following screen:
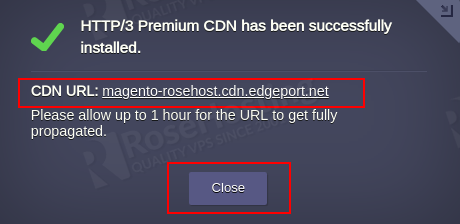
Click on the Close button to close the windows. Then, access the CDN URL through a web browser. You should see the following error.
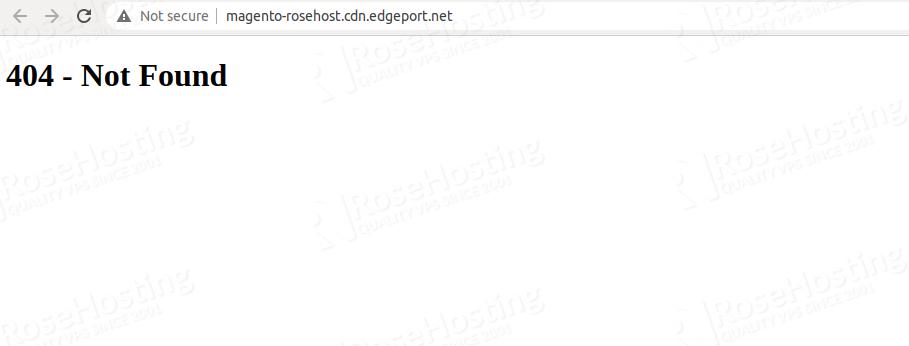
You should wait for an hour because it takes time for a new environment to be propagated across the CDN.
Configure Magento Environment
Next, you will need to configure the Magento environment to make the static assets downloadable from the CDN. You can configure it from the Magento admin interface.
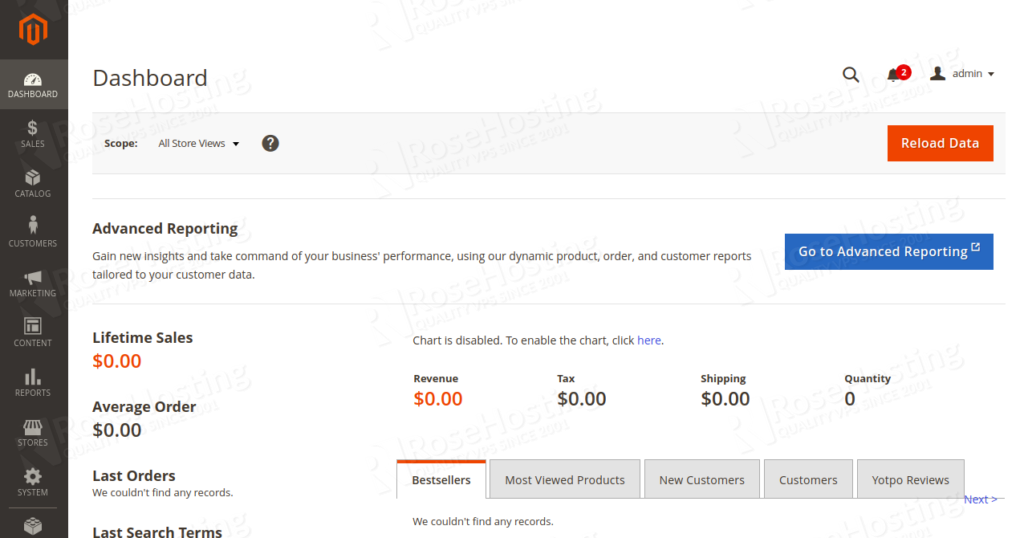
First, open the Magento admin interface using the credentials that you receive via email as shown below:

Now, click on the STORES > Configuration > Web > Base URLs (Secure) as shown below:
Add the following values:
Secure Base URL: Replace this value with your custom domain name.
Secure Base URL for Static View Files: https://magento-rosehost.cdn.edgeport.net/pub/static
Secure Base URL for User Media Files: https://magento-rosehost.cdn.edgeport.net/pub/media
Use Secure URLs in Admin: Yes
Also, repeat the same steps for STORES => Configuration => Web => Base URLs section. Then, click on the Save Config button to save the configuration.
Bind Custom Domain
At this point, your Magento environment is attached to the CDN service. Next, you will need to bind your custom domain from the Premium CDN add-on settings.
On the Magento Environment, click on the Add-Ons icon as shown below:
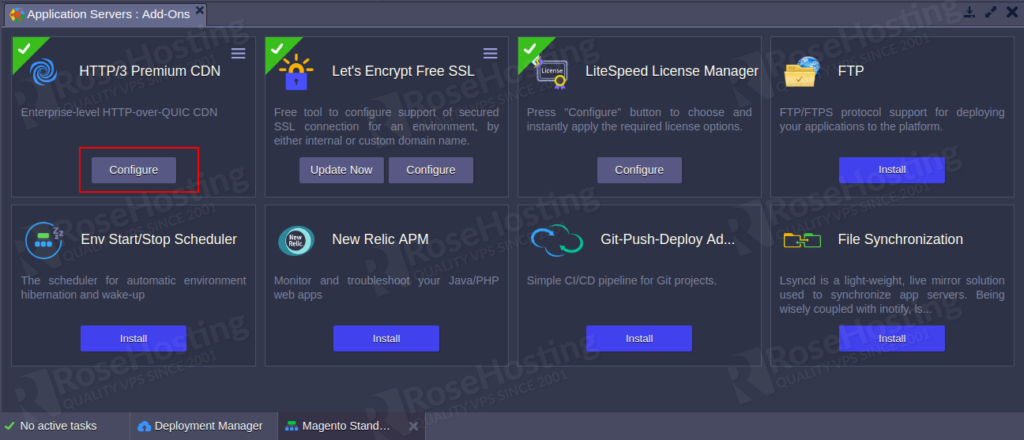
Select the HTTP/3 Premium CDN and click on the Configure:
Provide your custom domain as shown below.
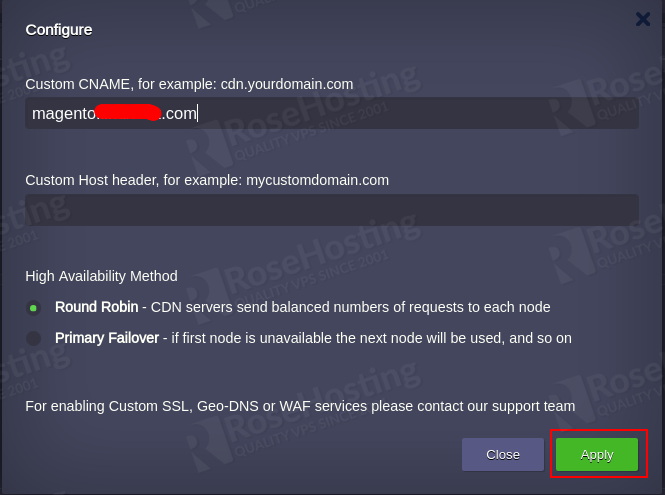
Finally, click on the Apply button to apply the changes. You can now access your static website content via your custom domain name.
If you want to clean the static content assets, you can click on the Purge or Purge All button within the HTTP/3 Premium CDN interface.
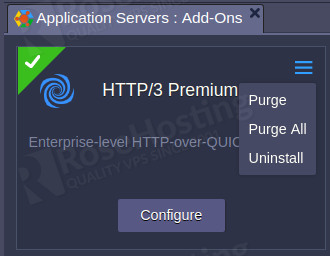
After cleaning the static assets, the CDN begins downloading of fresh copies from an origin server.
High Availability Methods
You can also choose the high availability mode within the Premium CDN add-on settings:

Round Robin (RR) distributes all requests among available nodes.
Primary Failover (PF) sent all requests to the first node. If the first node is unavailable, the requests are redirected to the next node.
This sums up the process of installing and setting up HTTP/3 Premium CDN for Magento Cloud Hosting on RoseHosting’s Cloud PaaS. If you’re looking to find the best hosting packages for your business online, feel free to contact any of our award-winning chat support experts.