
In this guide, we will show you how to install LAMP With PHP 7.4 on Ubuntu 20.04.
The LAMP stack is a set of open-source software that can be used to create websites and web applications by your choice. LAMP is a very common example of a web service stack and maybe one of the most commonly used. It is named as an acronym of the names of its original four open-source components: the Linux operating system, the Apache HTTP Server, the MySQL database management system, and the PHP hypertext preprocessor programming language.
Table of Contents
1 Prerequisites, login and updates
A Ubuntu 20.04 that has SSH accessible IP address with full root password is a perquisite for this installation
First we need to log in via SSH and update the system
Log in to your Ubuntu 20.04 VPS
ssh root@IP_Address -p Port_number
You can replace “root” with a user that has sudo privileges if necessary and make sure to replace “IP_Address” and “Port_number” with your server’s actual IP address and SSH port number.
Make sure your system is up-to-date with the latest updates by running the following two commands:
sudo apt-get update
sudo apt-get upgrade
2 Installing Apache
To install Apache – the most popular and widely used web server in the world run the following command:
sudo apt-get install apache2
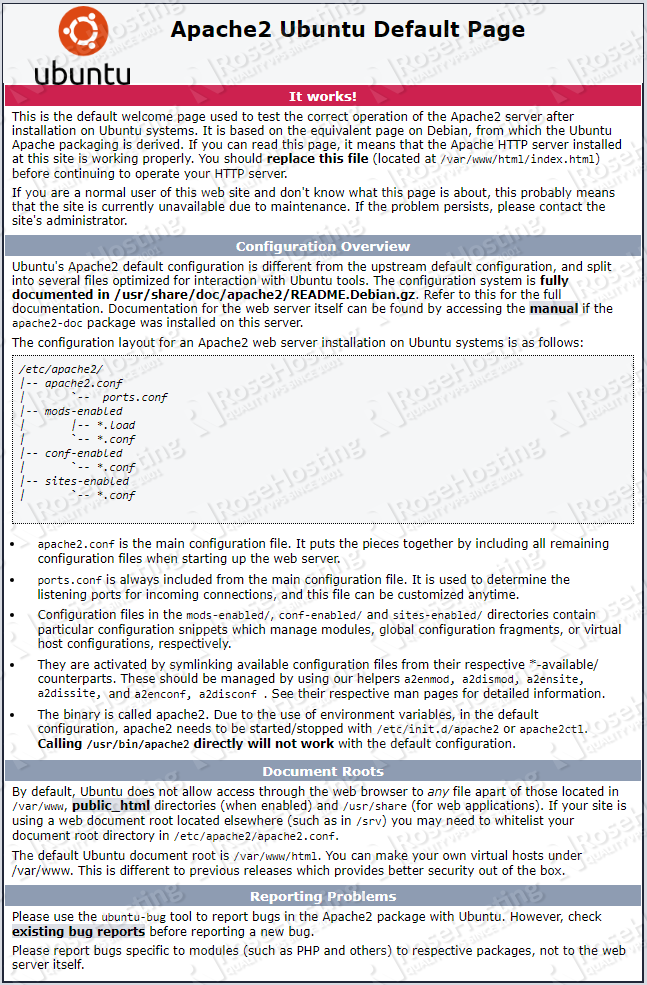
To verify that the installation is okay and your Apache is running you can try on two ways:
The first way would be to try and access your server’s IP address in your web browser (e.g. http://123.123.123.123/ and if you receive the Apache welcome screen we are good to go.
The second way would be to check it from the command line on the server with the command:
service apache2 status
The output will give you information about the status of the Apache process.
3 Installing MySQL
To install MySQL, one of the most popular database managment systems type the following:
sudo apt-get install mysql-server
After you confirm, during the installation it will ask you wether you would like to enter a password for the root MySQL user. If you decide to enter a password make sure that it is a strong password that is complex and secure.
If the installation goes as it should the next step is optional. To further improve MySQL security you can run the following command which will ask you a couple of questions that you should follow to finnish:
sudo mysql_secure_installation
If the program asks you to enter your current MySQL root password, just press your [Enter] key once, as no password is set by default when installing MySQL.
A few more questions will be displayed on-screen – it is recommended that you answer yes to all of them by entering the character ‘Y’:
Remove anonymous users? (Press y|Y for Yes, any other key for No) : Y
Disallow root login remotely? (Press y|Y for Yes, any other key for No) : Y
Remove test database and access to it? (Press y|Y for Yes, any other key for No) : Y
Reload privilege tables now? (Press y|Y for Yes, any other key for No) : Y
Now we can continue with the next step of our tutorial.
4 Instlling PHP
The last step before we finnish this tutorial is to install PHP. The default PHP version that comes out of the box for Ubuntu 20.04 is PHP 7.4
To install PHP 7.4 and some of the most basic PHP extensions run the following command:
sudo apt-get install php libapache2-mod-php php-mysql php-curl php-gd php-mbstring php-xml php-xmlrpc php-soap php-intl php-zip
To test whether the PHP is working correctly we will create a file called info.php. Place this file inside the web server root directory.
Open your text editor:
sudo nano /var/www/html/info.php
Enter the following lines and save the file:
<?php
phpinfo();
?>
Now, if you navigate to this page: http://your_server_ip_address/info.php in your web browser, you will see the following page showing your current PHP configuration.
Another way to check this is to try with the following command
php -v
You should get the following output on your screen:
PHP 7.4.3 (cli) (built: May 5 2020 12:14:27) ( NTS )
Copyright (c) The PHP Group
Zend Engine v3.4.0, Copyright (c) Zend Technologies
with Zend OPcache v7.4.3, Copyright (c), by Zend Technologies

Of course, you don’t have to install LAMP With PHP 7.4 on Ubuntu 20.04, if you use one of our VPS Hosting services, in which case you can simply ask our expert system administrators to install LAMP on Ubuntu 20.04 for you or any other web hosting stack of your choice. They are available 24×7 and will take care of your request immediately.
PS. If you liked this post, on how to install LAMP With PHP 7.4 on Ubuntu 20.04, please share it with your friends on the social networks using the buttons below or simply leave a comment in the comments section. Thanks.