Magento is an open-source e-commerce platform that allows you to create your own online stores within minutes. It is written in PHP and uses MySQL or MariaDB as a database backend. It is used by millions of people to sell and manage their products online.

If you are looking for an open-source platform to sell your products then Magento is the best choice for you.
In this post, we will show you how to install Magento on AlmaLinux 8.
Prerequisites
- An AlmaLinux 8 VPS (we’ll be using our SSD 2 VPS plan)
- Access to the root user account (or access to an admin account with root privileges)
Table of Contents
Log in to the Server & Update the Server OS Packages
First, log in to your AlmaLinux 8 server via SSH as the root user:
ssh root@IP_Address -p Port_number
You will need to replace ‘IP_Address’ and ‘Port_number’ with your server’s respective IP address and SSH port number. Additionally, replace ‘root’ with the username of the admin account if necessary.
Before starting, you have to make sure that all AlmaLinux OS packages installed on the server are up to date. You can do this by running the following commands:
dnf update -y
Install Apache, MariaDB and PHP
First, install Apache web server and MariaDB database server with the following command:
dnf install httpd httpd-tools mariadb-server -y
After installing both packages, you will need to install PHP version 7.4 and above to your server.
To do so, first install the EPEL and Remi PHP repository with the following command:
rpm -Uvh https://dl.fedoraproject.org/pub/epel/epel-release-latest-8.noarch.rpm
dnf install -y https://rpms.remirepo.net/enterprise/remi-release-8.rpm
Next, reset the PHP default repository and enable the Remi repository with the following command:
dnf module reset php
dnf module install php:remi-7.4
Next, install PHP 7.4 with other required extensions with the following command:
dnf install php php-cli php-mysqlnd php-opcache php-xml php-gd php-soap php-pdo php-bcmath php-intl php-mbstring php-json php-iconv php-zip unzip git -y
Next, edit the php.ini file and change the default settings:
nano /etc/php.ini
Change the following values:
memory_limit = 1024M
upload_max_filesize = 256M
zlib.output_compression = on
max_execution_time = 18000
date.timezone = UTC
Save the file then start the Apache and MariaDB service and enable them to start at system reboot:
systemctl start httpd
systemctl start mariadb
systemctl enable httpd
systemctl enable mariadb
Configure MariaDB for Magento
First, you will need to set a MariaDB root password and secure the MariaDB installation. You can do it by running the following script:
mysql_secure_installation
Ask all questions as shown below:
Enter current password for root (enter for none):
Set root password? [Y/n] Y
New password:
Re-enter new password:
Remove anonymous users? [Y/n] Y
Disallow root login remotely? [Y/n] Y
Remove test database and access to it? [Y/n] Y
Reload privilege tables now? [Y/n] Y
Next, log in to MariaDB with the following command:
mysql -u root -p
Once you are connected, create a database and user for Magento:
MariaDB [(none)]> CREATE DATABASE magentodb;
MariaDB [(none)]> CREATE USER 'magentouser'@'localhost' IDENTIFIED BY 'password';
Next, grant all the privileges to the Magento database:
MariaDB [(none)]> GRANT ALL ON magentodb.* TO 'magentouser'@'localhost' IDENTIFIED BY 'password' WITH GRANT OPTION;
Next, flush the privileges to apply the changes and exit from the MariaDB:
MariaDB [(none)]> FLUSH PRIVILEGES;
MariaDB [(none)]> EXIT;
Download Magento
Before starting, you will need to install Composer on your server. You can install it with the following command:
curl -sS https://getcomposer.org/installer | php
mv composer.phar /usr/local/bin/composer
Next, change the directory to Apache root directory and download the Magento with the following command:
cd /var/www/html/
wget https://github.com/magento/magento2/archive/2.3.zip
Once downloaded, unzip the downloaded file with the following command:
unzip 2.3.zip
Next, rename the extracted directory to magento2:
mv magento2-2.3 magento2
Next, change the directory to magento2 with the following command:
cd magento2
Next, update the Composer and install all required PHP dependencies using the following command:
composer update
composer install
Next, set proper permission and ownership with the following command:
chown -R apache:apache /var/www/html/magento2
chmod -R 755 /var/www/html/magento2
Configure Apache for Magento
Next, create a new Apache virtual host configuration file for Magento:
nano /etc/httpd/conf.d/magento.conf
Add the following lines:
<VirtualHost *:80>
ServerAdmin admin@example.com
ServerName magento.example.com
DocumentRoot /var/www/html/magento2/
DirectoryIndex index.php
<Directory /var/www/html/magento2/>
Options Indexes FollowSymLinks MultiViews
AllowOverride All
Order allow,deny
allow from all
</Directory>
ErrorLog /var/log/httpd/magento_error.log
CustomLog /var/log/httpd/magento_access.log combined
</VirtualHost>
Save and close the file then restart the Apache service to apply the changes:
systemctl restart httpd
Install Magento
Magento Web installation wizard has been removed since version 2.3.7. So you will need to install Magento from the command-line interface.
First, change the directory to Magento and run the following command to install the Magento:
cd /var/www/html/magento2/
bin/magento setup:install --admin-firstname="Magento" --admin-lastname="Admin" --admin-email="admin@example.com" --admin-user="admin" --admin-password="Hitesh@1981" --db-name="magentodb" --db-host="localhost" --db-user="magentouser" --db-password="password" --language=en_US --currency=USD --timezone=UTC --cleanup-database --base-url=http://"magento.example.com"
Once the installation has been completed, you should get the following output:
[Progress: 701 / 706]
Installing admin user...
[Progress: 702 / 706]
Caches clearing:
Cache cleared successfully
[Progress: 703 / 706]
Disabling Maintenance Mode:
[Progress: 704 / 706]
Post installation file permissions check...
For security, remove write permissions from these directories: '/var/www/html/magento2/app/etc'
[Progress: 705 / 706]
Write installation date...
[Progress: 706 / 706]
[SUCCESS]: Magento installation complete.
[SUCCESS]: Magento Admin URI: /admin_y3asxt
Nothing to import.
Please note down the Magento admin URI /admin_y3asxt from the above output.
Access Magento Web Interface
Now, open your web browser and access the Magento admin interface using the URL http://magento.example.com/admin_y3asxt. You should see the following page:
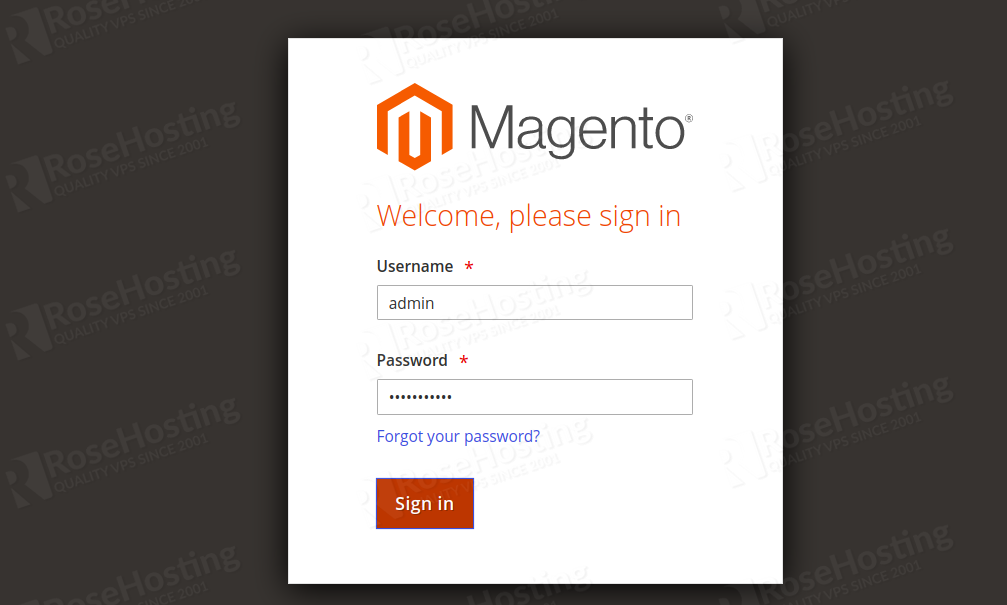
Provide your admin username, password and click on the Sign in button. You will be redirected to the Magento dashboard on the following page:
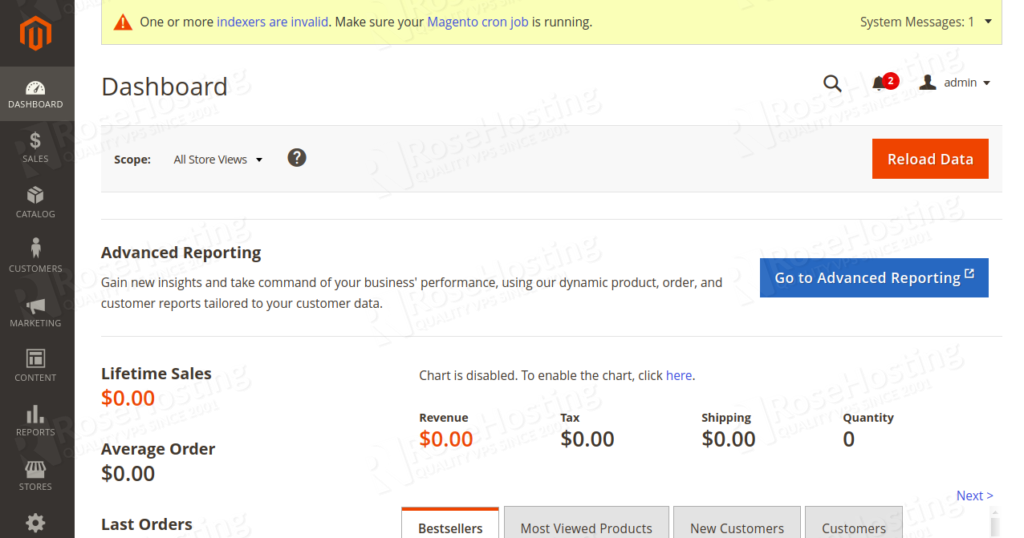
Congratulations! You have successfully installed Magento on AlmaLinux 8.
Of course, you don’t have to install Magento if you use one of our Managed Magento Hosting packages, in which case you can simply ask our expert Linux admins to install Magento on AlmaLinux 8, for you. They are available 24×7 and will take care of your request immediately.
PS. If you liked this post on how to install Magento on AlmaLinux 8, please share it with your friends on the social networks using the buttons on the left or simply leave a reply below. Thanks.
dnf module install php:remi-7.4
Magento only supports PHP7.3. It won’t work
Please check your Magento version. Magento 2.3.7 supports PHP 7.4.