N8N is an open-source workflow automation platform that lets you connect multiple apps and APIs through an intuitive web-based interface. Unlike cloud automation services like Zapier or Make.com, N8N can be installed on your own servers, giving you complete control over the security and privacy of your business data. In this article, we will walk you through how to install n8n on AlmaLinux 10.
Table of Contents
Prerequisites
- An AlmaLinux 10 VPS
- SSH root access or a regular system user with sudo privileges
Conventions
# – given commands should be executed with root privileges either directly as a root user or by use of sudo command
$ – given commands should be executed as a regular user
Step 1: Log in to your server via SSH
First, you will need to log in to your AlmaLinux 8 VPS via SSH as the root user:
ssh root@IP_Address -p Port_numberYou will need to replace ‘IP_Address’ and ‘Port_number’ with your server’s respective IP address and SSH port number. Additionally, replace ‘root’ with the username of the system user with sudo privileges.

You can check whether you have the proper AlmaLinux version installed on your server with the following command:
# cat /etc/almalinux-releaseIt will return an output like this.
AlmaLinux release 10.2 (Lavender Lion)We will use ‘root’ in this article when running shell commands and a new system user afterward. If you want to use your regular user with sudo privileges to run the commands, make sure to append ‘sudo’ to the commands.
Step 2. Install Docker
There are several ways to install n8n. But in this article, we will install it using Docker. Before installing Docker Engine, we need to set up the Docker repository. Let’s run the command below to add the repository.
# dnf -y install dnf-plugins-core
# dnf config-manager --add-repo https://download.docker.com/linux/rhel/docker-ce.repo
Now, we should be able to install Docker
# dnf install docker-ce docker-ce-cli containerd.io docker-buildx-plugin docker-compose-pluginOnce installed, Docker will not start automatically. We can configure it to start automatically.
# systemctl enable --now dockerThe command above will start Docker now and automatically upon server reboot.
Step 3. Create a System User
In this step, we will create a new system user to run n8n. Let’s execute the command below; you can substitute ‘n8n’ with any username you like.
# useradd -ms /bin/bash n8n
# passwd n8n
Make sure to create a strong password for this user.
Step 4. Run Docker without Sudo
We created a system user in the previous step, and we are not supposed to run Docker using root because we will encounter issues during installation. The Docker daemon binds to a Unix socket. When running the docker command without sudo, you will get this error message:
permission denied while trying to connect to the docker API at unix:///var/run/docker.sockTo run Docker commands without sudo, we need to add the user we want to the docker group:
# usermod -aG docker $USERFor example, let’s add the user “n8n” to the docker group:
# usermod -aG docker n8nFrom now on, we will switch to the ‘n8n’ user and complete the installation.
# su - n8nYou can check Docker and Docker Compose versions.
$ docker --versionYou will get a message similar to this:
Docker version 29.6.1, build 8900f1dOr, to get more detailed information, run:
$ docker versionStep 5. Install n8n on AlmaLinux 10
Our n8n user’s home directory is /home/n8n; we will use it to store our .env and docker-compose.yml files.
$ nano ~/.envInsert the following into the file:
# n8n public URL
WEBHOOK_URL=https://n8n.yourdomain.com/

# container internal port
PORT=5678

# Login Basic Auth
N8N_BASIC_AUTH_ACTIVE=true
N8N_BASIC_AUTH_USER=admin@yourdomain.com
N8N_BASIC_AUTH_PASSWORD=m0d1fyth15

# data storage location
N8N_USER_FOLDER=/home/n8n/.n8n

# temporarily deactivate the secure cookie (we can activate it later once SSL certificate is installed)
N8N_SECURE_COOKIE=false
Then, let’s create the docker-compose.yml file.
$ nano ~/docker-compose.ymlInsert the following into the file:
services:
  n8n:
    image: n8nio/n8n:latest
    restart: always
    ports:
      - "5678:5678"
    environment:
      - N8N_BASIC_AUTH_ACTIVE=true
      - N8N_BASIC_AUTH_USER=admin@yourdomain.com
      - N8N_BASIC_AUTH_PASSWORD=m0d1fyth15
      - N8N_HOST=n8n.yourdomain.com
      - N8N_PORT=5678
      - WEBHOOK_URL=https://n8n.yourdomain.com/
      - N8N_SECURE_COOKIE=false
    volumes:
      - /home/n8n:/home/node/.n8n
Then, run this command:
$ docker compose up -dYou will get an output like this:
[+] up 15/15
 ✔ Image n8nio/n8n:latest Pulled                                                                                                 163.8s
 ✔ Network n8n_default    Created                                                                                               0.2s
 ✔ Container n8n-n8n-1    Started
At this point, you can open http://YOUR_SERVER_IP_ADDRESS:5678, and you will see this:
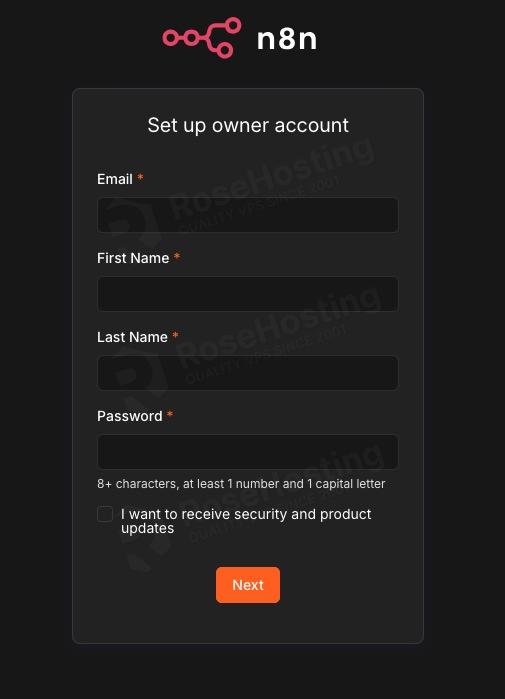
Fill in everything, create a strong password, then click the NEXT button to continue. This email and password combination are required to log in to n8n later.
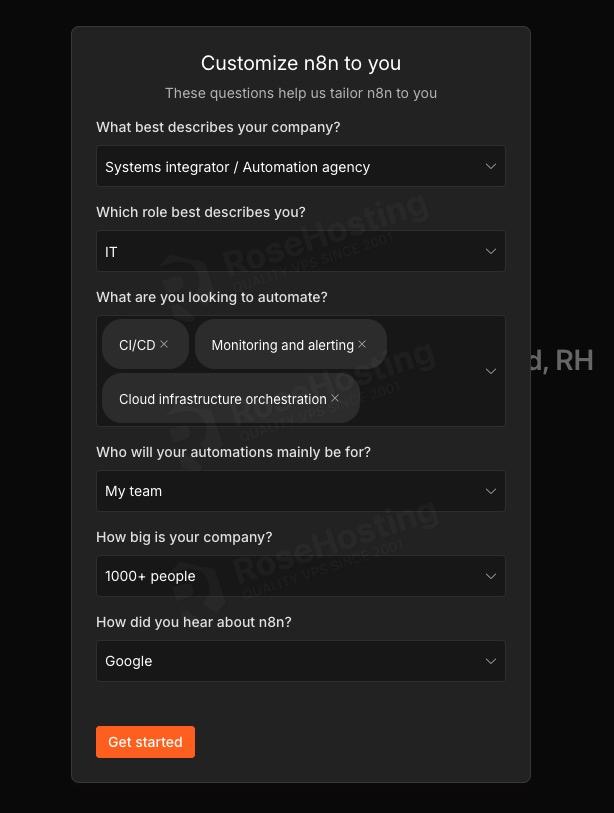
Again, fill in everything, then click on the ‘Get started’ button to continue.
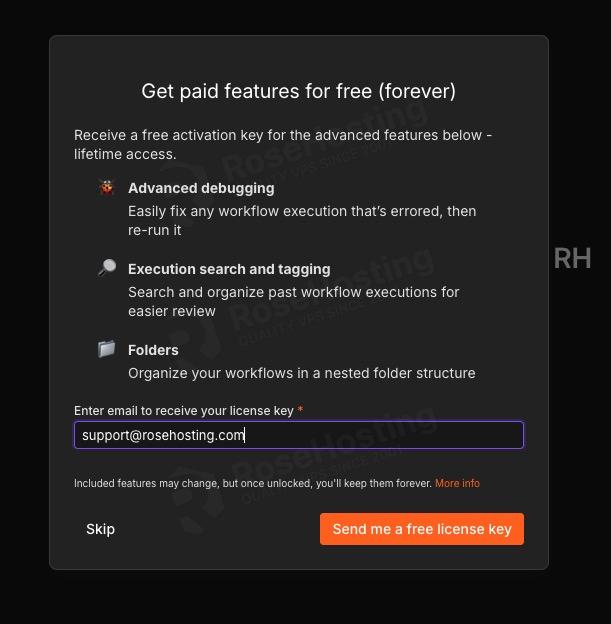
You can either skip or get the license key here.
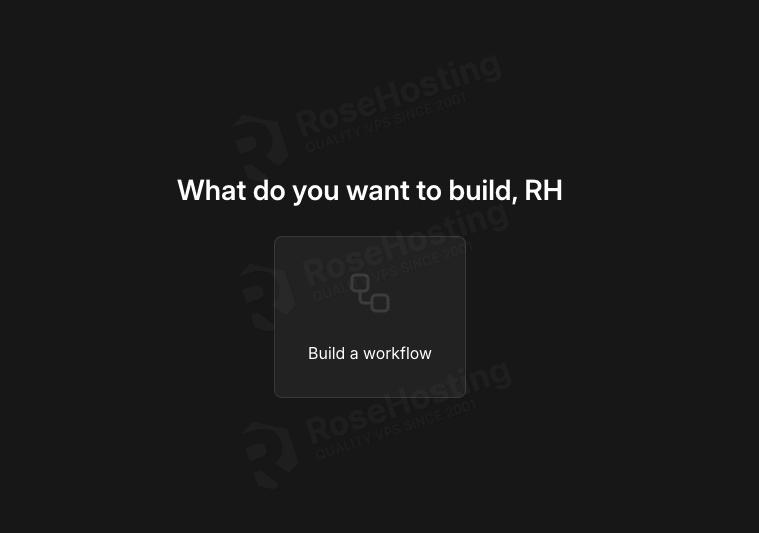
That’s it! You can start working on n8n and stop here, or follow the next step to configure Nginx.
Step 6. Install and Configure Nginx
To access your n8n website at http://yourdomain.com instead of http://YOUR_SERVER_IP_ADDRESS:5678, we need to install a web server and configure it as a reverse proxy. In this step, we will install nginx and configure it as a reverse proxy for n8n.
To use nginx, we can install it by running the command below:
$ sudo dnf install nginxOn an AlmaLinux 10 server, nginx should be up and running upon installation. Let’s create a new nginx server block now.
$ sudo nano /etc/nginx/conf.d/n8n.confInsert the following into that file.
upstream n8n {
   server 127.0.0.1:5678;
   }

server {
   listen 80;
   server_name n8n.yourdomain.com;

   access_log /var/log/nginx/n8n.access.log;
   error_log /var/log/nginx/n8n.error.log;

   location / {
        proxy_pass http://n8n;
        proxy_set_header Host $host;
        proxy_set_header X-Real-IP $remote_addr;
        proxy_set_header X-Forwarded-For $proxy_add_x_forwarded_for;
        proxy_set_header X-Forwarded-Proto $scheme;

        proxy_http_version 1.1;
        proxy_set_header Upgrade $http_upgrade;
        proxy_set_header Connection "upgrade";
    }

    location /.well-known/acme-challenge/ {
        root /var/www/html/;
    }

}
Replace n8n.yourdomain.com with your actual domain name or subdomain name that points to your server’s IP address. Then, save the file and exit from the editor.
To apply the changes, we can restart nginx
$ sudo systemctl restart nginxStep 7. Install SSL Certificate
In this step, we will install certbot. Certbot is an ACME client for generating SSL certificates issued by Let’s Encrypt.
$ sudo dnf install python3-certbot-nginxOnce installed, we can execute this command to generate an SSL certificate. But make sure that your subdomain or domain name is already pointing to your server; otherwise, certbot will fail to generate the SSL certificate.
$ sudo certbot --nginx -d n8n.yourdomain.comReplace n8n.yourdomain.com with the actual domain or subdomain you use; make sure it matches the one you use in nginx. Certbot will automatically update your nginx configuration to use HTTPS.
Now, since your n8n website is running on HTTPS, you can edit your ~/.env file and enable N8N_SECURE_COOKIE by replacing ‘false’ with ‘true’.
You Managed to Install n8n on AlmaLinux 10
That’s it! You have successfully installed n8n on AlmaLinux 10.
If you are one of our n8n hosting customers and use our managed AlmaLinux Hosting, you don’t have to follow this tutorial and install n8n on AlmaLinux 10 yourself; our Linux admins will set up and configure a n8n VPS for you. They are available 24×7 and will take care of your request immediately, and all you need to do is submit a ticket. Installing n8n is not just about the setup; we can help you optimize it if you have an active service with us. We will also help you if you require us to use Docker to install n8n.
If you liked this post, please share it with your friends or leave a comment below.