
In this tutorial, we will be installing Sensu on a CentOS 7 VPS. We will also show you how to set it up, that way you can start using it right away.
Sensu is a comprehensive multi-cloud monitoring solution for extensive monitoring of businesses’ IT infrastructure. Sensu is composed of a backend, wherein all data will be gathered and checked, and an agent, which will act as the client host that sends checks/requests to the backend for processing.

Some of Sensu’s key features are the following:
- Automated workflow monitoring
- Fast incident response and alert notifications
- Support for collecting and storing industry-standard metrics
- A built-in command line tool (sensuctl)
- Up-to-date API and modern dashboard interface included by default
If you follow this guide on how to install Sensu on CentOS 7 correctly, the installation process won’t take more than 10-15 minutes. let’s get started.
Table of Contents
Prerequisites
For this tutorial, we recommend using a public-facing server with a newly installed CentOS 7 Server.
It is best to make sure that the server has met the following minimum hardware specifications for both the Sensu backend and agent:
Backend Minimum Hardware Requirements:
- 64-bit CPU with 4 cores
- 4 GB of RAM
- 4 GB of free disk space
Backend Recommended Hardware Requirements:
- 64-bit CPU with 8 cores
- 8 GB of RAM
- SSD or NVMe storage
Agent Minimum Hardware Requirements:
- 386, amd64, or ARM CPU (armv5 minimum)
- 128 MB RAM
Agent Recommended Hardware Requirements:
- 4-core amd64 or ARMv8 CPU
- 512MB RAM
Since the Sensu backend is expected to process multiple series of checks from multiple agents at a time, a CPU with more cores will be beneficial, as Sensu is developed to process checks in parallel. Storage with fast read and write speed is suitable to improve the processing time of thousands of checks. NVMe storage is the suggested storage disk type, as it is evidently able to provide almost 10x faster read and write speeds than conventional SSDs.
Step 1: Installing Updates and Dependencies
Connect to your publicly available server via SSH using the following commands on your preferred terminal:
ssh [username]@[server_ip_address]
Replace “[username] ” with the account name of a root-enabled user (or the root user itself), and replace “[server_ip_address]” with the public IP address of your server.
Before proceeding with the installation, we must update the packages to their recent stable versions, if there are any:
yum update -y
We also suggest installing EPEL and the basic dependencies of CentOS 7 to avoid having a missing dependencies/libraries dilemma during installation:
yum install epel-release -y
yum groupinstall -y "Development Tools"

Sensu Go: The Future of Sensu
As of writing, the latest stable version of Sensu is Sensu Go v5.5. Please note that the Sensu developers have decided to end support on December 31, 2019, for the original versions of Sensu (Core and Enterprise) to focus on this newer version, which provides portability, ease of deployment, and a more friendly approach to different environments.
Step 2: Installing And Setting Up The Sensu Backend
To proceed with the installation, we will need to add the official repository from Sensu Go to our CentOS 7 installation.
curl -s https://packagecloud.io/install/repositories/sensu/stable/script.rpm.sh | sudo bash
After successfully adding the repository, we can now move forward by installing the official backend package:
yum install sensu-go-backend -y
Once installed, we will need to copy the sample YML configuration file to the default backend configuration path.
cp /usr/share/doc/sensu-go-backend-5.5.0/backend.yml.example /etc/sensu/backend.yml
We can now initialize the backend service by typing:
systemctl start sensu-backend
We can confirm that the backend service is running using this command:
systemctl status sensu-backend
● sensu-backend.service - The Sensu Backend service.

Loaded: loaded (/usr/lib/systemd/system/sensu-backend.service; disabled; vendor preset: disabled)

Active: active (running) since Thu 2019-04-12 17:54:22 CDT; 2s ago

Main PID: 1823 (sensu-backend)

CGroup: /system.slice/sensu-backend.service

└─1823 /usr/sbin/sensu-backend start -c /etc/sensu/backend.yml>/code>
Let’s make sure that the service will automatically start at boot.
systemctl enable sensu-backend
Step 3: Installing And Setting Up The Sensu Agent
For ease of explanation in this tutorial, we will be using only one server for the backend and agent – and yes, it is possible to monitor the server itself.
Since we already have the official Sensu repository installed now, we can use this one-line command to install the agent.
yum install sensu-go-agent -y
Once installed, copy the example agent configuration file to the default agent configuration path.
cp /usr/share/doc/sensu-go-agent-5.5.0/agent.yml.example /etc/sensu/agent.yml
We can now start the agent service by typing:
systemctl start sensu-agent
Verify that the agent service is running using:
systemctl status sensu-agent
● sensu-agent.service - The Sensu Agent process.

Loaded: loaded (/usr/lib/systemd/system/sensu-agent.service; disabled; vendor preset: disabled)

Active: active (running) since Thu 2019-04-11 20:01:35 CDT; 7s ago

Main PID: 16926 (sensu-agent)

CGroup: /system.slice/sensu-agent.service

└─16926 /usr/sbin/sensu-agent start
Enable automatic start by running:
systemctl enable sensu-agent
Installing and Setting Up sensuctl
One of the key changes for Sensu Go is the introduction of Sensuctl CLI – a powerful command line tool used to manage Sensu without the need for a dashboard.
To install, supply the following command in your terminal:
yum install sensu-go-cli -y
After a successful installation, we first need to initiate the basic initial configuration:
sensuctl configure
It will prompt us with some questions. Note that the default username and password for Sensu backend is admin and P@ssw0rd!, respectively.
? Sensu Backend URL: http://127.0.0.1:8080

? Username: admin

? Password: P@ssw0rd!

? Namespace: default

? Preferred output format: tabular
It is highly recommended to change the default password for the Sensu backend. You may do so by typing:
sensuctl user change-password --interactive
? Current Password:      *********

? New Password:          **************

? Confirm Password:      **************

Updated
Verify that sensuctl is working by checking the monitored entities and event list:
sensuctl entity list
sensuctl event list
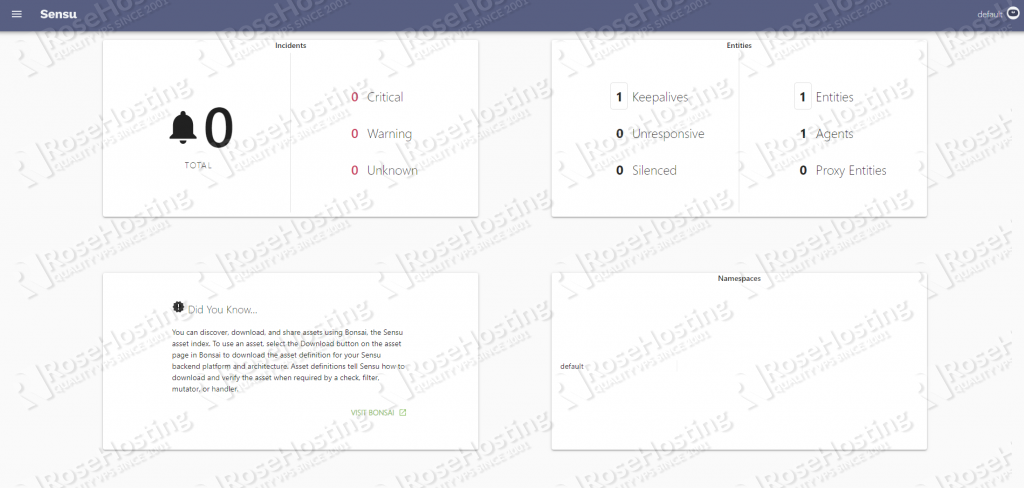
Accessing Sensu Go Dashboard
You may now access your Sensu dashboard by logging in to http://[Server Public IP]:3000

Old versions of Sensu Go rely on a third-party dashboard like Uchiwa. With this major release from the Sensu team, they now have included their own modern dashboard interface. After logging in, you should see almost the same dashboard details.
That’s it! – you now have the latest version of the Sensu monitoring server on your CentOS 7 server.
 Of course, you don’t have to install Sensu on CentOS 7 if you have a Managed CentOS VPS with us. In that case, you can simply ask our support team to install Sensu on CentOS 7 for you. They are available 24/7, and they will be able to help you with the installation.
PS. If you enjoyed reading this blog post on how to install Sensu on CentOS 7, feel free to share it on social networks by using the shortcuts below, or simply leave a comment in the comments section. Thanks.