Shopware Community Edition (CE) is a free and open-source e-commerce application. It is an alternative to another e-commerce application, Magento or Prestashop. Shopware is a very powerful and flexible application. It is built on a number of symphony framework components developed in PhpStorm through the core features and its plugins. In this tutorial, we will show you how to install Shopware Community Edition (CE) on a fresh Ubuntu 22.04.
Table of Contents
Prerequisites
- An Ubuntu 22.04 VPS
- SSH root access or a user with sudo privileges is required
Step 1. Log in to your server via SSH
First, you will need to log in to your Ubuntu 22.04 VPS via SSH as the root user:
ssh root@IP_Address -p Port_number
You will need to replace ‘IP_Address’ and ‘Port_number’ with your server’s respective IP address and SSH port number. Additionally, replace ‘root’ with the username of the system user with sudo privileges.
You can check whether you have the proper Ubuntu 22.04 installed on your server with the following command:
# lsb_release -a
It will return an output like this.
No LSB modules are available.
Distributor ID: Ubuntu
Description: Ubuntu 22.04 LTS
Release: 22.04
Codename: jammy
Then, run the following command to make sure that all installed packages on the server are updated to their latest available versions:
# apt update
We will use ‘root’ to run the shell commands throughout this article. If you want to use your regular system user with sudo privileges to run the commands, make sure to append ‘sudo’ in front of the commands.
Step 2. Install PHP
Ubuntu 22.04 shipped with PHP 8.1, and Shopware also supports PHP 8.1. So, we can install PHP 8.1 and its other requirements by running this command:
# apt install php8.1-{cli,fpm,common,mysql,curl,zip,gd,xml,mbstring,intl,opcache} git socat unzip curl bash-completion -y
Once completed, we can increase some PHP variable values to meet Shopware minimum requirements.
# sed -i "s/memory_limit = .*/memory_limit = 768M/" /etc/php/8.1/fpm/php.ini
# sed -i "s/upload_max_filesize = .*/upload_max_filesize = 128M/" /etc/php/8.1/fpm/php.ini
# sed -i "s/post_max_size = .*/post_max_size = 128M/" /etc/php/8.1/fpm/php.ini
# sed -i "s/;opcache.memory_consumption=128/opcache.memory_consumption=256/" /etc/php/8.1/fpm/php.ini
Then, restart the FPM service.
# systemctl restart php8.1-fpm
Step 3. Install Web server
In this tutorial, we are going to use nginx, the web server.
# apt install nginx
Now, we need to create an nginx server block for our domain.
On Ubuntu 20.04, Nginx is configured to start running upon installation; you can check them by running this command:
# systemctl status nginx --lines=0
Now, let’s create an nginx server block to host our Shopware website.
# nano /etc/nginx/sites-enabled/shopware.conf
Insert the following into the file.
server {
    listen 80;
    server_name shopware.yourdomain.com;
    index index.php;
    client_max_body_size 128M;
    root /var/www/html/shopware/public;

location /recovery/install {
    index index.php;
    try_files $uri /recovery/install/index.php$is_args$args;
    }

location /recovery/update/ {
   location /recovery/update/assets {
   }
   if (!-e $request_filename){
      rewrite . /recovery/update/index.php last;
   }
}


location / {
    try_files $uri /index.php$is_args$args;
    }


location ~ \.php$ {
    fastcgi_split_path_info ^(.+\.php)(/.+)$;
    include fastcgi.conf;
    fastcgi_param HTTP_PROXY "";
    fastcgi_buffers 8 16k;
    fastcgi_buffer_size 32k;
    fastcgi_read_timeout 300s;
    client_body_buffer_size 128k;
    fastcgi_pass unix:/run/php/php8.1-fpm.sock;
    http2_push_preload on;
    }
}
Make sure to replace shopware.yourdomain.com with your actual domain or subdomain name.
Save the file, then exit. To test the configuration file, we can run this command
# nginx -t
If everything is okay and there is no error message, we can reload nginx.
# systemctl reload nginx
Step 4. Install SSL/TLS Certificate
It is important to run a website in HTTPS mode. In this step, we will show you how to install an SSL certificate for your Magento website using the free one from Let’s Encrypt.
# apt install python3-certbot-nginx
Now certbot has been installed, and it is time to issue an SSL/TLS certificate for your Shopware domain or subdomain
# certbot --nginx -d shopware.yourdomain.com
The command will prompt you for your email address and the agreement. Once the installation is completed, it will update your Magento nginx server block file to redirect all HTTP traffic to HTTPS.
You will see an output like this:
root@ubuntu22:~# certbot --nginx -d shopware.rosehosting.com
Saving debug log to /var/log/letsencrypt/letsencrypt.log
Enter email address (used for urgent renewal and security notices)
(Enter 'c' to cancel): shopware@rosehosting.com

- - - - - - - - - - - - - - - - - - - - - - - - - - - - - - - - - - - - - - - -
Please read the Terms of Service at
https://letsencrypt.org/documents/LE-SA-v1.3-September-21-2022.pdf. You must
agree in order to register with the ACME server. Do you agree?
- - - - - - - - - - - - - - - - - - - - - - - - - - - - - - - - - - - - - - - -
(Y)es/(N)o: y

- - - - - - - - - - - - - - - - - - - - - - - - - - - - - - - - - - - - - - - -
Would you be willing, once your first certificate is successfully issued, to
share your email address with the Electronic Frontier Foundation, a founding
partner of the Let's Encrypt project and the non-profit organization that
develops Certbot? We'd like to send you email about our work encrypting the web,
EFF news, campaigns, and ways to support digital freedom.
- - - - - - - - - - - - - - - - - - - - - - - - - - - - - - - - - - - - - - - -
(Y)es/(N)o: n
Account registered.
Requesting a certificate for shopware.rosehosting.com

Successfully received certificate.
Certificate is saved at: /etc/letsencrypt/live/shopware.rosehosting.com/fullchain.pem
Key is saved at: /etc/letsencrypt/live/shopware.rosehosting.com/privkey.pem
This certificate expires on 2023-02-02.
These files will be updated when the certificate renews.
Certbot has set up a scheduled task to automatically renew this certificate in the background.

Deploying certificate
Successfully deployed certificate for shopware.rosehosting.com to /etc/nginx/sites-enabled/shopware.conf
Congratulations! You have successfully enabled HTTPS on https://shopware.rosehosting.com

- - - - - - - - - - - - - - - - - - - - - - - - - - - - - - - - - - - - - - - -
If you like Certbot, please consider supporting our work by:
* Donating to ISRG / Let's Encrypt: https://letsencrypt.org/donate
* Donating to EFF: https://eff.org/donate-le
- - - - - - - - - - - - - - - - - - - - - - - - - - - - - - - - - - - - - - - -
After installing the certificate, your nginx server block for the shopware website should be automatically modified, and the website will be served on HTTPS protocol.
Step 5. Install MySQL Server
In this step, we are going to install the MySQL server from the default Ubuntu repository. To install the MySQL server, execute this command:
# apt install mysql-server
Once installed, MySQL should be up and running. Next, we need to create a database and database user for our Shopware website.
# mysql
mysql> CREATE DATABASE shopware;
Query OK, 1 row affected (0.00 sec)

mysql> CREATE USER 'shopware'@'localhost' IDENTIFIED BY 'm0d1fyth15';
Query OK, 0 rows affected (0.02 sec)

mysql> GRANT ALL PRIVILEGES ON shopware.* TO 'shopware'@'localhost';
Query OK, 0 rows affected (0.01 sec)

mysql> flush privileges;
Query OK, 0 rows affected (0.00 sec)

mysql> \q
Make sure to replace m0d1fyth15 with a stronger password.
Step 6. Download and Install Shopware
To download the latest stable version, you can check their download page at https://www.shopware.com/en/download, then right-click on the ‘Download for free’ and click on ‘Copy link’ to get the link to download it using wget in SSH.
For example:
# wget https://www.shopware.com/en/Download/redirect/version/sw6/file/install_v6.4.16.1_6ffe606132f20392596c8318f9e0dbfea7ed3e4d.zip -O shopware.zip
Please note you need to check the link yourself. It might be different or updated at the time you’re trying to download.
Once downloaded, we can extract the compressed file and set the correct permission.
# unzip shopware.zip -d /var/www/html/shopware
# chown -R www-data: /var/www/html/shopware
Now, the main part of this tutorial is to open a web browser to perform Shopware installation. Let’s navigate to http://shopware. yourdomain.com to start this.
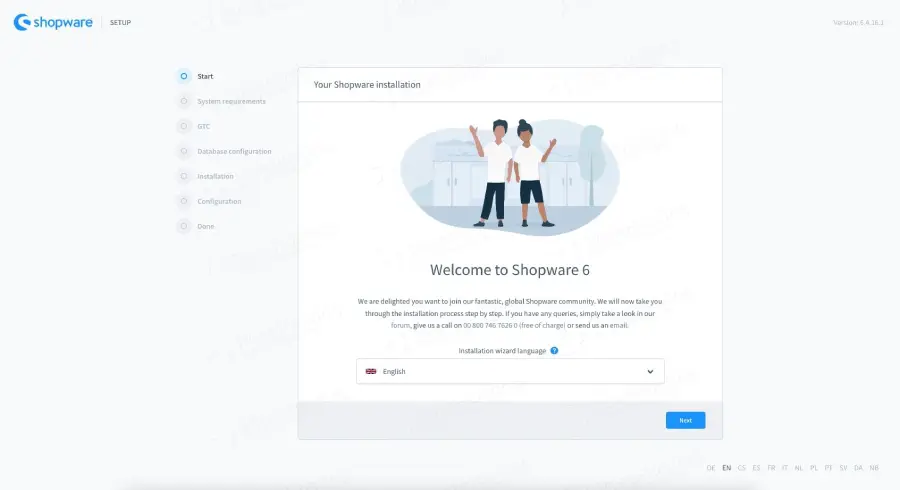
Choose your language, then click the Next button
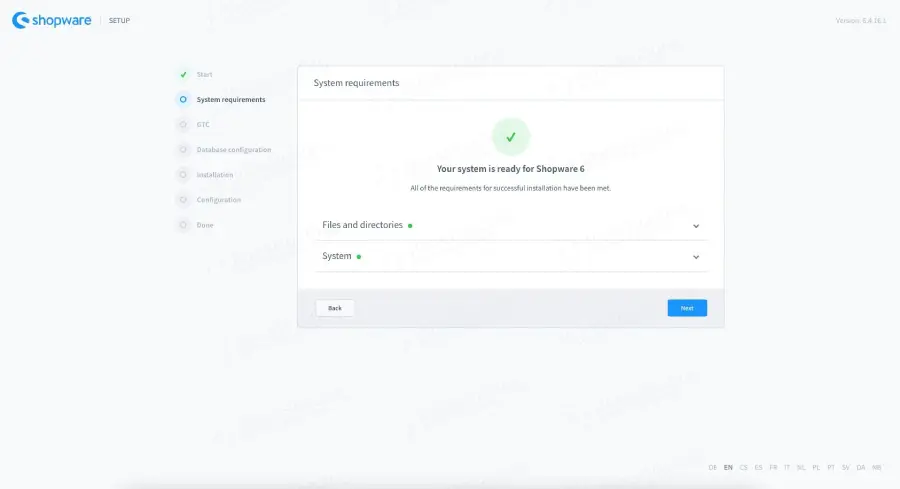
Check if the requirements are met. If everything is okay, we can continue
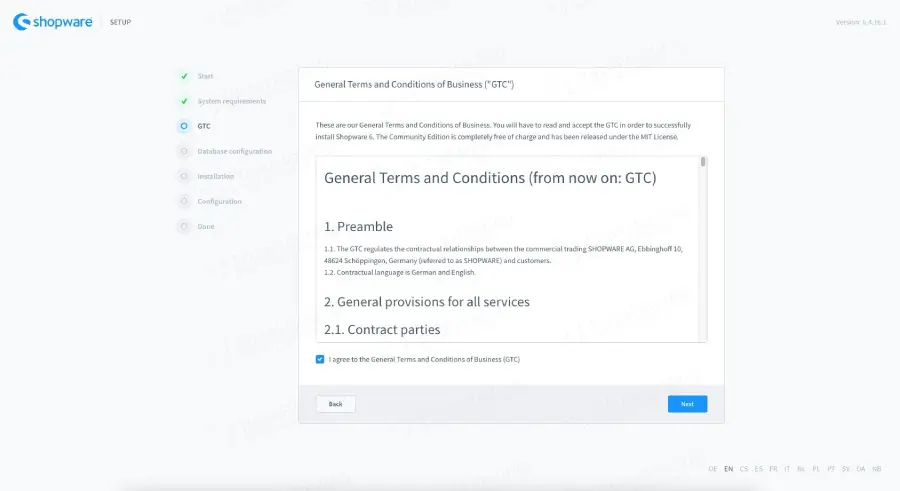
In this step, we need to agree with the terms and conditions, then click Next
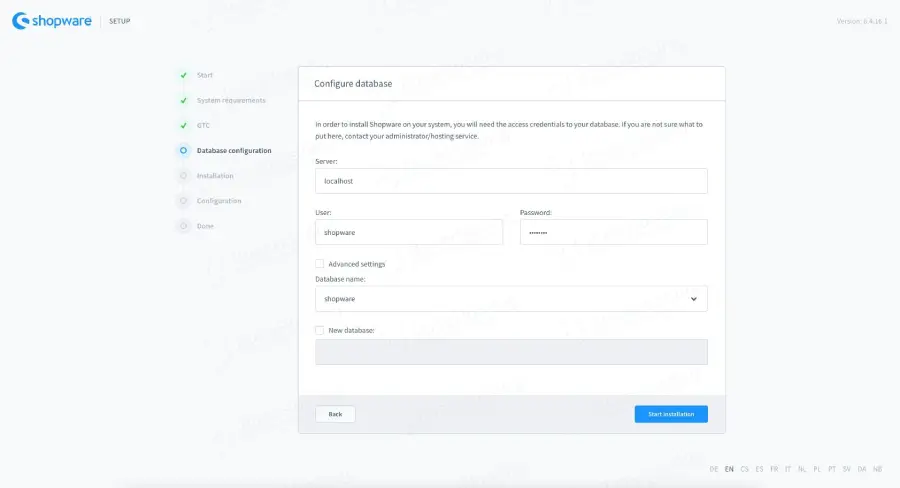
Fill in the database credentials we created earlier in the previous step, then click on the Start Installation button
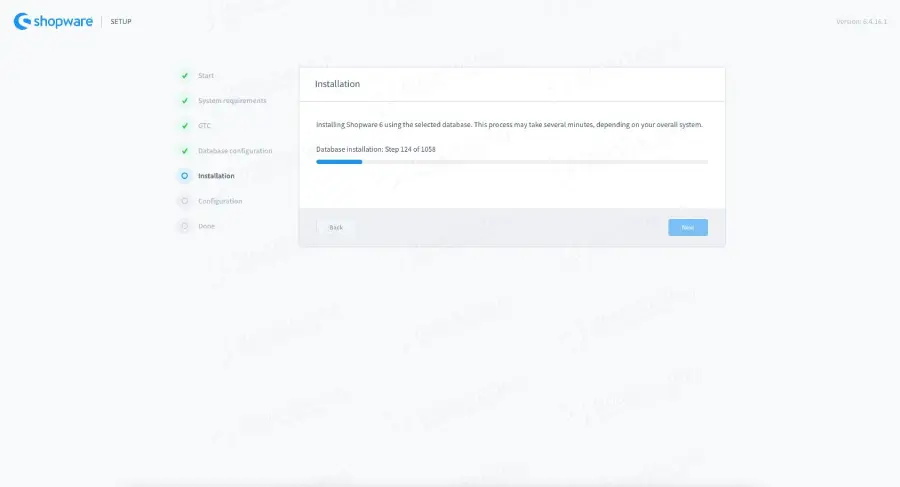
Wait until the installation finishes.
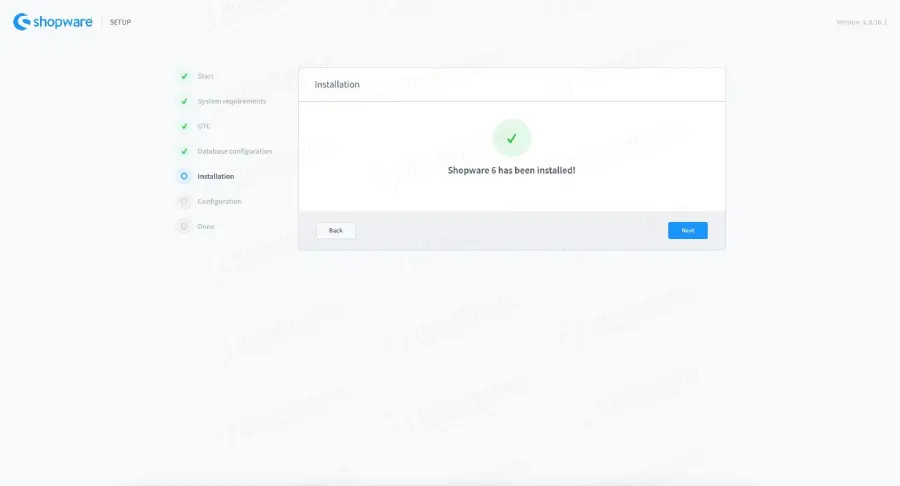
Once finished, click the Next button
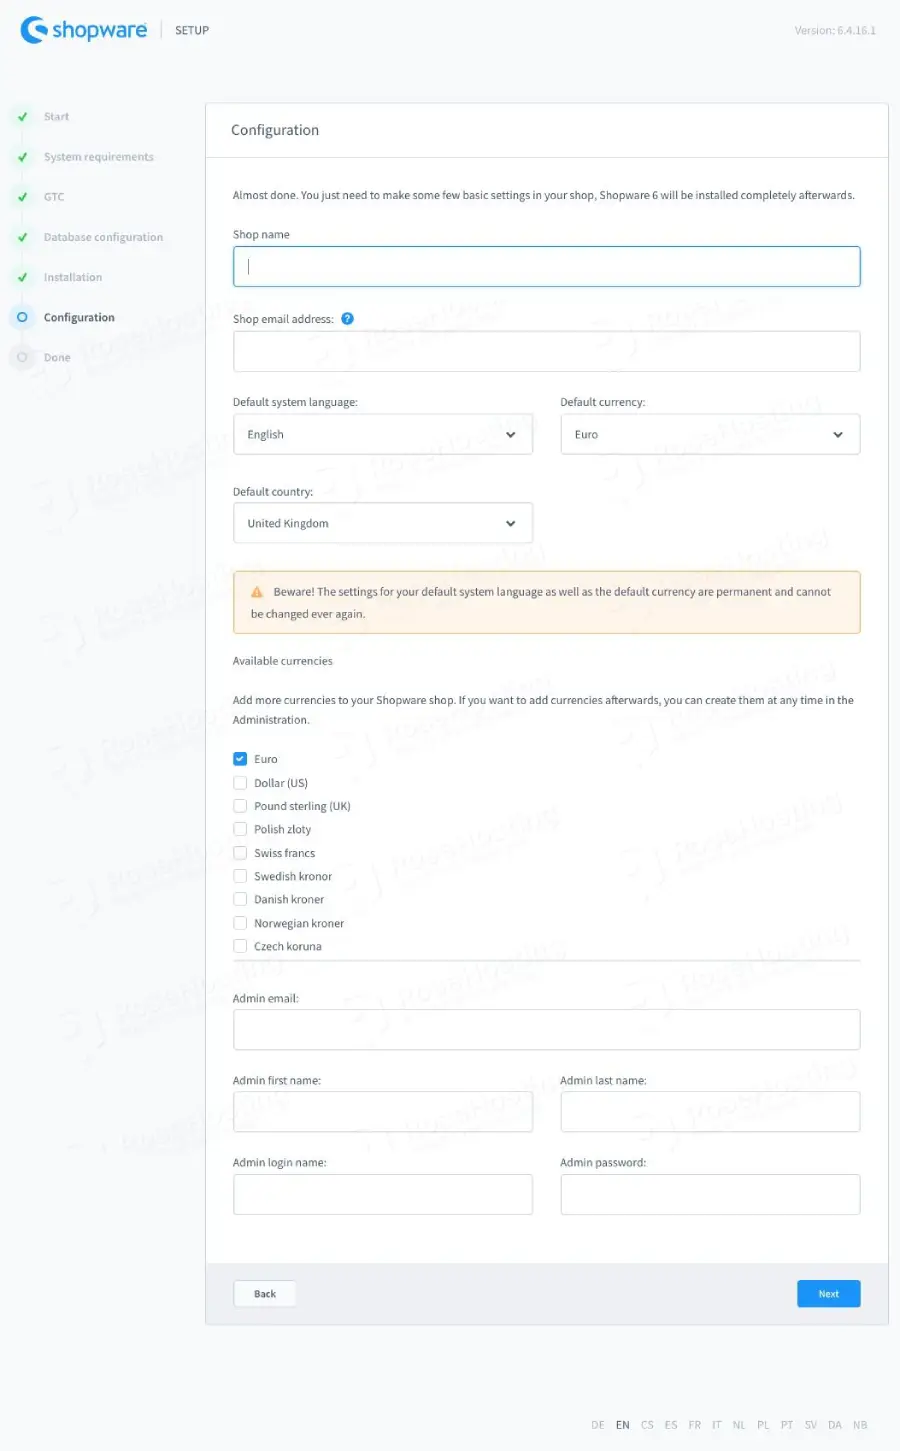
You can configure your shop name and create a new administrator account in this step.
Once completed, you will be brought to the website’s backend.
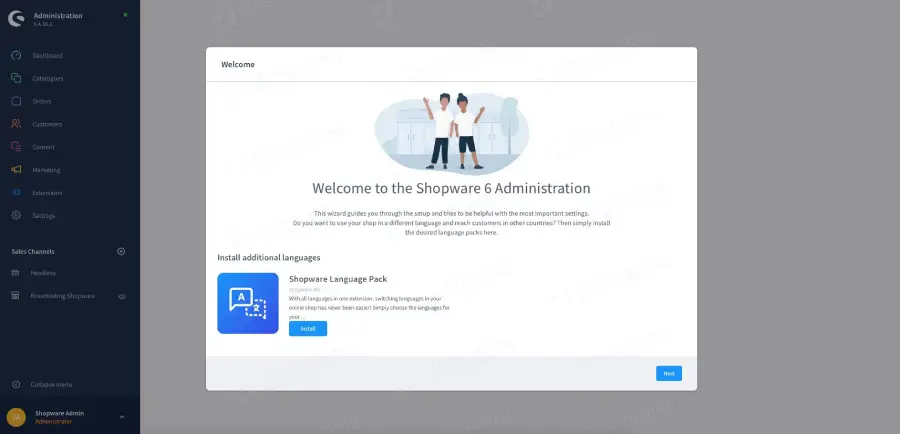
In this step, you can configure and customize your Shopware website and make another configuration, like setting up SMTP, PayPal, and extensions.
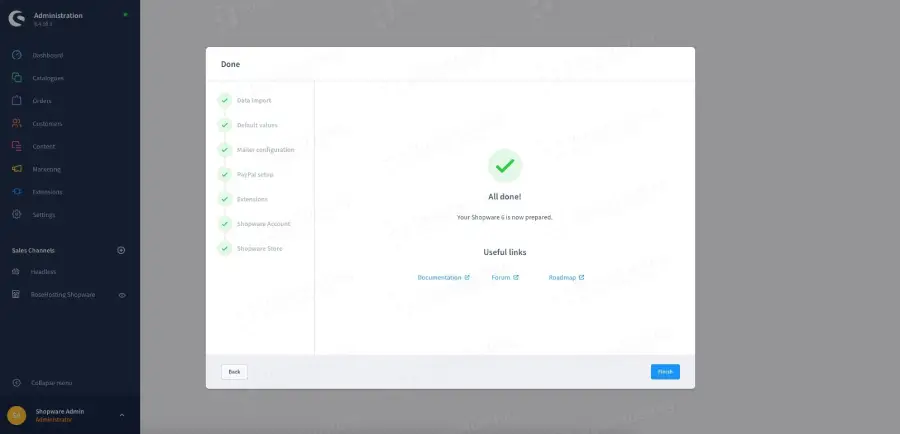
That’s it! You have successfully installed Shopware on Ubuntu 22.04.
If you are one of our web hosting clients and use our managed Ubuntu Hosting, you don’t have to follow this tutorial and install Shopware on your Ubuntu 22.04 server yourself, and you can simply ask our expert Linux hosting admins to set all of this up for you, quickly and easily. We can also help you with the more complex setup, like adding Varnish and Elasticsearch. Our technical supports are available 24×7 and will respond to your request immediately.
PS. If you liked this post, please share it with your friends on social networks or simply leave a comment in the comments section. Thank you.