
Vaultwarden is a lightweight, self-hosted implementation of the Bitwarden server written in Rust. Vaultwarden is designed as a simpler, more resource-efficient alternative to the official Bitwarden server, making it ideal for running on VPSs with as little as 1GB of RAM, in Docker environments, or on cloud servers. In this article, we will show you how to install Vaultwarden on Ubuntu 26.04.
Despite its lightweight design, Vaultwarden remains fully compatible with the entire Bitwarden ecosystem, including Android and iOS apps, browser extensions, and the official Bitwarden desktop app. This means you can still use the secure and familiar official Bitwarden app, but all your data is stored and managed on your own server.
Table of Contents
Prerequisites
- An Ubuntu 26.04 VPS
- SSH root access, or a user with sudo privileges
- A domain or subdomain pointing to your server
Conventions
# – given commands should be executed with root privileges either directly as a root user or by use of sudo command
$ – given commands should be executed as a regular user
Step 1. Update the System
First of all, we need to log in to our Ubuntu 26.04 VPS through SSH:
ssh root@IP_Address -p Port_numberReplace “root” with a user that has sudo privileges. Additionally, replace “IP_Address” and “Port_Number” with your server’s respective IP address and SSH port number. Next, let’s make sure that we’re on Ubuntu 26.04. You can verify it with this command:
# lsb_release -aYou should get this as the output:
No LSB modules are available.
Distributor ID: Ubuntu
Description:    Ubuntu Resolute Raccoon
Release:        26.04
Codename:       resolute
Then, run the following command to make sure that all installed packages on the server are updated to their latest available versions:
# apt update That’s it, the system package information should be updated now.
Step 2. Install Docker
At the time of this writing, Docker for Ubuntu 26.04 is not available at Docker’s apt repository. We can install Docker from the Ubuntu Resolute repository. Let’s execute the command below to install Docker.
# apt install docker.io docker-compose-pluginThe command above will prompt you to continue or not
Installing:
  docker.io docker-compose-plugin

Installing dependencies:
  bridge-utils  dns-root-data  git      iptables  liberror-perl  libip6tc2                libnfnetlink0  libnftnl11  patch  runc
  containerd    dnsmasq-base   git-man  less      libip4tc2      libnetfilter-conntrack3  libnftables1   nftables    pigz   ubuntu-fan

Suggested packages:
  ifupdown    cgroupfs-mount  debootstrap    docker-compose-v2  rinse     | zfsutils  git-email  gitk    git-cvs  firewalld  diffutils-doc
  aufs-tools  | cgroup-lite   docker-buildx  docker-doc         zfs-fuse  git-doc     git-gui    gitweb  git-svn  ed

Summary:
  Upgrading: 0, Installing: 21, Removing: 0, Not Upgrading: 0
  Download size: 72.6 MB
  Space needed: 284 MB / 5438 MB available
Hit ENTER to continue with the installation. Once completed, the Docker service will run automatically. You can check with this command:
# systemctl status docker
The command above will print an output like this:
● docker.service - Docker Application Container Engine
     Loaded: loaded (/usr/lib/systemd/system/docker.service; enabled; preset: enabled)
     Active: active (running) since Fri 2026-03-06 21:20:46 UTC; 1min 14s ago
 Invocation: 154729dda93f44cf93571521a84fd3f3
TriggeredBy: ● docker.socket
       Docs: https://docs.docker.com
   Main PID: 6013 (dockerd)
      Tasks: 47
     Memory: 33M (peak: 33.7M)
        CPU: 1.305s
     CGroup: /system.slice/docker.service
             ├─6013 /usr/bin/dockerd -H fd:// --containerd=/run/containerd/containerd.sock
             ├─6352 /usr/bin/docker-proxy -proto tcp -host-ip 0.0.0.0 -host-port 80 -container-ip 172.18.0.3 -container-port 80 -use-listen-fd
             ├─6361 /usr/bin/docker-proxy -proto tcp -host-ip :: -host-port 80 -container-ip 172.18.0.3 -container-port 80 -use-listen-fd
             ├─6383 /usr/bin/docker-proxy -proto tcp -host-ip 0.0.0.0 -host-port 443 -container-ip 172.18.0.3 -container-port 443 -use-listen-fd
             └─6389 /usr/bin/docker-proxy -proto tcp -host-ip :: -host-port 443 -container-ip 172.18.0.3 -container-port 443 -use-listen-fd

Mar 06 21:20:45 ubuntu26 dockerd[6013]: time="2026-03-06T21:20:45.511643341Z" level=info msg="Deleting nftables IPv6 rules" error="exit status 1"
Mar 06 21:20:46 ubuntu26 dockerd[6013]: time="2026-03-06T21:20:46.618176136Z" level=info msg="sbJoin: gwep4 ''->'e8bf8d225716', gwep6 ''->''" eid=e8bf8d225716 ep=vaultwarden net=vaultwarden>
Mar 06 21:20:46 ubuntu26 dockerd[6013]: time="2026-03-06T21:20:46.662702855Z" level=info msg="sbJoin: gwep4 ''->'90f8057bc0ad', gwep6 ''->''" eid=90f8057bc0ad ep=caddy net=vaultwarden_net n>
Mar 06 21:20:46 ubuntu26 dockerd[6013]: time="2026-03-06T21:20:46.825903691Z" level=info msg="Loading containers: done."
Mar 06 21:20:46 ubuntu26 dockerd[6013]: time="2026-03-06T21:20:46.865355974Z" level=info msg="Docker daemon" commit=29.1.3-0ubuntu1 containerd-snapshotter=true storage-driver=overlayfs vers>
Mar 06 21:20:46 ubuntu26 dockerd[6013]: time="2026-03-06T21:20:46.865417975Z" level=info msg="Initializing buildkit"
Mar 06 21:20:46 ubuntu26 dockerd[6013]: time="2026-03-06T21:20:46.902156551Z" level=info msg="Completed buildkit initialization"
Mar 06 21:20:46 ubuntu26 dockerd[6013]: time="2026-03-06T21:20:46.911787640Z" level=info msg="Daemon has completed initialization"
Mar 06 21:20:46 ubuntu26 dockerd[6013]: time="2026-03-06T21:20:46.911949972Z" level=info msg="API listen on /run/docker.sock"
Mar 06 21:20:46 ubuntu26 systemd[1]: Started docker.service - Docker Application Container Engine.
Step 3. Run Docker without Sudo
The Docker daemon binds to a Unix socket. When running the Docker command without sudo, you will get this error message:
docker: permission denied while trying to connect to the Docker daemon socket at unix:///var/run/docker.sock: Head "http://%2Fvar%2Frun%2Fdocker.sock/_ping": dial unix /var/run/docker.sock: connect: permission denied

Run 'docker run --help' for more information
To run Docker commands without sudo, we need to add the user we want to the Docker group:
# usermod -aG docker $USERFor example, let’s add the user “master” to the Docker group:
# usermod -aG docker masterStep 4. Create Docker Compose Files
We’ll use a combination of Docker and Caddy. Docker isolates the Vaultwarden application within a container, and Caddy acts as a web server that automatically handles HTTPS connections. This method is highly efficient and easy to maintain. In the previous step, we configured a system to run Docker commands without sudo. Let’s switch to that use now and proceed with the next steps.
# su - masterWe should be brought to the ‘master’ user’s shell. Let’s create a new directory.
$ mkdir vaultwarden-server && cd "$_"Now, create the docker-compose.yml file using a text editor like nano:
$ nano docker-compose.ymlInsert the following into the file:
services:
  vaultwarden:
    image: vaultwarden/server:latest
    container_name: vaultwarden
    restart: always
    environment:
      - WEBSOCKET_ENABLED=true
      - SIGNUPS_ALLOWED=true
      - DOMAIN=https://vaultwarden.yourdomain.com
    volumes:
      - ./vw-data:/data
    networks:
      - vaultwarden_net

  caddy:
    image: caddy:latest
    container_name: caddy
    restart: always
    ports:
      - "80:80"
      - "443:443"
    volumes:
      - ./Caddyfile:/etc/caddy/Caddyfile
      - ./caddy-data:/data
      - ./caddy-config:/config
    networks:
      - vaultwarden_net

networks:
  vaultwarden_net:
    name: vaultwarden_net
IMPORTANT: Replace vaultwarden.yourdomain.com with the domain you’ve already set up and pointing to your server. This configuration also creates an internal network called vaultwarden_net. This ensures Caddy and Vaultwarden communicate securely within the server, without exposing Vaultwarden’s ports to the public internet.
Next, create a Caddyfile file:
$ nano CaddyfileFill it with the following reverse proxy configuration. Caddy will automatically retrieve an SSL/TLS certificate from Let’s Encrypt for your domain.
vaultwarden.yourdomain.com {
    reverse_proxy vaultwarden:80 {
        header_up Host {host}
        header_up X-Real-IP {remote_ip}
        header_up X-Forwarded-For {remote_ip}
        header_up X-Forwarded-Proto {scheme}
    }
}
Again, do not forget to replace vaultwarden.yourdomain.com with your actual domain/subdomain. Save the file, then exit from the editor.
Step 5. Run the Container
Now that all the configurations are ready, we can run both containers in the background with a single command.
$ docker compose up -dDocker will download the Vaultwarden and Caddy images and run them according to the configuration. You can check the container status with docker ps.
$ docker psStep 6. Access & Create an Admin Account
Open your browser and access the domain you just set up (e.g., https://vaultwarden.yourdomain.com). You will see the frontend now.
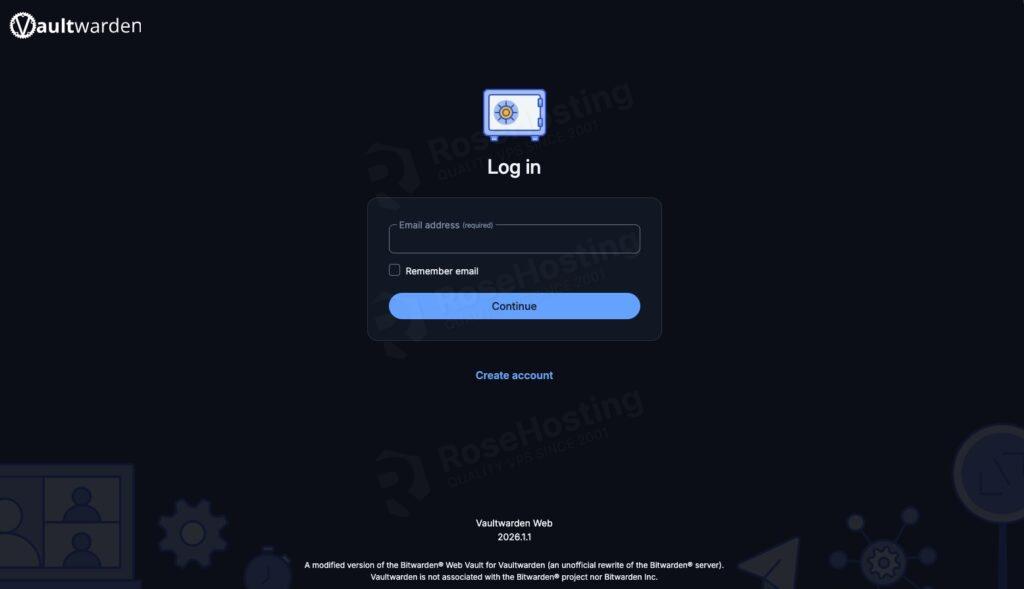
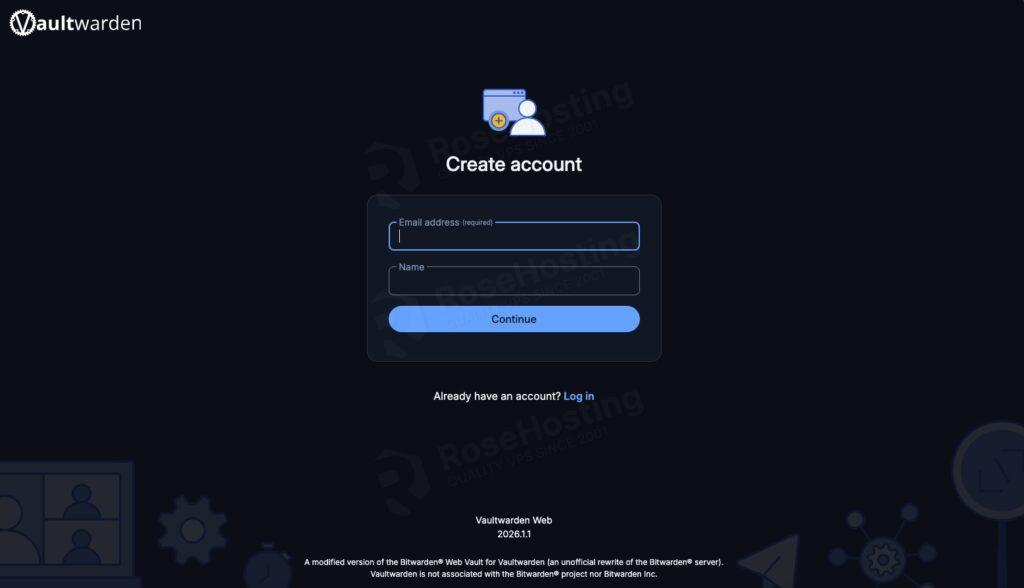
If everything works well, you will see the Vaultwarden login page. Click “Create Account” to create your first account. This account will be the default admin.
Once the admin account is created and your team has registered, it is highly recommended to disable new registrations to prevent outsiders from creating accounts on your server. To do this:
Edit the docker-compose.yml file.
Change SIGNUPS_ALLOWED=true to SIGNUPS_ALLOWED=false.
Save the file, then rerun docker compose up -d to apply the changes.
Wrapping Everything Up
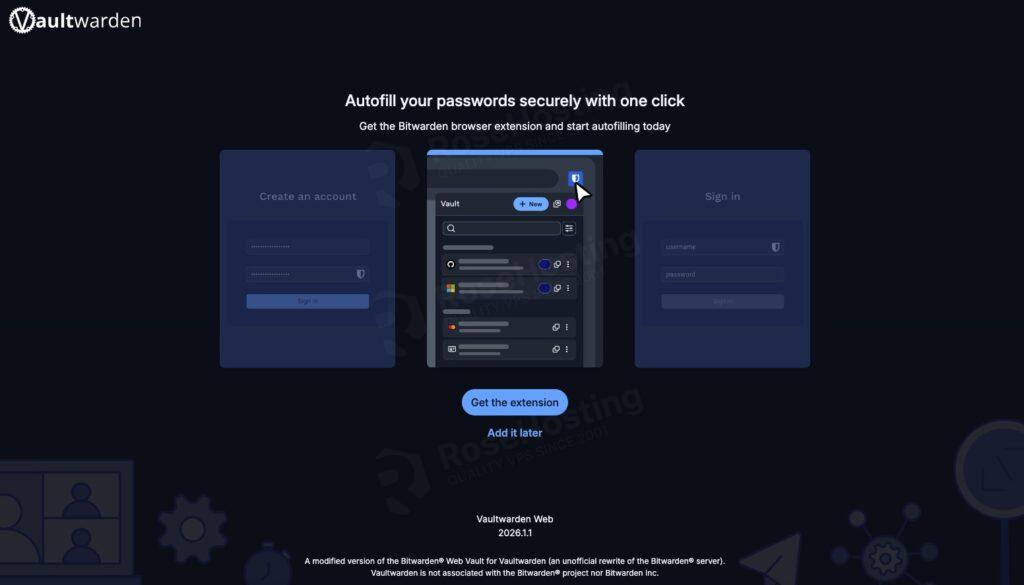
That’s it! You have learned how to install Vaultwarden on Ubuntu 26.04. You can now install a browser extension to connect to Vaultwarden.
Managing your own password manager does require some initial effort. However, the peace of mind that comes from having complete control over your company’s credential data is well worth the investment. This Vaultwarden installation process demonstrates that such advanced technology is now very affordable and can be implemented by any technical team.
If you are one of our Vaultwarden hosting customers, you don’t need to install Vaultwarden on Ubuntu 26.04 yourself. Our Linux administrators will set it up and configure Vaultwarden on the Ubuntu 26.04 server for you. They are available 24×7 and will take care of your request immediately.
If you liked this post on how to install Vaultwarden on Ubuntu 26.04, please share it with your friends or leave a comment below.