
This blog post is about installing WooCommerce on Debian 13 OS. WooCommerce is a powerful e-commerce solution designed as a WordPress plugin, enabling users to create and manage online stores with ease. It is widely popular due to its flexibility and user-friendly interface, making it suitable for both beginners and experienced developers. With WooCommerce, store owners can sell physical or digital products, configure multiple payment methods, and efficiently handle shipping and taxes. The platform offers extensive customization through themes and extensions, allowing businesses to tailor their stores to specific needs. Its open-source nature ensures continuous improvement and a large community that provides support, updates, and new features.
Installing the WooCommerce plugin on a WordPress website is a straightforward process that may take a couple of minutes. Before installing WooCommerce, we need to install WordPress with the LAMP stack. Let’s get things done!
Table of Contents
Prerequisites
- A server running Debian 13 OS
- User privileges: root or non-root user with sudo privileges
1. Update the System
Before we start installing WordPress and the LAMP stack, we assume you have a freshly installed OS, so we will update the system packages to their latest versions. To do that, execute the following command:
apt update -y && apt upgrade -y
2. Install LAMP stack
The LAMP stack is a shortcut for Linux, Apache, MySQL, and PHP, and is very important for building web applications. First, the LAMP stack will be the Apache web server. To install the Apache web server, execute the following command:
apt install apache2 -y
Once installed, start and enable the Apache service:
systemctl start apache2 && systemctl enable apache2
Check the status of the service:
systemctl status apache2
You should get the following output:
root@host:~# systemctl status apache2
● apache2.service - The Apache HTTP Server
     Loaded: loaded (/usr/lib/systemd/system/apache2.service; enabled; preset: enabled)
     Active: active (running) since Fri 2026-04-03 06:56:56 CDT; 9s ago
 Invocation: 47e768addc4a4748a185668e832a7f4d
       Docs: https://httpd.apache.org/docs/2.4/
   Main PID: 16375 (apache2)
      Tasks: 55 (limit: 4640)
     Memory: 5.1M (peak: 5.3M)
        CPU: 99ms
     CGroup: /system.slice/apache2.service
Next in the LAMP stack will be the MariaDB database service. To install it, execute the command below:
apt install mariadb-server -y
Once installed, start and enable the MariaDB service:
systemctl start mariadb && systemctl enable mariadb
Check the status of the service:
systemctl status mariadb
You should get the following output:
root@host:~# systemctl status mariadb
● mariadb.service - MariaDB 11.8.6 database server
     Loaded: loaded (/usr/lib/systemd/system/mariadb.service; enabled; preset: enabled)
     Active: active (running) since Fri 2026-04-03 07:10:17 CDT; 23s ago
 Invocation: bfd054bfc3f34c4a87a5d63b133beb54
       Docs: man:mariadbd(8)
             https://mariadb.com/kb/en/library/systemd/
    Process: 17382 ExecStartPre=/bin/sh -c [ ! -e /usr/bin/galera_recovery ] && VAR= ||   VAR=`/usr/bin/galera_recovery`; [ $? -eq 0 ]   && echo _WSREP_START_POSITION=$VAR > /run/mysq>
    Process: 17448 ExecStartPost=/bin/rm -f /run/mysqld/wsrep-start-position /run/mysqld/wsrep-new-cluster (code=exited, status=0/SUCCESS)
    Process: 17450 ExecStartPost=/etc/mysql/debian-start (code=exited, status=0/SUCCESS)
   Main PID: 17435 (mariadbd)
     Status: "Taking your SQL requests now..."
      Tasks: 14 (limit: 30624)
     Memory: 124.1M (peak: 128.8M)
        CPU: 5.333s
     CGroup: /system.slice/mariadb.service
             └─17435 /usr/sbin/mariadbd
And the last of the LAMP stack will be the PHP, along with its extensions. To install PHP with the extensions, execute the following command:
apt install php8.4 libapache2-mod-php8.4 php8.4-fpm php8.4-mysql php8.4-xml php8.4-mbstring php8.4-curl -y
Once installed, verify the installation with the following command:
php -v
You should get the following output:
root@host:~# php -v
PHP 8.4.16 (cli) (built: Dec 18 2025 21:19:25) (NTS)
Copyright (c) The PHP Group
Built by Debian
Zend Engine v4.4.16, Copyright (c) Zend Technologies
    with Zend OPcache v8.4.16, Copyright (c), by Zend Technologies
3. Install WordPress Before You Install WooCommerce on Debian 13
First, we will create a WordPress database and a WordPress user and assign the correct permissions. Execute the following commands:
CREATE USER 'wpuser'@'localhost' IDENTIFIED BY 'YourStrongPassword';

CREATE DATABASE wpdb;

GRANT ALL PRIVILEGES ON wpdb.* TO 'wpuser'@'localhost';

FLUSH PRIVILEGES;

EXIT;
Next is to download and extract the WordPress files:
cd /var/www/html

wget https://wordpress.org/latest.zip

unzip latest.zip

rm latest.zip
Set the right permissions for files and folders.
chown -R www-data:www-data wordpress/

find . -type d -exec chmod 755 {} \;

find . -type f -exec chmod 644 {} \;
Next, we need to open the WordPress wp-config.php file and configure the database and user credentials we set in the previous step. To do that first rename the wp-config-sample.php
mv wp-config-sample.php wp-config.php
Open the wp-config.php file with your favorite editor and edit these lines of code to look like this:
// * Database settings - You can get this info from your web host * //
/** The name of the database for WordPress */
define( 'DB_NAME', 'wpdb' );

/** Database username */
define( 'DB_USER', 'wpuser' );

/** Database password */
define( 'DB_PASSWORD', 'YourStrongPassword' );
Save the file and close it.
4. Create Apache Virtual Host File
To create the Apache configuration file, execute the following command:
sudo touch /etc/apache2/sites-available/wordpress.conf
Open the file and paste the following lines of code
<VirtualHost *:80>
ServerName yourdomain.com
DocumentRoot /var/www/html/wordpress

<Directory /var/www/html/wordpress>
AllowOverride All
</Directory>

ErrorLog ${APACHE_LOG_DIR}/error.log
CustomLog ${APACHE_LOG_DIR}/access.log combined

</VirtualHost>
Save the file and close it.
Enable the Apache configuration files for WordPress along with the rewrite module.
sudo a2enmod rewrite

sudo a2ensite wordpress.conf
Check the Apache2 syntax:
apachectl -t
You should receive the following output:
root@host:/var/www/html/wordpress# apachectl -t
Syntax OK
If the syntax is OK, restart the Apache service.
systemctl restart apache2
5. Finish WordPress Installation
Before we can install WooCommerce on Debian 13, you need to access and finish the WordPress installation at http://yourdomain.com
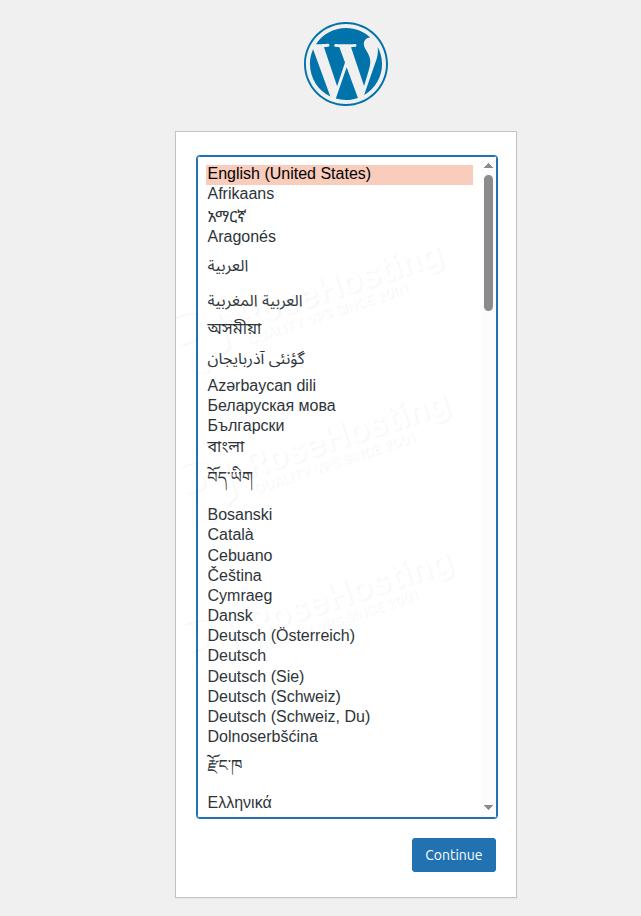
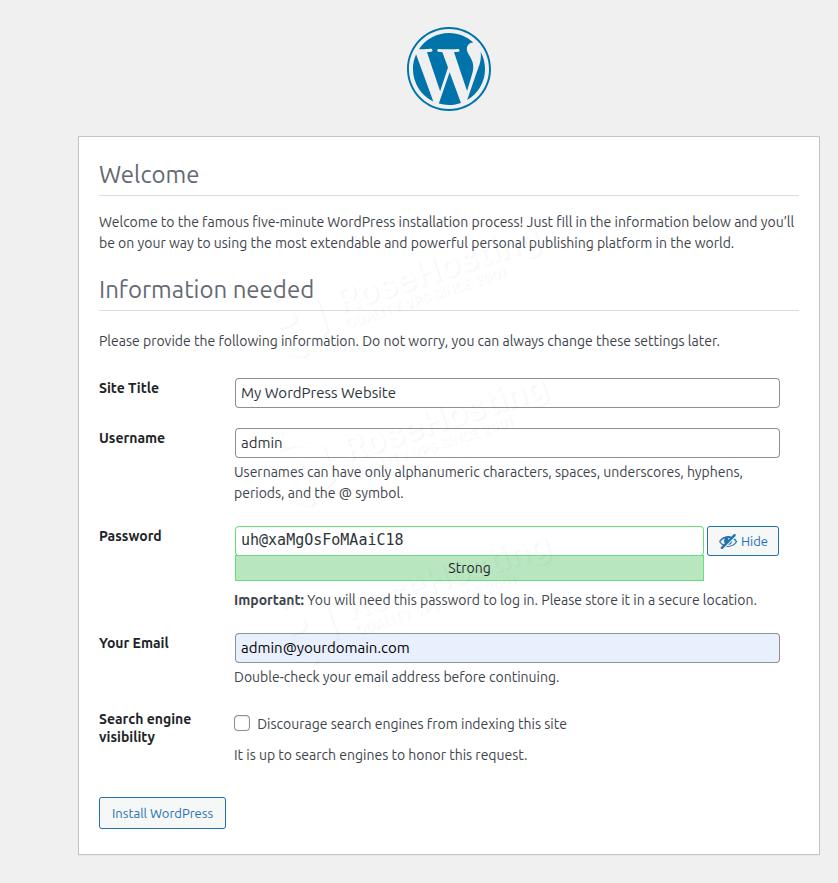
Choose your language and click continue. On the following screen, enter your WordPress credentials, then click Install WordPress:
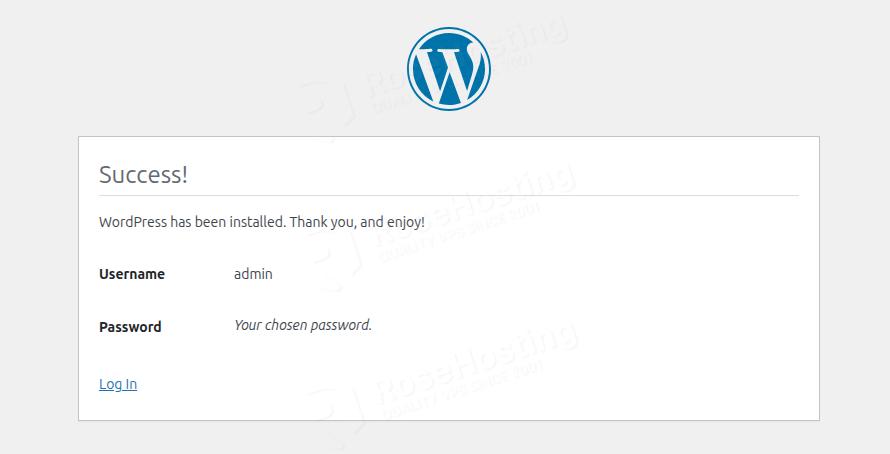
Once done, click the “Log In” button.
Enter the login credentials you set before and click on Log In
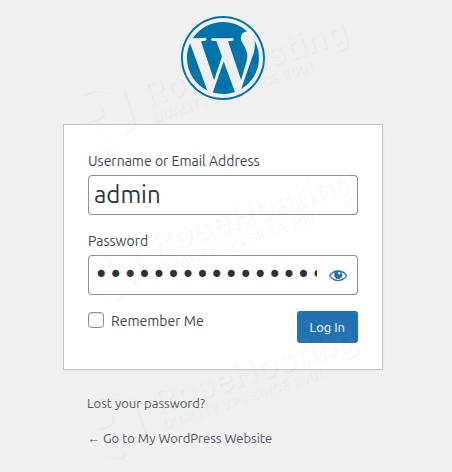
You should get the following screen:
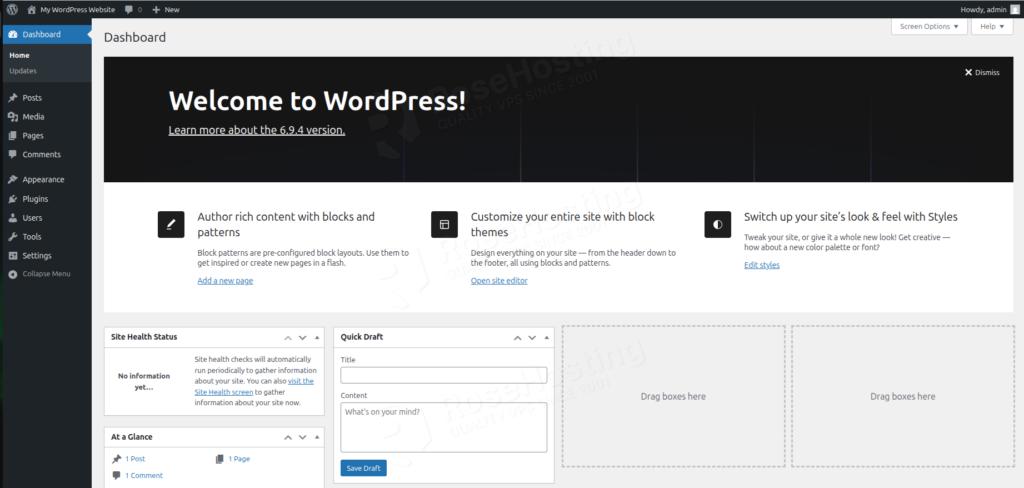
That’s it, the WordPress installation is done. Let’s move on to the last and most important heading about installing WooCommerce.
6. Install WooCommerce
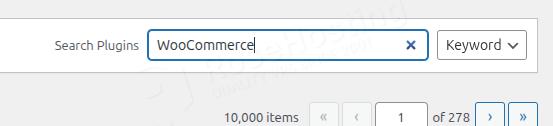
Since we are already logged in to the WordPress dashboard, navigate to Plugins > Add New Plugin:

In the search bar, type “WooCommerce”:
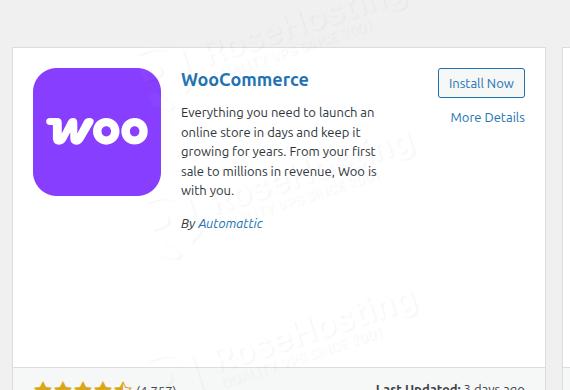
Locate “WooCommerce” in the results and click Install Now:
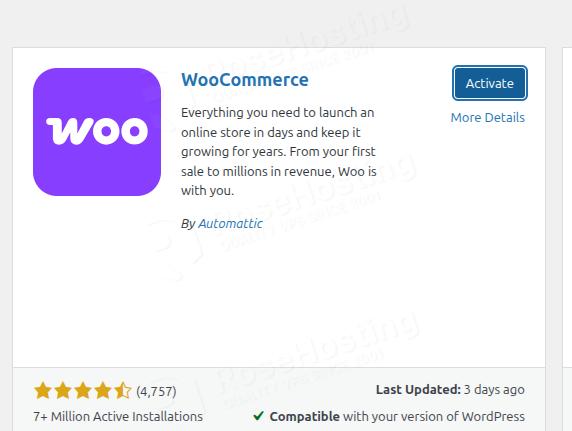
After the installation finishes, click Activate:
You should get the following output:
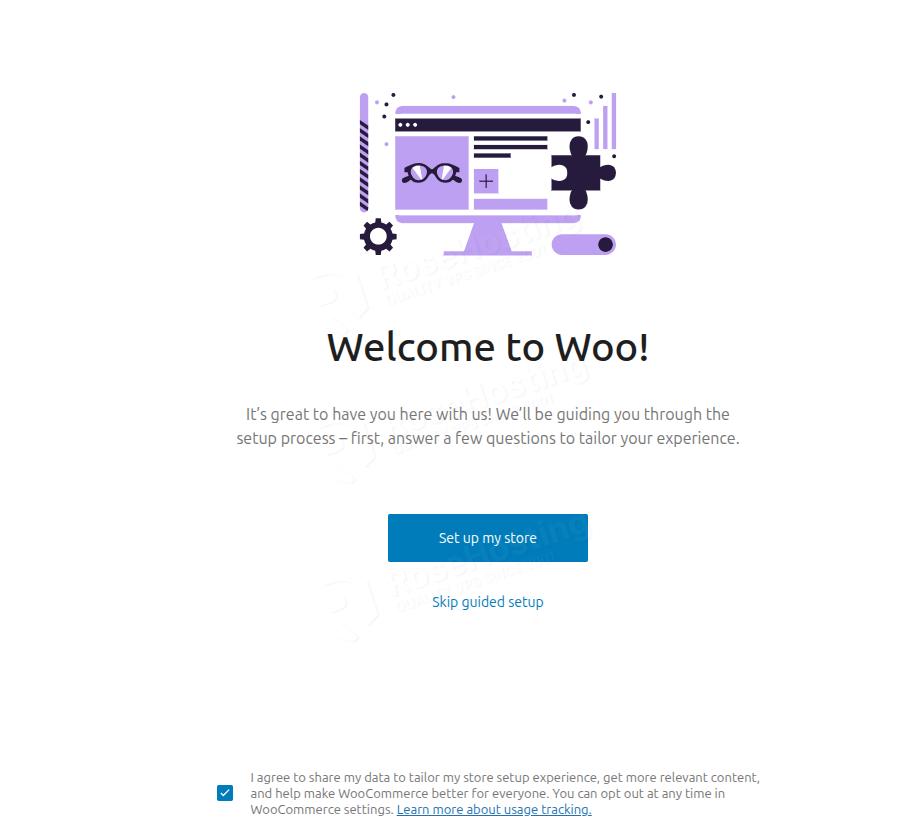
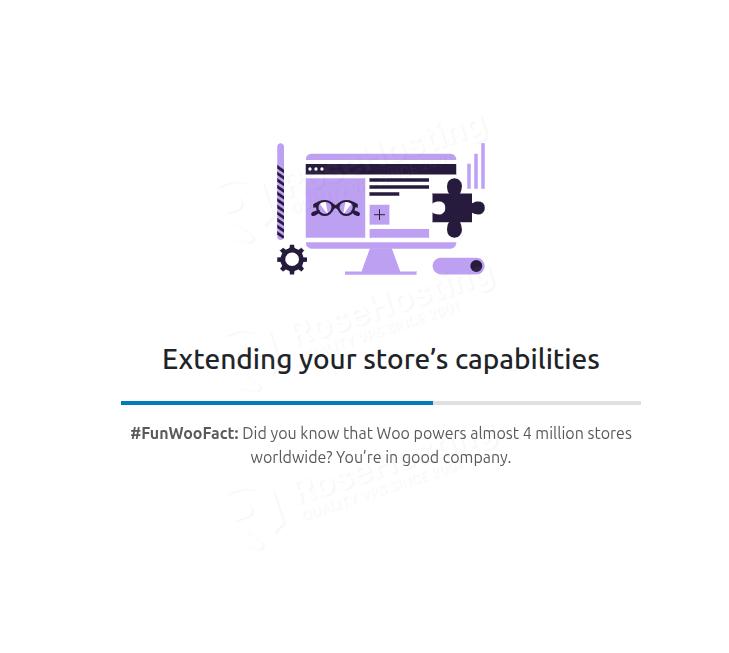
This means WooCommerce is installed but needs to be configured. Let’s move on!
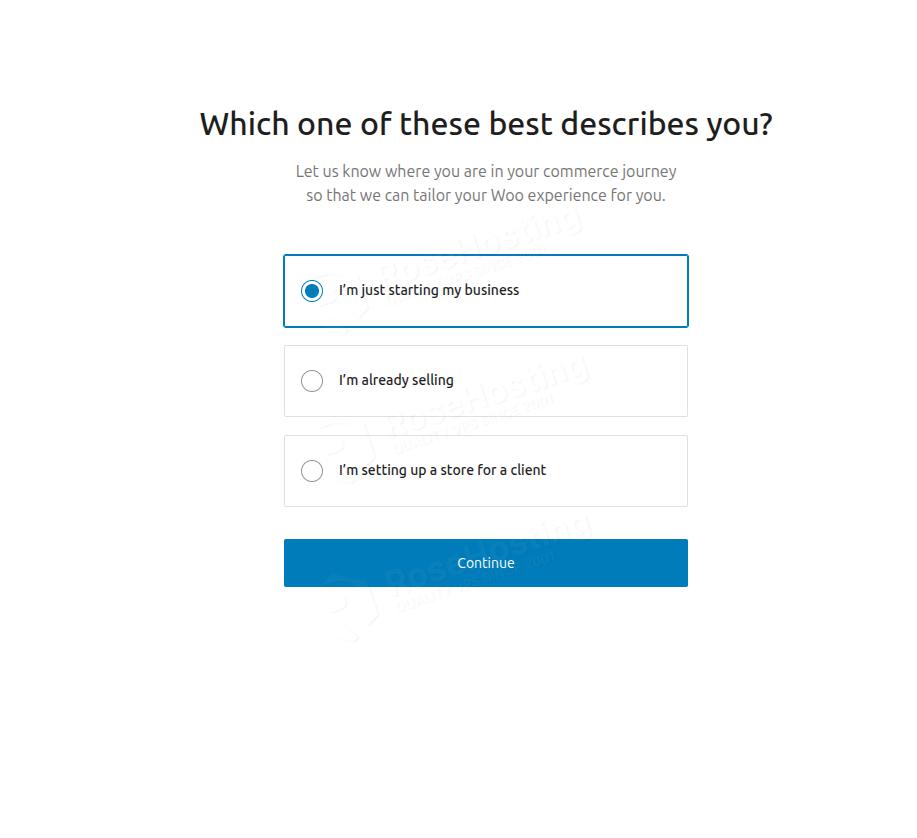
Click on “Setup my store,” and you will get the following window where you can choose “I’m just starting my business”:
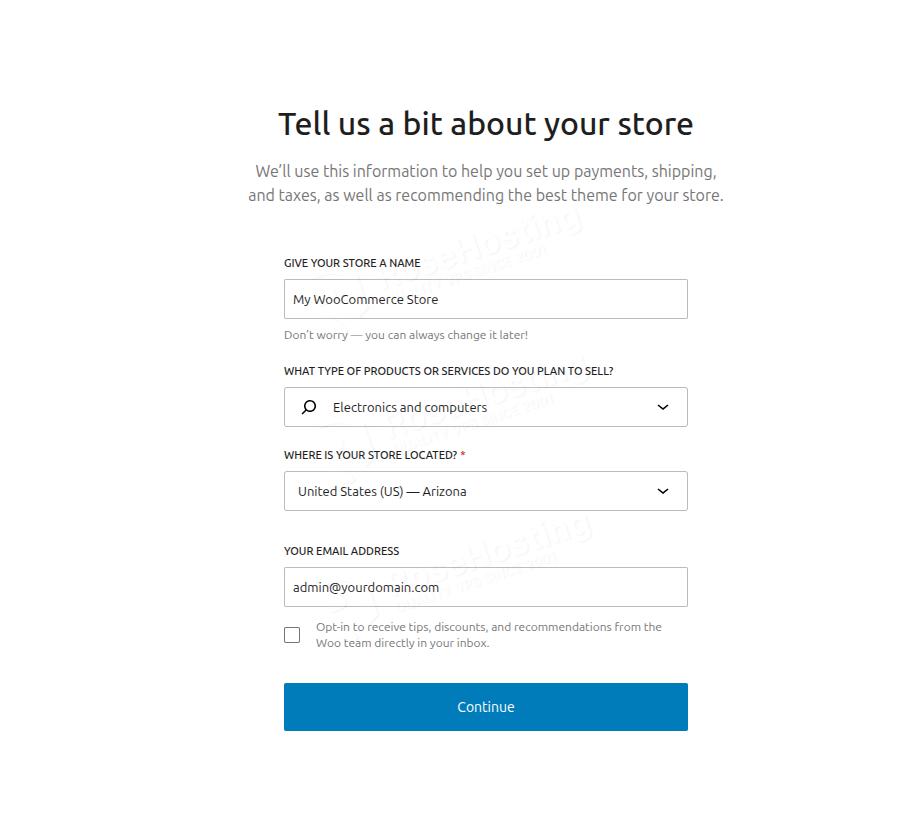
On this form, you can fill in your store information:
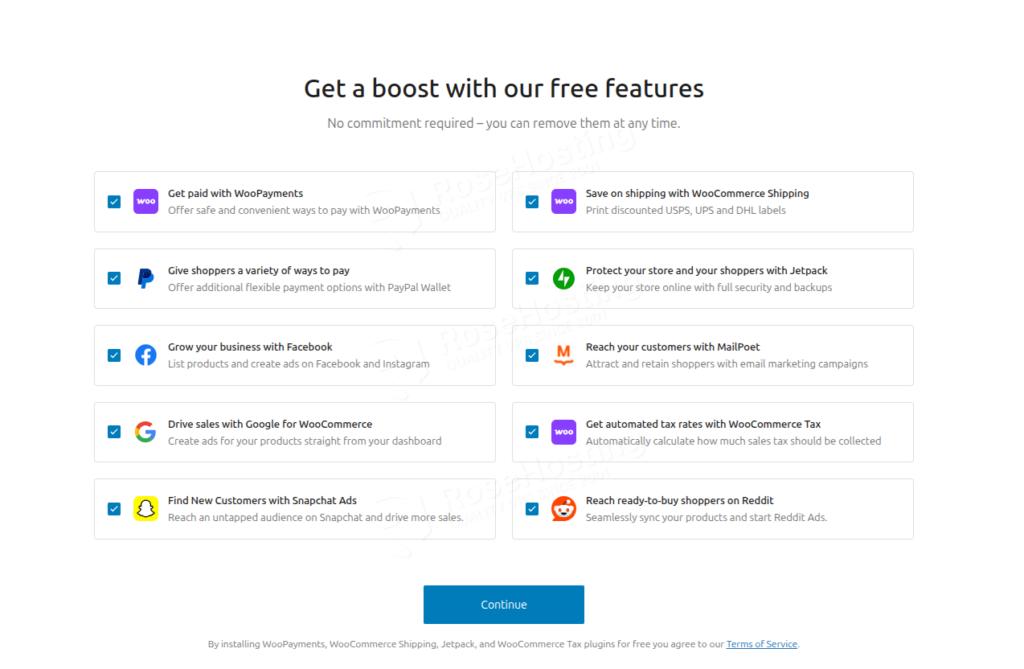
On this screen, leave it as it is and click on Continue:
The installation process will start:
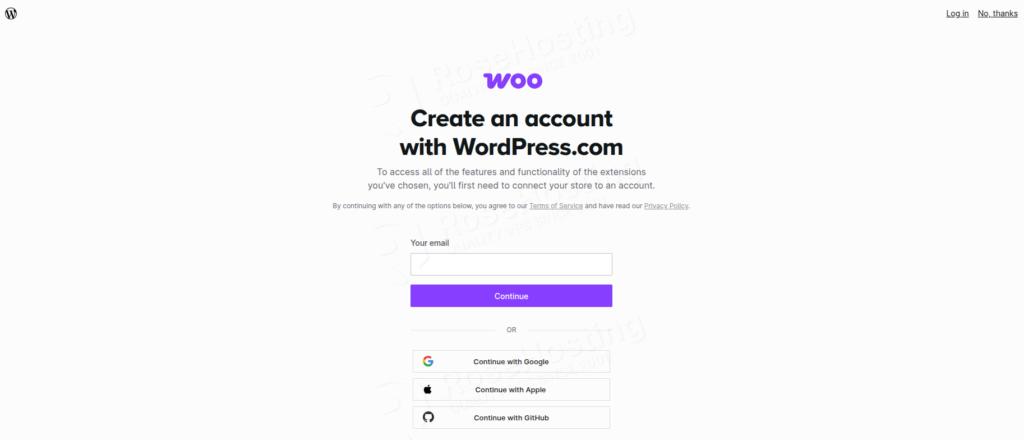
Once it is complete, it will ask you to create a WooCommerce account within your WordPress account, or leave it as is by clicking “No, thanks” in the top-right corner. We will click on “No, thanks”.
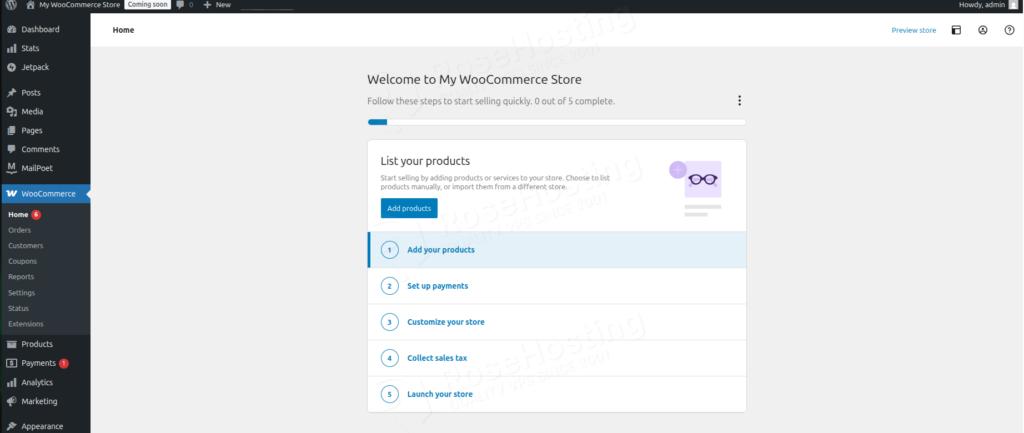
Once everything is completed, you will see the WooCommerce Home page:
In Conclusion
That’s it. You successfully installed WooCommerce on Debian 13 OS.
Of course, you don’t have to install WooCommerce on Debian 13 if you’re having difficulty and aren’t familiar with WordPress. You can always contact our technical support. You only need to sign up for one of our managed WooCommerce hosting plans and submit a support ticket. We are available 24/7 and will take care of your request immediately.
If you liked this post about installing WooCommerce on Debian 13, please share it with your friends or leave a comment below.