WordPress is a free and open-source content management system (CMS) that allows users to create and manage websites, blogs, and online stores. It is built on PHP and uses a MySQL database, providing a user-friendly interface for managing website content, themes, plugins, and other aspects of the site. WordPress’s key features are its flexibility and extensibility, allowing users to customize their websites with themes and plugins to meet their specific needs. WordPress powers millions of websites worldwide, from personal blogs to large corporate websites. Its popularity is partly due to its ease of use, extensive customization options, and a large community of developers contributing themes, plugins, and support. In this blog post, we’ll explain step-by-step how to install WordPress on Ubuntu 24.04.
Table of Contents
Prerequisites to install WordPress on Ubuntu 24.04
- A server running Ubuntu 24.04 or an Ubuntu VPS
- User privileges: root or non-root user with sudo privileges
Step 1. Update the System
We assume you have a fresh installation of Ubuntu 24.04. We will update the packages to the latest version available. To do that, execute the following command:
apt update && apt-get upgrade
Step 2. Install the Nginx web server
Install the Nginx web server using the following command:
apt install nginx
To start and enable the Nginx service, execute the following command:
systemctl start nginx && systemctl enable nginx
Check the status of the Nginx service:
systemctl status nginx
Step 3. Install PHP
To install PHP completely with extensions, execute the following command:
apt install php php-cli php-common php-imap php-fpm php-snmp php-xml php-zip php-mbstring php-curl php-mysqli php-gd php-intl
To check the installed PHP version, run the following command:
root@ubuntu:~# php -v
PHP 8.3.0-1ubuntu1 (cli) (built: Jan 19 2024 14:00:34) (NTS)
Copyright (c) The PHP Group
Zend Engine v4.3.0, Copyright (c) Zend Technologies
    with Zend OPcache v8.3.0-1ubuntu1, Copyright (c), by Zend Technologies
Step 4. Install the MariaDB database server
To install the MariaDB database server, execute the command below.
apt install mariadb-server
Start and enable the mariadb.service with the following commands:
systemctl start mariadb && sudo systemctl enable mariadb
Check the status of the mariadb.service:
systemctl status mariadb
Step 5. Create a WordPress database and user
Now we can proceed with creating a new database and a user for our WordPress website:
mysql -u root
MariaDB [(none)]> CREATE USER 'wordpress'@'localhost' IDENTIFIED BY 'YourStrongPassword';
MariaDB [(none)]> CREATE DATABASE wordpress;
MariaDB [(none)]> GRANT ALL PRIVILEGES ON wordpress.* TO 'wordpress'@'localhost';
MariaDB [(none)]> FLUSH PRIVILEGES;
MariaDB [(none)]> EXIT;
Step 6. Download and Install WordPress
Download the latest WordPress with the following command:
cd /tmp/ && wget https://wordpress.org/latest.zip

unzip latest.zip -d /var/www
Set the right permissions to files and folders:
chown -R www-data:www-data /var/www/wordpress/
Now, open the wp-config.php file and enter the database credentials you created in the previous step:
mv /var/www/wordpress/wp-config-sample.php /var/www/wordpress/wp-config.php

nano /var/www/wordpress/wp-config.php
It should look similar to this:
// ** Database settings - You can get this info from your web host ** //
/** The name of the database for WordPress */
define( 'DB_NAME', 'wordpress' );

/** Database username */
define( 'DB_USER', 'wordpress' );

/** Database password */
define( 'DB_PASSWORD', 'YourStrongPassword' );
Step 7. Create Nginx Server Block File
Next, create a new Nginx server block for our WordPress website.
nano /etc/nginx/conf.d/wordpress.conf
Paste the following into the new file.
server {
listen 80;
   server_name example.com;

   root /var/www/wordpress;
   index index.php;

   server_tokens off;

   access_log /var/log/nginx/wordpress_access.log;
   error_log /var/log/nginx/wordpress_error.log;

   client_max_body_size 64M;

location / {
   try_files $uri $uri/ /index.php?$args;
}

   location ~ \.php$ {
      fastcgi_pass  unix:/run/php/php8.3-fpm.sock;
      fastcgi_index index.php;
      include fastcgi_params;
      fastcgi_param SCRIPT_FILENAME $document_root$fastcgi_script_name;
      include /etc/nginx/fastcgi.conf;
    }
}
Check the syntax:
nginx -t
You should receive the following output:
root@ubuntu:~# nginx -t
nginx: the configuration file /etc/nginx/nginx.conf syntax is ok
nginx: configuration file /etc/nginx/nginx.conf test is successful
If the syntax is OK, restart the Nginx service.
systemctl restart nginx
Step 8. Finish WordPress Installation
Now, open your web browser and access WordPress using the URL http://example.com. You will be redirected to the following page:

Select the language and then click on the ‘Continue’ button:
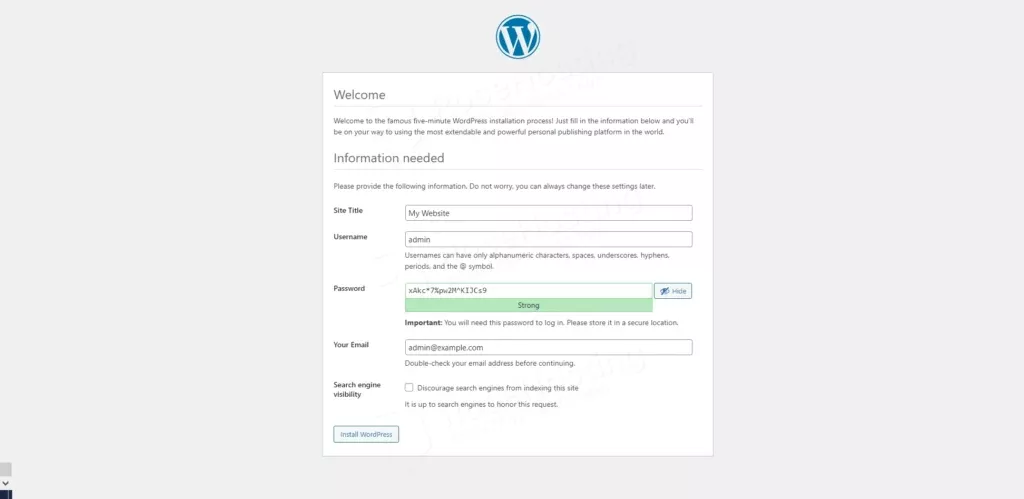
Fill in the required fields in this step, then proceed to the next step by clicking on ‘Install WordPress‘:
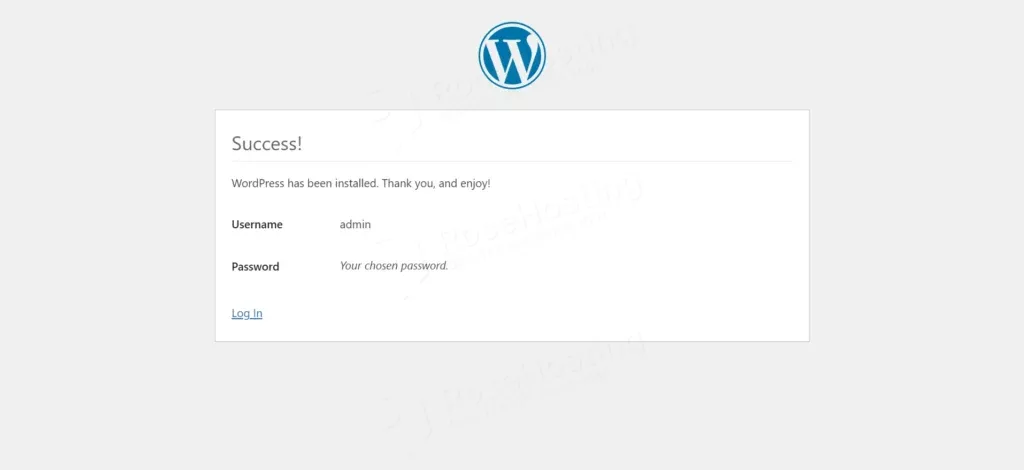
WordPress has been installed. Click on Log In
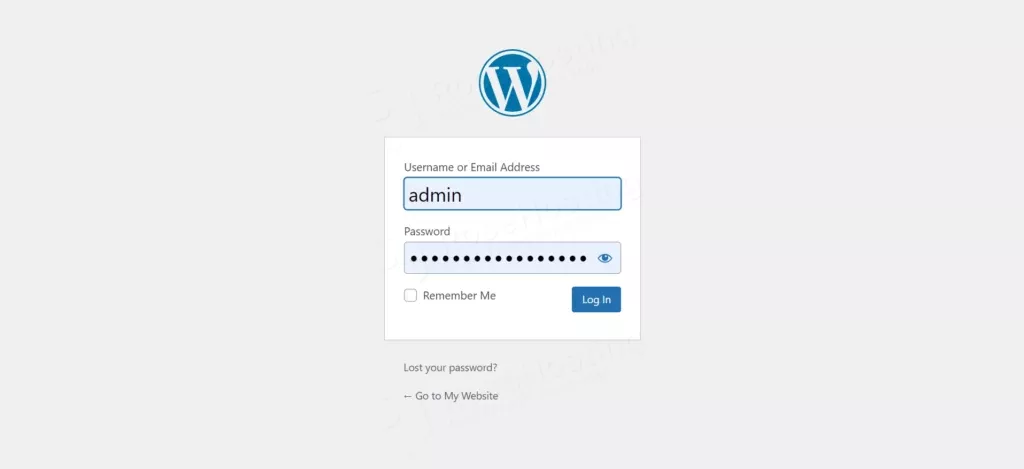
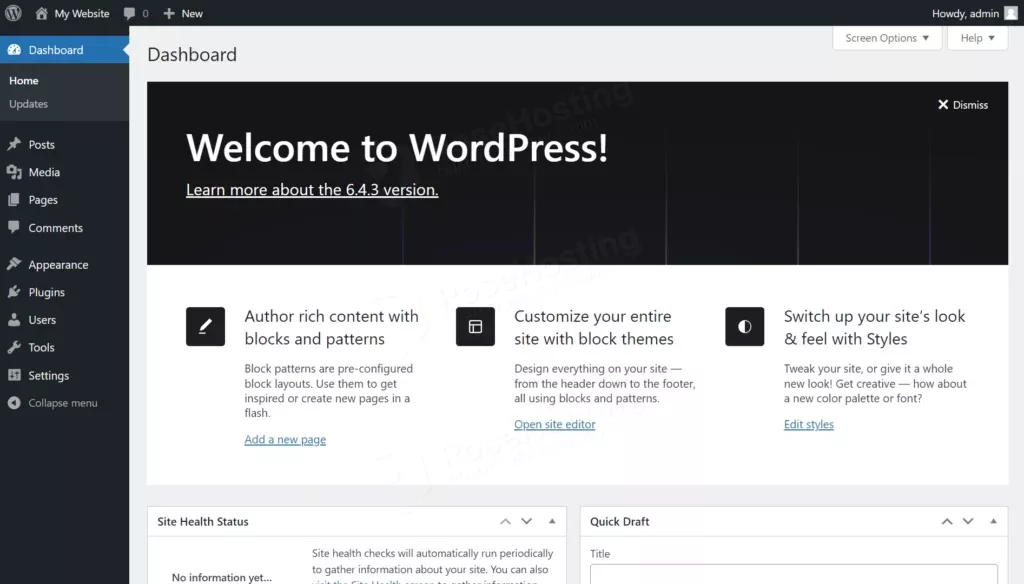
Enter your Username and password and Click on the Log In button. You will be automatically redirected to your dashboard:
You have successfully learned how to install WordPress on Ubuntu 24.04
Of course, you don’t have to pull your hair to install WordPress on Ubuntu 24.04 if you have a managed Linux VPS hosting plan hosted with us. If you do, just ask our support team to install WordPress on Ubuntu 24.04 for you. They are available 24/7 and will be able to help you with the installation of WordPress and any additional requirements you may have.
PS. If you enjoyed reading this blog post on how to install WordPress on Ubuntu 24.04, feel free to share it on social networks or leave a comment in the comments section. Thank you.
you have an error,
wdrdpress.conf had a D where an O should be :-)
just letting you know
you have an error in below line:
fastcgi_pass unix:/run/php/php8.3-fpm.sock;
Correct one is:
fastcgi_pass unix:/run/php/php8.1-fpm.sock;
Log part from log file – /var/log/nginx/wordpress_error.log
2024/08/29 17:49:10 [crit] 19896#19896: *1 connect() to unix:/run/php/php8.3-fpm.sock failed (2: No such file or directory) while connecting to upstream, client: 192.168.1.102, server: wordpress.home, request: “GET /wp-admin/ HTTP/1.1”, upstream: “fastcgi://unix:/run/php/php8.3-fpm.sock:”, host: “wordpress.home”, referrer: “http://wordpress.home/wp-login.php”
root@ubuntu-jammy:~# ll /run/php/
total 4
drwxr-xr-x 2 www-data www-data 100 Aug 29 17:40 ./
drwxr-xr-x 33 root root 980 Aug 29 17:48 ../
lrwxrwxrwx 1 root root 30 Aug 29 17:40 php-fpm.sock -> /etc/alternatives/php-fpm.sock=
-rw-r–r– 1 root root 5 Aug 29 17:40 php8.1-fpm.pid
srw-rw—- 1 www-data www-data 0 Aug 29 17:40 php8.1-fpm.sock=
root@ubuntu-jammy:~# nginx -v
nginx version: nginx/1.18.0 (Ubuntu)
root@ubuntu-jammy:~# php -v
PHP 8.1.2-1ubuntu2.18 (cli) (built: Jun 14 2024 15:52:55) (NTS)
Copyright (c) The PHP Group
Zend Engine v4.1.2, Copyright (c) Zend Technologies
with Zend OPcache v8.1.2-1ubuntu2.18, Copyright (c), by Zend Technologies
The installation is with PHP 8.3 that is why the configuration is with php8.3-fpm.sock
Great job. Except the comment above, everything works like a charm.
ThX!
Such and ease way of making an walkthrough :-)