 XOOPS is a popular and easy to use CMS written in PHP. It uses a modular architecture and it is an ideal tool for developing small to large dynamic community websites, weblogs etc.
To install and run XOOPS CMS on a CentOS 6 virtual server follow the very easy steps described below.
This install guide assumes that Apache, MySQL and PHP are already installed and configured on your Linux VPS. At the time of writing this tutorial, the latest stable version is XOOPS 2.5.7 and it requires:
- Web Server (Apache is highly recommended)
- PHP 5.3.7 or higher (PHP 5.4+ or later is strongly recommended) with the following PHP extensions enabled: MBString, Iconv, Zlib, GD Graphics Library (2.1.0 compatible), Exif, PCRE, Filter and XML.
- MySQL 5.1 or higher
Download XOOPS 2.5.7 available at http://xoops.org/modules/core to the server and extract it using the following commands:
cd /root
wget http://sourceforge.net/projects/xoops/files/XOOPS%20Core%20%28stable%20releases%29/XOOPS_2.5.7/xoops-2.5.7.zip/download -O xoops-2.5.7.zip
unzip xoops-2.5.7.zip
mv /root/xoops-2.5.7/htdocs/ /var/www/html/xoops/
Create a new MySQL database for XOOPS CMS on your server:
mysql -u root -p
mysql> CREATE DATABASE xoopsdb;
mysql> GRANT ALL PRIVILEGES ON .* TO 'xoopsuser'@'localhost' IDENTIFIED BY 'your-password' WITH GRANT OPTION;
mysql> FLUSH PRIVILEGES;
mysql> quit
Create a new virtual host directive in Apache. For example, edit your Apache configuration file (/etc/httpd/conf/httpd.conf by default) and uncomment the following line:
#NameVirtualHost *:80
then, add the following lines at the end:
<VirtualHost *:80>
ServerAdmin admin@your-domain.com
DocumentRoot /var/www/html/xoops/
ServerName your-domain.com
ServerAlias www.your-domain.com
<Directory /var/www/html/xoops/>
    Options FollowSymLinks
    AllowOverride All
 </Directory>
ErrorLog logs/your-domain.com-error_log
CustomLog logs/your-domain.com-access_log common
</VirtualHost>
Restart the Apache web server for the changes to take effect.
For security reasons, it is recommended to rename the ‘xoops_lib’ and ‘xoops_data’ directories and move them out of document root:
mkdir -p /var/www/xoops/
mv /var/www/html/xoops/xoops_lib /var/www/xoops/x00ps_lib
mv /var/www/html/xoops/xoops_data /var/www/xoops/x00ps_data
Also, the webserver user (Apache) needs to be able to write to ‘uploads’, ‘uploads/avatars’, ‘uploads/images’, ‘uploads/ranks’, ‘uploads/smilies’ and ‘x00ps_lib/modules/protector/configs’ directories and the ‘include/license.php’ file, so you can easily accomplish that by executing the following commands:
chown apache:apache -R /var/www/html/xoops/
chown apache:apache -R /var/www/xoops/
Open http://your-domain.com/ in your favorite web browser and follow the easy instructions: select language, edit path settings:
XOOPS documents root physical path: /var/www/html/xoops
XOOPS data files directory: /var/www/xoops/x00ps_data
XOOPS library directory: /var/www/xoops/x00ps_lib
Website location (URL): http://your-domain.com
enter your database settings, create an administrator account and select the default theme.
Make sure that the mainfile.php is read only:
ll /var/www/html/xoops/mainfile.php
-r--r--r-- 1 apache apache 3367 Jul 11 20:57 /var/www/html/xoops/mainfile.php
Do not forget to remove the the install directory (it should be renamed automatically by the installer) from your server.
That’s it. The XOOPS CMS has been successfully installed on your server.
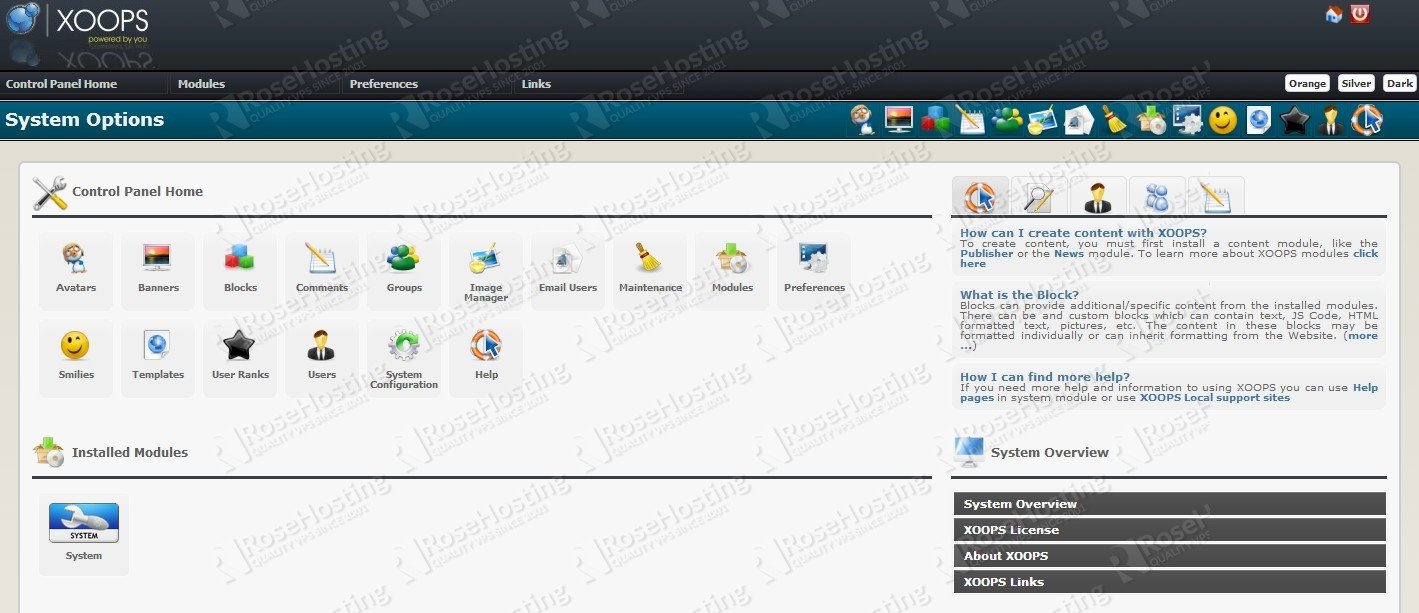
There are many modules available for extending the functionality of XOOPS. Modules can be managed using the module administration system at http://your-domain.com/admin.php
Of course you don’t have to do any of this if you use one of our Linux VPS Hosting services, in which case you can simply ask our expert Linux admins to install XOOPS for you. They are available 24×7 and will take care of your request immediately.
PS. If you liked this post please share it with your friends on the social networks using the buttons on the left or simply leave a reply below. Thanks.