XWiki is an open-source wiki software written in Java with a design emphasis on extensibility. It runs on a Servlet Container such as Tomcat, Jetty, JBoss, WebLogic, WebSphere, etc. Thousands of organizations are using this platform, making it the world’s leader in professional and collaborative Open Source solutions. In this tutorial, we will walk you through the installation of XWiki on Ubuntu 22.04 (Jammy Jellyfish).
Table of Contents
Prerequisites
- An Ubuntu 22.04 VPS
- SSH access with sudo privileges or root access.
Step 1: Log in to your server
First, you will need to log in to your Ubuntu 22.04 VPS via SSH as root:
ssh root@IP_Address -p Port_number
You would need to replace ‘IP_Address’ and ‘Port_number’ with your server’s respective IP address and SSH port number. Additionally, replace ‘root’ with the username of the system user with sudo privileges.
Now, you can check whether you have the proper Ubuntu version installed on your server with the following command:
# lsb_release -a
You would see an output like this one:
No LSB modules are available.
Distributor ID: Ubuntu
Description: Ubuntu 22.04 LTS
Release: 22.04
Codename: jammy
In this article, we will use ‘root’ to execute the shell commands. If you want to use your regular user with sudo privileges to run the commands, make sure to append ‘sudo’ in front of the commands.
Step 2: Update the system
Before starting, you have to make sure that all Ubuntu 22.04 packages installed on the server are up to date. You can do this by executing the command below.
# apt update
# apt upgrade
Step 3. Install XWiki
In this tutorial, we are going to install XWiki the easy way. But first, we need to add the XWiki repository.
# wget https://maven.xwiki.org/xwiki-keyring.gpg -O /usr/share/keyrings/xwiki-keyring.gpg
# wget "https://maven.xwiki.org/stable/xwiki-stable.list" -O /etc/apt/sources.list.d/xwiki-stable.list
After adding a repository, we need to update our Ubuntu package sources list with the latest versions of the packages in the repositories.
# apt update
To check all available options, you can first invoke this command:
# apt search xwiki
The command above will list some available options for you to run to get a combination of software you want to run XWiki with.
In this article, we are going to use Tomcat 9 and MySQL. Finally, install XWiki using the command below.
# apt install xwiki-tomcat9-mysql
If you want to use MariaDB, you can execute the command xwiki-tomcat9-mariadb. The command will automatically install xwiki-common and Java.
In the installation process, there are some steps you need to finish.
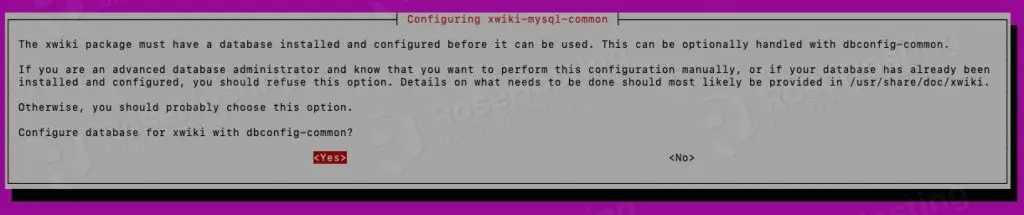
Hit Yes to continue.
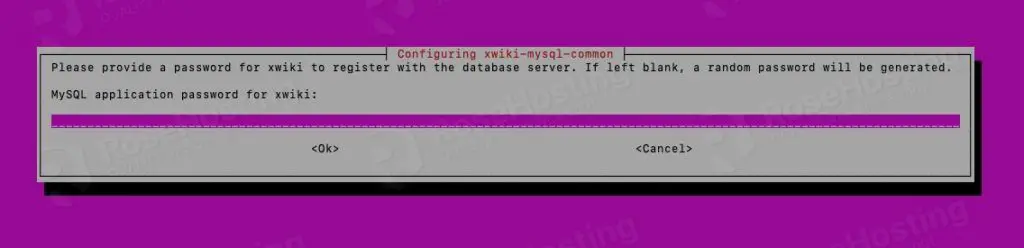
You can leave it blank; the installer will create the password.
Hit ENTER to continue.
That’s it! XWiki has been installed, and you should be able to access it at http://YOUR_SERVER_IP_ADDRESS:8080/xwiki using any web browser.
When opening the page for the first time, it will initialize first, and you will finally be brought to this page.
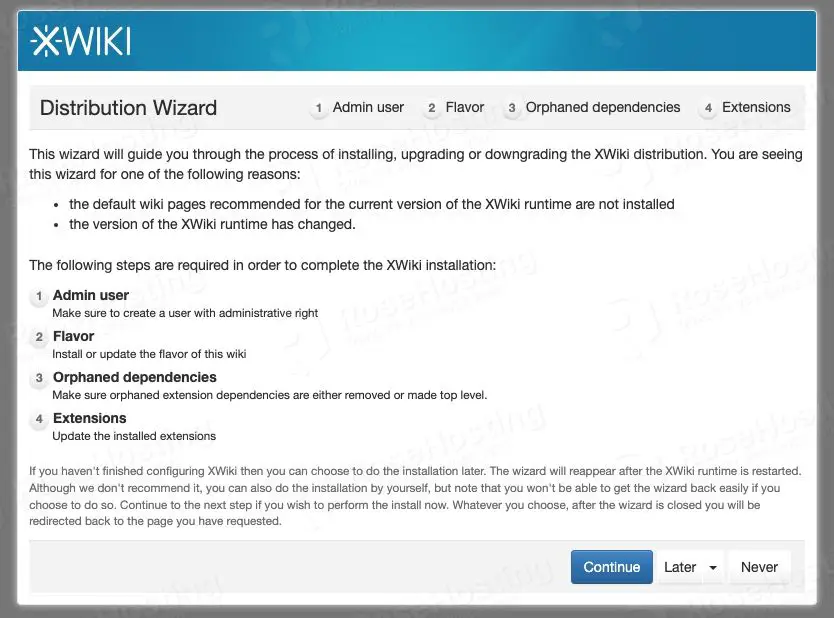
Click Continue to proceed.
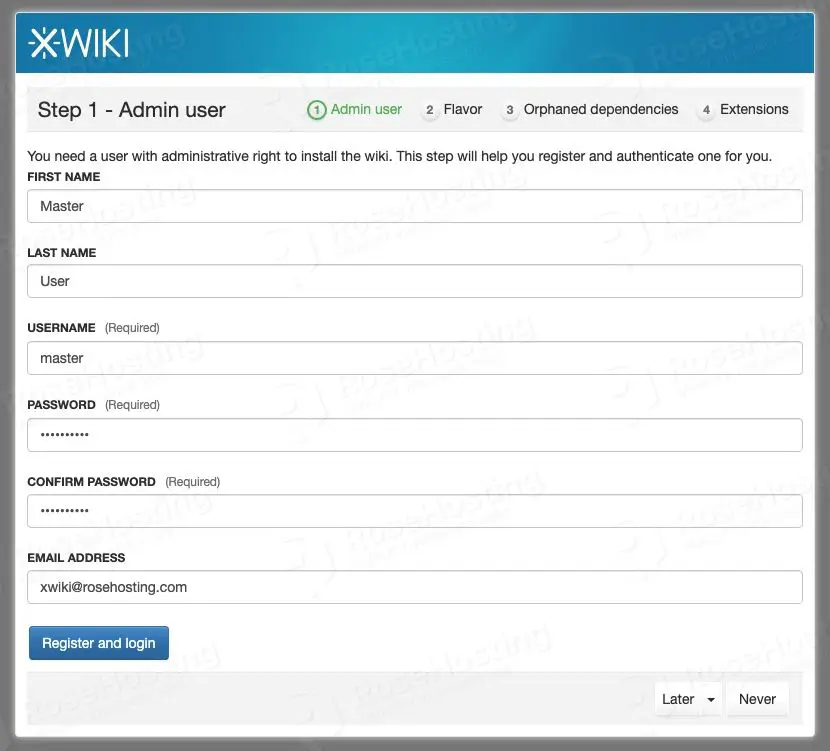
You can create an admin user on this page to manage your Xwiki website. Make sure to fill in the required blanks.
Now, you can see this page.
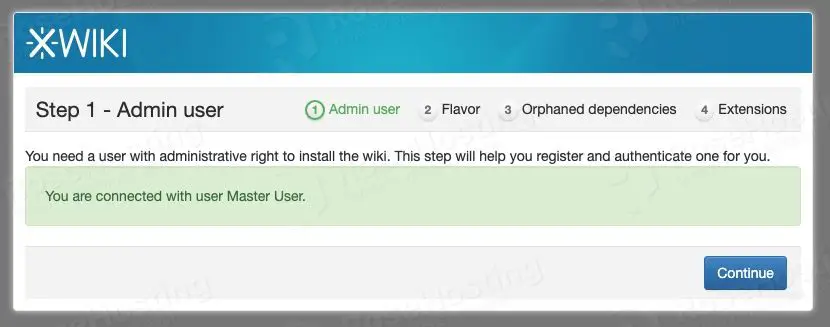
Click Continue

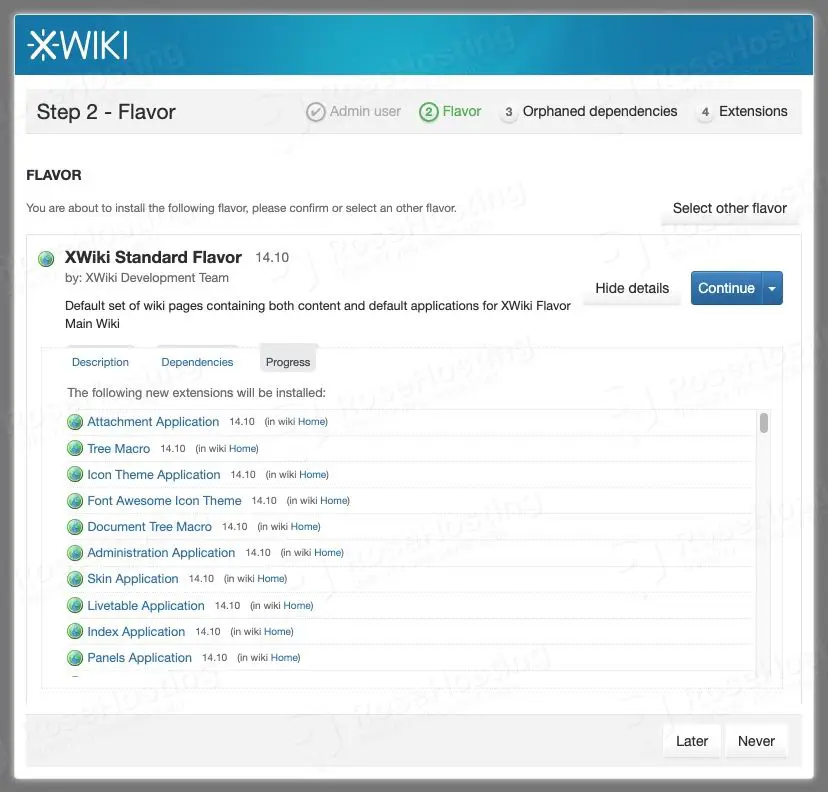
In this step, you will be prompted to install a flavor. If you do not see one, wait for a few seconds, and you will see the flavor(s) you can install.
If you wish to install it, select a flavor, then click on the ‘Install this flavor’ button.
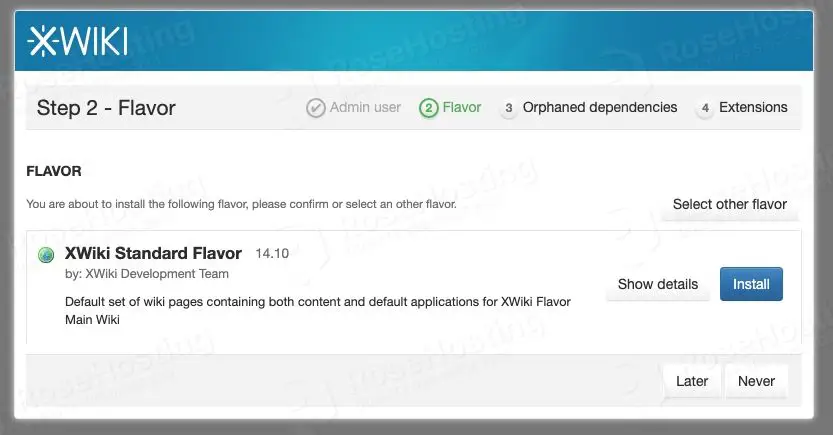
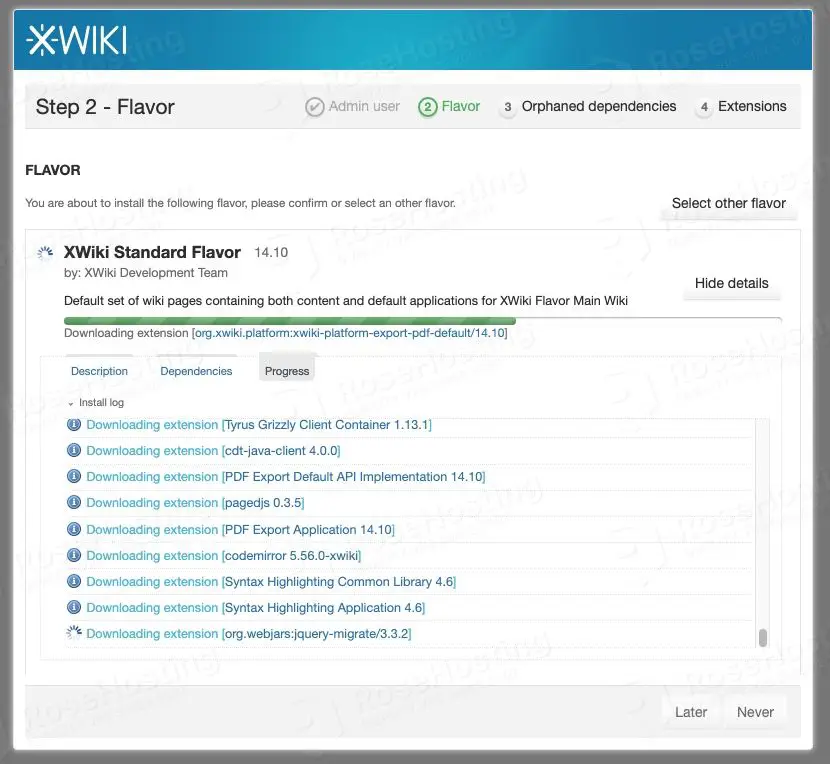
Click on the Install button to proceed with installing the flavor.
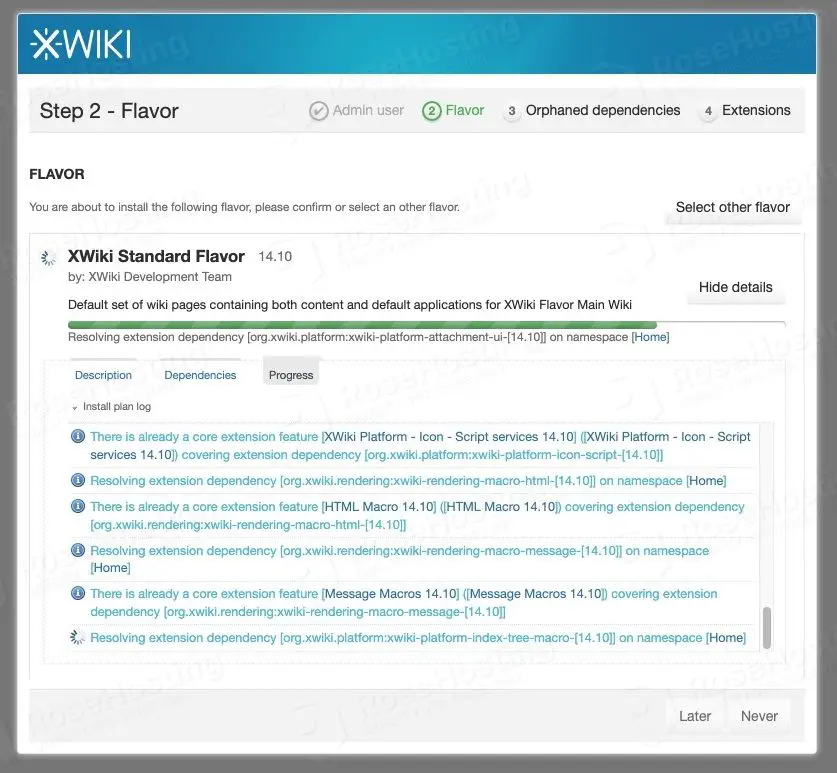
Wait for a few minutes until the installation finishes.
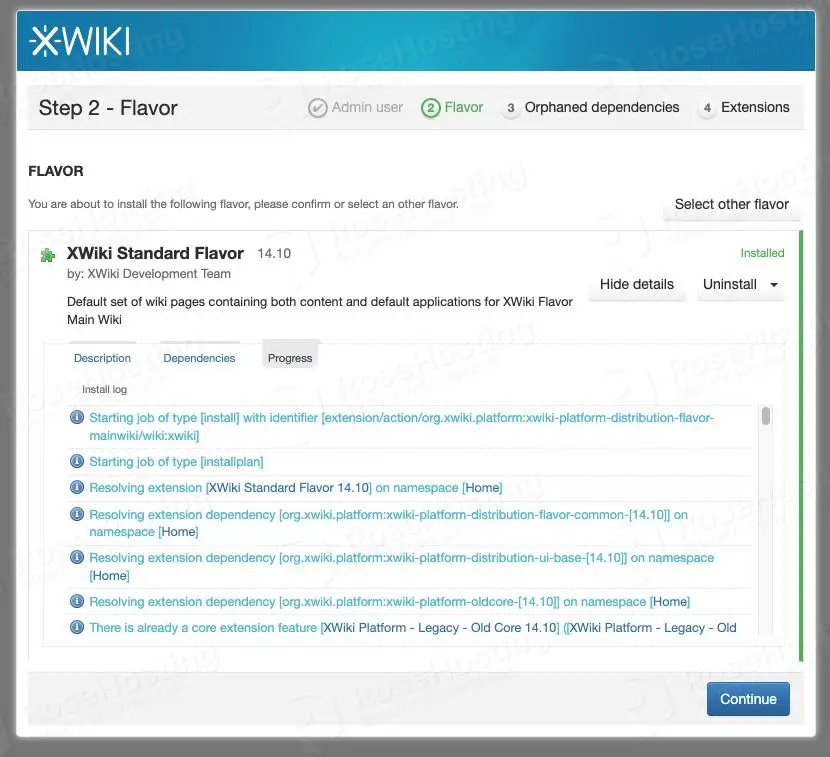
Once finished, click on the Continue button, it will start deploying the flavor by installing the required extensions, documents, etc., and it will take some time to complete.
The flavor installation is finished. Click Continue to proceed.
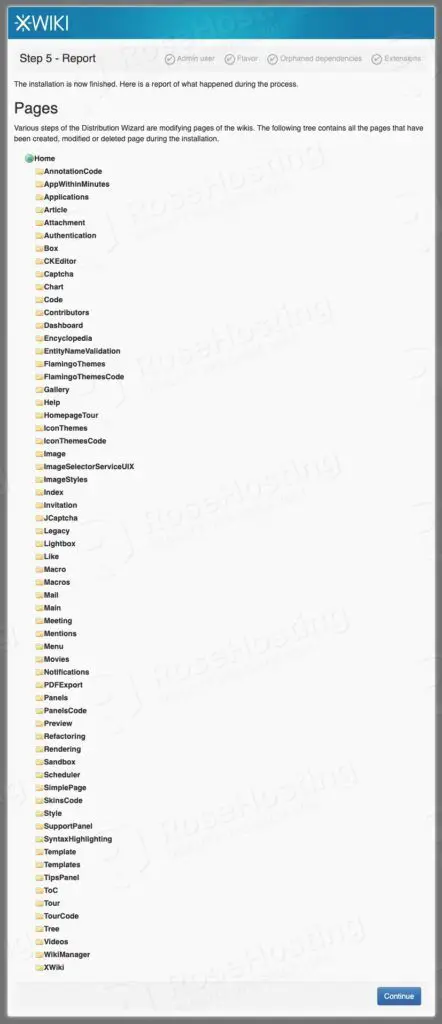
And after clicking the Continue button, you will be brought to this page.
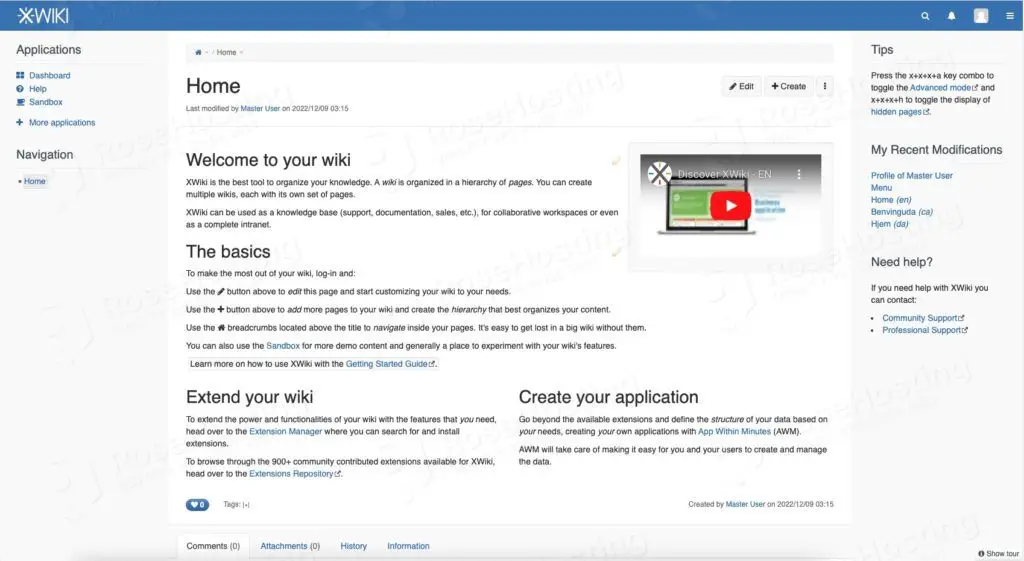
Click the Continue button, and you will see the welcome page.
Step 4. Install Nginx
You have successfully installed XWiki, and to access it through a domain name instead of an IP address, we need to install a web server to act as a reverse proxy. In this step, we will install and configure nginx as the reverse proxy to XWiki.
# apt install nginx
In Ubuntu, nginx will automatically start and is enabled on boot. Now, let’s create a server block for our Xwiki website.
# nano /etc/nginx/sites-enabled/xwiki.conf
Then, paste the following into the file.
map $request_uri $expires {
default off;
~*\.(ogg|ogv|svg|svgz|eot|otf|woff|mp4|ttf|rss|atom|js|jpg|jpeg|gif|png|ico|zip|tgz|gz|rar|bz2|doc|xls|exe|ppt|tar|mid|midi|wav|bmp|rtf)(\?|$) 1h;
~*\.(css) 0m;
}

expires $expires;

server {
   listen 80;
   server_name yourdomain.com;
   charset utf-8;

   root /var/www/html;

   location /.well-known {
     alias /var/www/html;
   }

   location / {
     rewrite ^ $scheme://$server_name/xwiki$request_uri? permanent;
   }

   location ^~ /xwiki {
     proxy_pass http://localhost:8080;
     proxy_cache off;
     proxy_set_header X-Real-IP $remote_addr;
     proxy_set_header X-Forwarded-For $proxy_add_x_forwarded_for;
     proxy_set_header Host $http_host;
     proxy_set_header X-Forwarded-Proto $scheme;
     expires $expires;
   }
}
Make sure to replace yourdomain.com with your actual domain or subdomain name before saving the file and then exiting. Next, let’s check the configuration and restart nginx.
# nginx -t
# systemctl restart nginx
At this point, you should be able to access your XWiki website at http://yourdomain.com.
Step 5. Install SSL/TLS Certificate
In this step, we are going to install a free SSL certificate from Let’s Encrypt. Let’s install certbot to continue with this.
# apt install certbot python3-certbot-nginx -y
Now it is time to execute this command below to generate an SSL/TLS certificate from Let’s Encrypt.
# certbot
You will get an output like this; you need to answer the prompts.
[root@ubuntu22]# certbot

Saving debug log to /var/log/letsencrypt/letsencrypt.log
Enter email address (used for urgent renewal and security notices)
(Enter 'c' to cancel): you@yourdomain.com

- - - - - - - - - - - - - - - - - - - - - - - - - - - - - - - - - - - - - - - -
Please read the Terms of Service at
https://letsencrypt.org/documents/LE-SA-v1.3-September-21-2022.pdf. You must
agree in order to register with the ACME server. Do you agree?
- - - - - - - - - - - - - - - - - - - - - - - - - - - - - - - - - - - - - - - -
(Y)es/(N)o: y

- - - - - - - - - - - - - - - - - - - - - - - - - - - - - - - - - - - - - - - -
Would you be willing, once your first certificate is successfully issued, to
share your email address with the Electronic Frontier Foundation, a founding
partner of the Let's Encrypt project and the non-profit organization that
develops Certbot? We'd like to send you email about our work encrypting the web,
EFF news, campaigns, and ways to support digital freedom.
- - - - - - - - - - - - - - - - - - - - - - - - - - - - - - - - - - - - - - - -
(Y)es/(N)o: n
Account registered.

Which names would you like to activate HTTPS for?
We recommend selecting either all domains, or all domains in a VirtualHost/server block.
- - - - - - - - - - - - - - - - - - - - - - - - - - - - - - - - - - - - - - - -
1: yourdomain.com
- - - - - - - - - - - - - - - - - - - - - - - - - - - - - - - - - - - - - - - -
Select the appropriate numbers separated by commas and/or spaces, or leave input
blank to select all options shown (Enter 'c' to cancel): 1
Requesting a certificate for yourdomain.com

Successfully received certificate.
Certificate is saved at: /etc/letsencrypt/live/yourdomain.com/fullchain.pem
Key is saved at: /etc/letsencrypt/live/yourdomain.com/privkey.pem
This certificate expires on 2023-03-04.
These files will be updated when the certificate renews.
Certbot has set up a scheduled task to automatically renew this certificate in the background.

Deploying certificate
Successfully deployed certificate for yourdomain.com to /etc/nginx/conf.d/yourdomain.com.conf
Congratulations! You have successfully enabled HTTPS on https://yourdomain.com

- - - - - - - - - - - - - - - - - - - - - - - - - - - - - - - - - - - - - - - -
If you like Certbot, please consider supporting our work by:
* Donating to ISRG / Let's Encrypt: https://letsencrypt.org/donate
* Donating to EFF: https://eff.org/donate-le
- - - - - - - - - - - - - - - - - - - - - - - - - - - - - - - - - - - - - - - -
Congratulation! You have successfully installed XWiki on Ubuntu 22.04, and you should be able to access it at https://yourdomain.com.
Of course, you don’t have to install XWiki on Ubuntu 22.04 if you use one of our Ubuntu VPS Hosting services, in which case you can simply ask our expert Linux admins to install XWiki on Ubuntu 22.04 VPS for you. They are available 24×7 and will take care of your request immediately.
PS. If you liked this post on how to install XWiki on Ubuntu 22.04, please share it with your friends on social networks or simply leave a reply in the comments section. Thanks.