In the next few paragraphs, we are going to explain, how to install YOURLS URL Shortener on your Ubuntu 20.04 OS.
YOURLS stands for Your Own URL Shortener and is a free and open-source set of PHP scripts that allow you to have your own URL Shortener. YOURLS URL Shortener has plenty of terrific features such as plugins, APIs, stats, JSON support, great interface and etc.
In this tutorial, we are going to use the LAMP stack for the installation of the YOURLS URL Shortener.
The installation process is very easy and straightforward that can take up to 10 minutes. Let’s get started!
Table of Contents
Prerequisites
- Fresh install of Ubuntu 20.04
- User privileges: root or non-root user with sudo privileges
Step 1.Update the System
Every fresh installation needs the latest updates. To update the system execute the commands below:
sudo apt update -y && sudo apt upgrade -y
Step 2.Install Apache as a Web Server
Install the Apache Web server with the following command:
sudo apt install apache2
Once, installed start and enable the service.
sudo systemctl enable apache2 && sudo systemctl start apache2
Check the status of the service:
sudo systemctl status apache2
You should receive the following output:
root@vps:~#sudo systemctl status apache2
● apache2.service - The Apache HTTP Server
     Loaded: loaded (/lib/systemd/system/apache2.service; enabled; vendor preset: enabled)
     Active: active (running) since Wed 2022-02-09 19:36:35 UTC; 2 days ago
       Docs: https://httpd.apache.org/docs/2.4/
    Process: 89546 ExecReload=/usr/sbin/apachectl graceful (code=exited, status=0/SUCCESS)
   Main PID: 672 (apache2)
      Tasks: 9 (limit: 4617)
     Memory: 29.5M
     CGroup: /system.slice/apache2.service
Step 3. Install MariaDB database server
MariaDB database server is required for creating a database for our YOURLS URL Shortener.
apt-get install mariadb-server
Enable and start the mariadb service
sudo systemctl enable mariadb
sudo systemctl start mariadb
Check the status of the MariaDB service:
sudo systemctl status mariadb
You should receive the following output:
root@vps:~# sudo systemctl status mariadb
● mariadb.service - MariaDB 10.3.32 database server
     Loaded: loaded (/lib/systemd/system/mariadb.service; enabled; vendor preset: enabled)
     Active: active (running) since Fri 2022-02-11 22:59:44 UTC; 1min 49s ago
       Docs: man:mysqld(8)
             https://mariadb.com/kb/en/library/systemd/
   Main PID: 138979 (mysqld)
     Status: "Taking your SQL requests now..."
      Tasks: 31 (limit: 4617)
     Memory: 68.0M
     CGroup: /system.slice/mariadb.service
             └─138979 /usr/sbin/mysqld
Step 4. Create a database and user for YOURLS
CREATE DATABASE yourls;
GRANT ALL PRIVILEGES ON yourls.* TO 'yourls'@'localhost' IDENTIFIED BY 'YourStrongPasswordHere';
FLUSH PRIVILEGES;
exit;
Step 5. Install PHP with extensions
Since the YOURLS URL Shortener is a set of PHP scripts, you need to install the PHP along with the PHP extensions.
sudo apt-get install php7.4 php7.4-mysql php7.4-curl php7.4-json php7.4-cgi php7.4-xsl php7.4-sqlite
Step 6. Install YOURLS URL Shortener
First of all, we need to clone the YOURLS URL Shortener from Github. Go into the HTML directory on your server:
cd /var/www/html

git clone https://github.com/YOURLS/YOURLS.git .
Once, cloned go into the user directory of the cloned repo and copy the config-sample.php to config.php
cd /var/www/html/user
cp config-sample.php config.php
Once, copied open the config.php file with your favorite editor and modify the fields for database, database user, and password that you set in the previous steps.
/** MySQL database username */
define( 'YOURLS_DB_USER', 'yourls' );

/** MySQL database password */
define( 'YOURLS_DB_PASS', 'YourStrongPasswordHere' );

/** The name of the database for YOURLS
 ** Use lower case letters [a-z], digits [0-9] and underscores [_] only */
define( 'YOURLS_DB_NAME', 'yourls' );
/** MySQL hostname.
** If using a non standard port, specify it like ‘hostname:port’, e.g. ‘localhost:9999’ or ‘127.0.0.1:666’ */
define( ‘YOURLS_DB_HOST’, ‘localhost‘ );
/** MySQL tables prefix
** YOURLS will create tables using this prefix (eg `yourls_url`, `yourls_options`, …)
** Use lower case letters [a-z], digits [0-9] and underscores [_] only */
define( ‘YOURLS_DB_PREFIX’, ‘yourls_‘ );
/*
** Site options
*/
/** YOURLS installation URL
** All lowercase, no trailing slash at the end.
** If you define it to “http://sho.rt”, don’t use “http://www.sho.rt” in your browser (and vice-versa)
** To use an IDN domain (eg http://héhé.com), write its ascii form here (eg http://xn--hh-bjab.com) */
define( ‘YOURLS_SITE’, ‘http://yourdomainhere‘ );
Once, these values are set you need to scroll down in this file and set the username and password that you will need for later access of YOURLS. Find and change these lines of code:
$yourls_user_passwords = [
        'administrator' => 'YourStrongPasswordHere',
        // 'username2' => 'password2',
        // You can have one or more 'login'=>'password' lines
];
Save the changes in the file and close it.
Step 7.Create Apache Virtual Host File
The next step is to create the Apache Virtual host configuration file. Go into the Apache directory:
cd /etc/apache2/sites-available

sudo nano yourls.conf
Once, you create the yourls.conf file, paste the following lines of code.
<VirtualHost *:80>

ServerName yourdomain.com
DocumentRoot /var/www/html

<Directory /var/www/html>
          Options FollowSymlinks
          AllowOverride All
          Require all granted
     </Directory>

ErrorLog ${APACHE_LOG_DIR}/yourdomain.com_error.log
CustomLog ${APACHE_LOG_DIR}/yourdomain.com_access.log combined

</VirtualHost>
Save the Apache configuration file, close it and enable the website.
sudo a2ensite yourls.conf
sudo a2enmod rewrite
Once, the website is enabled restart the apache service
sudo systemctl restart apache2
Step 8. Finish the YOURLS Installation
Access the website at http://yourdomain/admin
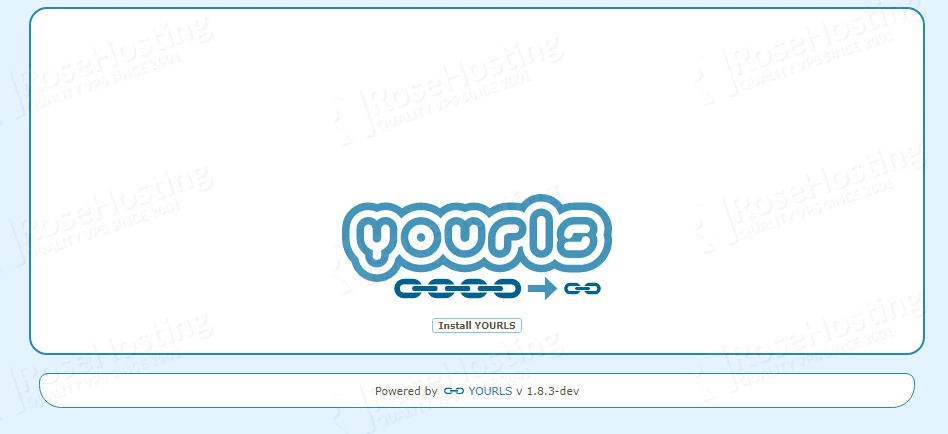
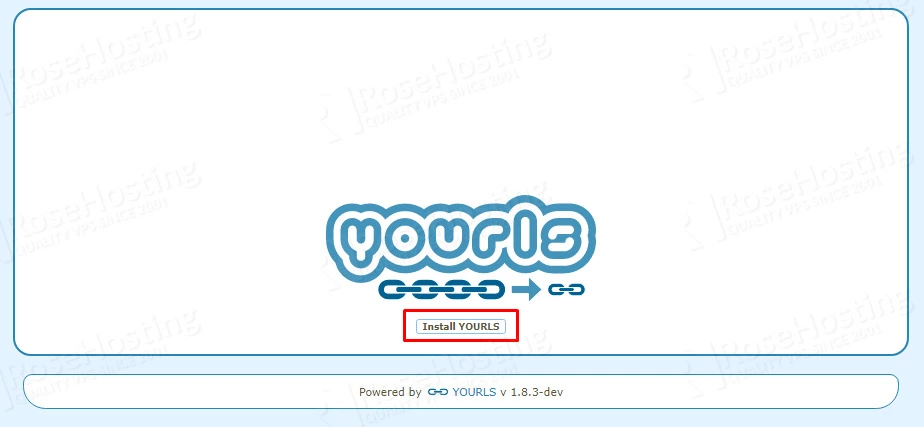
Click on the “Install YOURLS” button.
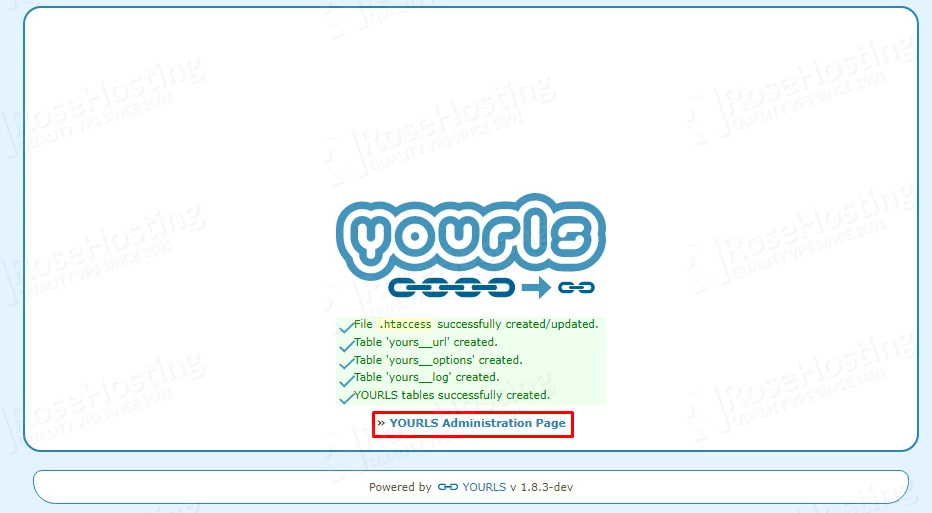
Once, clicked there will be some configuration checks and if everything is OK, you should see the following screen:
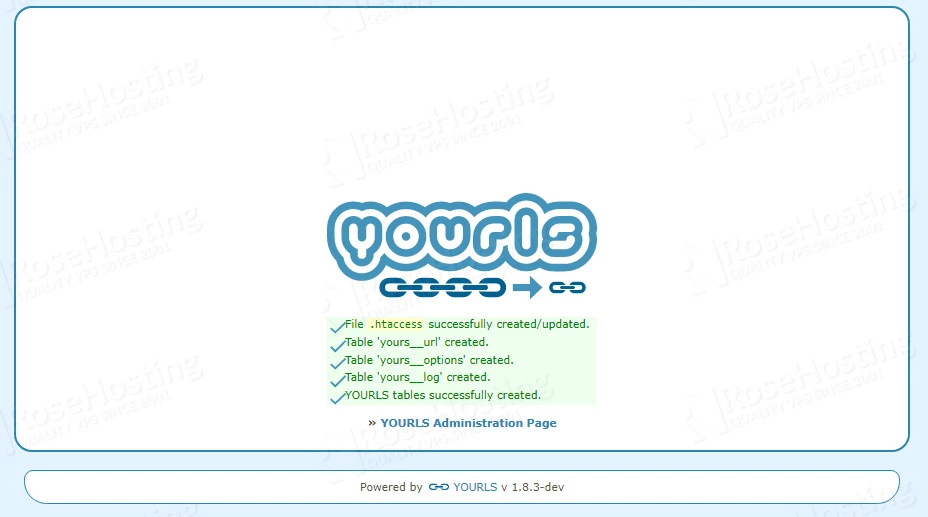
Click on the “YOURLS Administration Page” link:
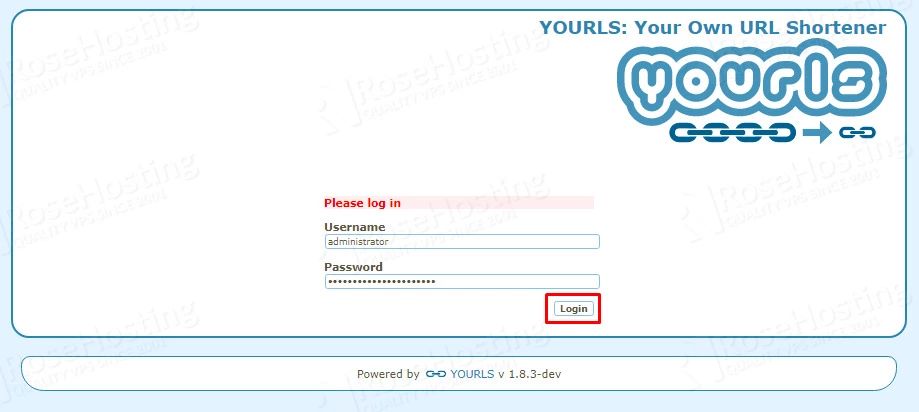
Enter the administrator credentials you set before in the config.php file above and hit login.
Congratulations! You successfully installed the YOURLS URL Shortener on Ubuntu 20.04
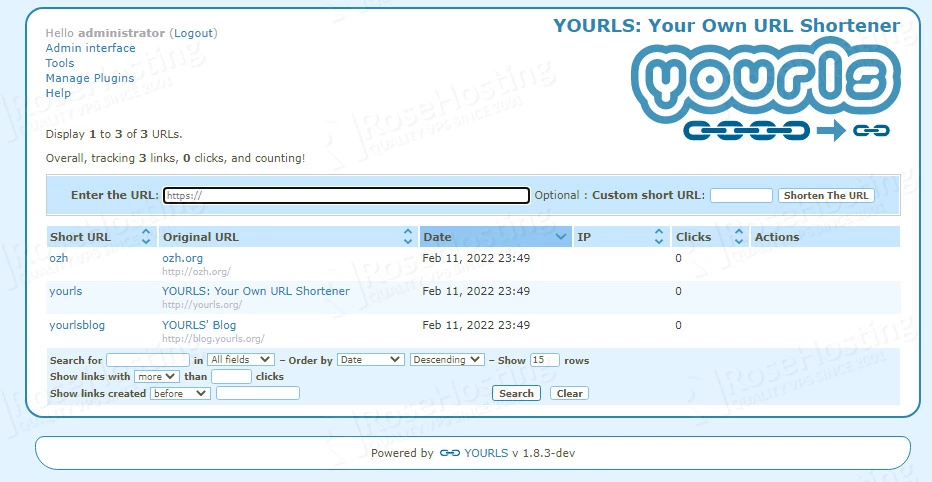
Now you can easily run your own URL shortening service in no time. Of course, if you find some difficulties while installing the YOURLS URL Shortener you do not have to install it by yourself. You can always contact our system admins and with their expertise, they will install YOURLS URL Shortener. All you need to do is order an NVMe VPS plan and contact RoseHosting support. We are available 24/7.
PS. If you liked this post, on how to install YOURLS URL Shortener on Ubuntu 20.04, please share it with your friends on social networks or simply leave a reply below. Thanks.