In this tutorial, we’ll show you how to install Zabbix on a Debian 9 VPS.
![]() Zabbix is a highly integrated open-source system monitoring solution. It is a software that provides monitoring of numerous parameters and metrics such as CPU, network, disk, and many others. All of the reports and statistics are accessible using a web-based front-end interface which ensures that the status of your network and the health of your servers can be easily viewed, from any location, at any time. Let’s begin with installing Zabbix.
Zabbix is a highly integrated open-source system monitoring solution. It is a software that provides monitoring of numerous parameters and metrics such as CPU, network, disk, and many others. All of the reports and statistics are accessible using a web-based front-end interface which ensures that the status of your network and the health of your servers can be easily viewed, from any location, at any time. Let’s begin with installing Zabbix.
Here are some of the monitoring solutions that are supported by Zabbix:
- Network Monitoring
- Server Monitoring
- Cloud Monitoring
- Application Monitoring
- Services Monitoring
- Web Monitoring
Zabbix is developed using C for its back-end, PHP for the front-end, and Java for its gateway. It is licensed under the GNU General Public License version 2 and currently maintained by Zabbix LLC. Its current stable release at the time of writing is Zabbix 4.2.
Table of Contents
Prerequisites:
For the purposes of this tutorial, we will be using a Debian 9 VPS.
You will also need a working LAMP (Linux, Apache, MySQL/MariaDB, PHP) stack. If you don’t have a LAMP stack already installed we will also show you how to do this as a part of our tutorial.
Full SSH root access or a user with sudo privileges is also required.
Before continuing, also make sure that your server meets the following minimum hardware and software requirements:
Hardware Requirements:
Zabbix’s hardware requirements are dependent on the number of hosts to be monitored.
- For hosts less than or equal 100: 1 CPU Core + 1GB RAM
- For hosts greater than 100 and less than or equal 500: 2 CPU Cores + 2GB RAM
- For hosts greater than 1,000 and less than 10,000: 4 CPU Cores + 8GB RAM
- For hosts greater than 10,000: 8 CPU Cores + 16GB RAM
Software Requirements:
- Apache v1.3.12 or later
- PHP v5.4.0 or later
- MySQL or MariaDB using InnoDB Engine
Step 1: Connect to Your Server
Before we begin, you will need to connect to your server via SSH as the root user or as any other user that has sudo privileges.
To connect to your server as the root user, use the following command:
ssh root@IP_ADDRESS -p PORT_NUMBER
Make sure to replace IP_ADDRESS and PORT_NUMBER with your actual server IP address and SSH port number.
Once logged in, make sure that your server is up-to-date by running the following commands:
sudo apt-get update
sudo apt-get upgrade
Step 2: Install Apache
To install Apache on your server, run the following command:
sudo apt-get install apache2
Once the installation is complete, enable the Apache service to start automatically upon system boot. You can do that with the following command:
sudo systemctl enable apache2
To verify that Apache is running, execute the following command:
sudo systemctl status apache2
Output:
● apache2.service - The Apache HTTP Server
   Loaded: loaded (/lib/systemd/system/apache2.service; enabled; vendor preset: enabled)
   Active: active (running) since Mon 2019-05-27 14:13:39 EDT; 6s ago
 Main PID: 7812 (apache2)
   CGroup: /system.slice/apache2.service
           ├─7812 /usr/sbin/apache2 -k start
           ├─7814 /usr/sbin/apache2 -k start
           └─7815 /usr/sbin/apache2 -k start
Step 3: Install MariaDB
The next step is to install the MariaDB database server.
To install MariaDB on your system, type the following command and enter the character ‘Y’ when prompted:
sudo apt-get install mariadb-server
During the installation, you will be asked to enter a password for the MariaDB root user. Make sure to enter a strong password.
To further improve the security of our MariaDB installation as well as set up a password for our MariaDB root user, we need to run the mysql_secure_installation script and follow the on-screen instructions. Run the command below to configure your system:
sudo mysql_secure_installation
If the program asks you to enter your current MariaDB root password, just press your [Enter] key once, as no password is set by default when installing MariaDB. Alternatively, if you did set a password earlier when installing MariaDB, enter that one.
A few more questions will be displayed on-screen – it is recommended that you answer yes to all of them by entering the character ‘Y’:
Remove anonymous users? (Press y|Y for Yes, any other key for No) : Y
Disallow root login remotely? (Press y|Y for Yes, any other key for No) : Y
Remove test database and access to it? (Press y|Y for Yes, any other key for No) : Y
Reload privilege tables now? (Press y|Y for Yes, any other key for No) : Y
Again, we can enable MariaDB to start on boot with the following command:
sudo systemctl enable mariadb
That’s it – MariaDB has been installed and made more secure.
Step 4: Install PHP
The last step of our LAMP stack setup is to install PHP. Debian 9 comes with PHP 7.0 by default, but it is recommended to use the stable version of PHP which is PHP version 7.2. In order to do this, we’ll install a third-party repository that has the latest PHP environment for Debian 9.
To proceed, use the following commands:
sudo apt install apt-transport-https lsb-release ca-certificates
sudo wget -O /etc/apt/trusted.gpg.d/php.gpg https://packages.sury.org/php/apt.gpg
sudo sh -c 'echo "deb https://packages.sury.org/php/ $(lsb_release -sc) main" > /etc/apt/sources.list.d/php.list'
sudo apt-get update
After updating the repository, use the following command to install PHP 7.2 and all PHP extensions required by Zabbix:
apt-get install php7.2 libapache2-mod-php7.2 php7.2-cli php7.2-mysql php7.2-common php7.2-ldap php7.2-zip php7.2-bcmath php7.2-mbstring php7.2-curl php7.2-soap php7.2-gd php7.2-xml php7.2-cgi
To verify the PHP version installed, supply the following command:
php -v
The following output should be displayed on your screen:

PHP 7.2.18-1+0~20190503103213.21+stretch~1.gbp101320 (cli) (built: May  3 2019 10:32:13) ( NTS )
Copyright (c) 1997-2018 The PHP Group
Zend Engine v3.2.0, Copyright (c) 1998-2018 Zend Technologies
    with Zend OPcache v7.2.18-1+0~20190503103213.21+stretch~1.gbp101320, Copyright (c) 1999-2018, by Zend Technologies
Step 5: Install Zabbix
We can now start with our Zabbix installation and configuration.
At the time of writing, the latest stable LTS version of Zabbix is 4.2. Fortunately, Zabbix provides a Debian-based repository for easier installation and updates in the future.
To download and install the latest version of the Zabbix repository, run the following commands:
wget https://repo.zabbix.com/zabbix/4.2/debian/pool/main/z/zabbix-release/zabbix-release_4.2-1+stretch_all.deb
dpkg -i zabbix-release_4.2-1+stretch_all.deb
apt update
After successfully updating the repositories and packages, we can now install the Zabbix package which includes the MySQL and PHP packages for Zabbix, as well as the Zabbix Agent.
apt install zabbix-server-mysql zabbix-frontend-php zabbix-agent
Step 6: Configure the Database
Next, we need to create a new database. To do this, log in to your MariaDB database server as the root user by typing the following command:
sudo mariadb -u root -p
Then enter the password you made for your MariaDB user. Once you are signed in, create a new database and user by running the following commands on the MariaDB shell:
CREATE DATABASE zabbix character set utf8 collate utf8_bin;
CREATE USER zabbix@localhost IDENTIFIED BY 'strong-password';
GRANT ALL PRIVILEGES ON zabbix.* TO zabbix@localhost;
FLUSH PRIVILEGES;
Make sure to replace strong-password with an actual strong password.
To exit the MariaDB database server command line, type:
exit
To finalize the setup of the Zabbix database, we will need to import the initial schema for our Zabbix database. You can do this with the following command:
zcat /usr/share/doc/zabbix-server-mysql/create.sql.gz | mysql -u zabbix -p zabbix
Step 7: Configure Zabbix
Next, we need to update the Zabbix configuration file and enter the database connection information.
Open the Zabbix configuration with the following command:
nano /etc/zabbix/zabbix_server.conf
and update the following lines with your database information:
DBHost=localhost
DBName=zabbix
DBUser=zabbix
DBPassword=strong-password
For our frontend setup, it is necessary to enable the PHP date.timezone variable.
To do this, you will need to edit the Apache configuration file for the Zabbix frontend. Some PHP settings are already configured, so you only need to uncomment the line containing date.timezone variable and set the correct timezone.
nano /etc/apache2/conf-enabled/zabbix.conf
php_value max_execution_time 300
php_value memory_limit 128M
php_value post_max_size 16M
php_value upload_max_filesize 2M
php_value max_input_time 300
php_value max_input_vars 10000
php_value always_populate_raw_post_data -1
# php_value date.timezone America/Chicago
Finally, in order for all these changes to take effect, we need to restart our Zabbix and Apache web server:
systemctl restart zabbix-server
systemctl restart apache2
To enable the Zabbix service to automatically start upon server reboot, you can also run the following command:
systemctl enable zabbix-server
You can now proceed with the frontend installation steps and finish the Zabbix installation in your web browser.
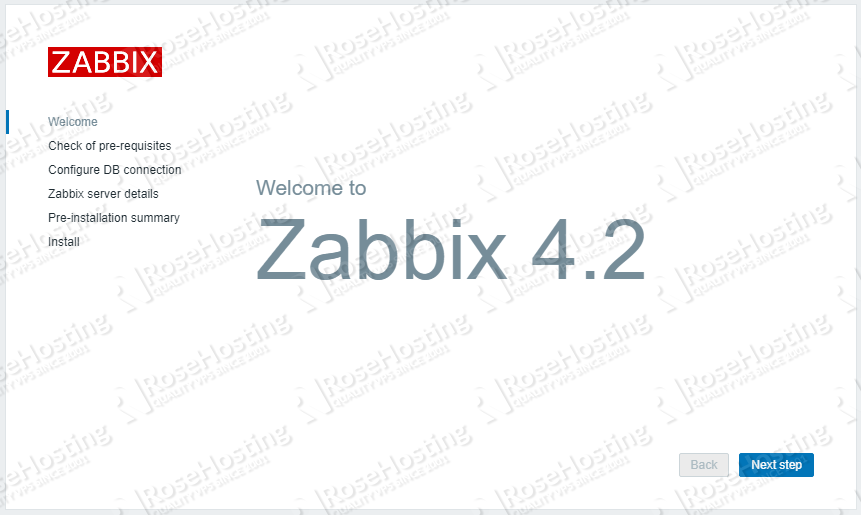
Step 8: Installing Zabbix
You can now navigate to http://server_ip_address/zabbix using your preferred web browser to start the Zabbix installation wizard. Follow the on-screen instructions to complete the first-time setup.
Once the installation is done, you will be redirected to the Zabbix login page:
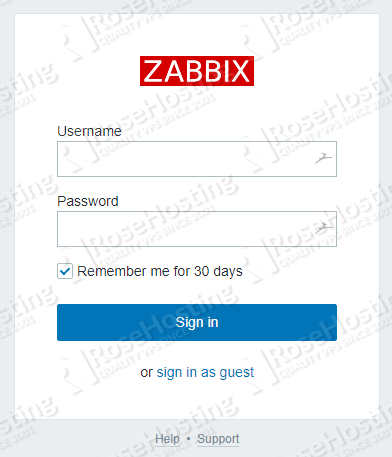
The default credentials for Zabbix are the following:
Username: admin
Password: zabbix
Upon successful login, you will be taken to the Zabbix dashboard as shown in the image below:
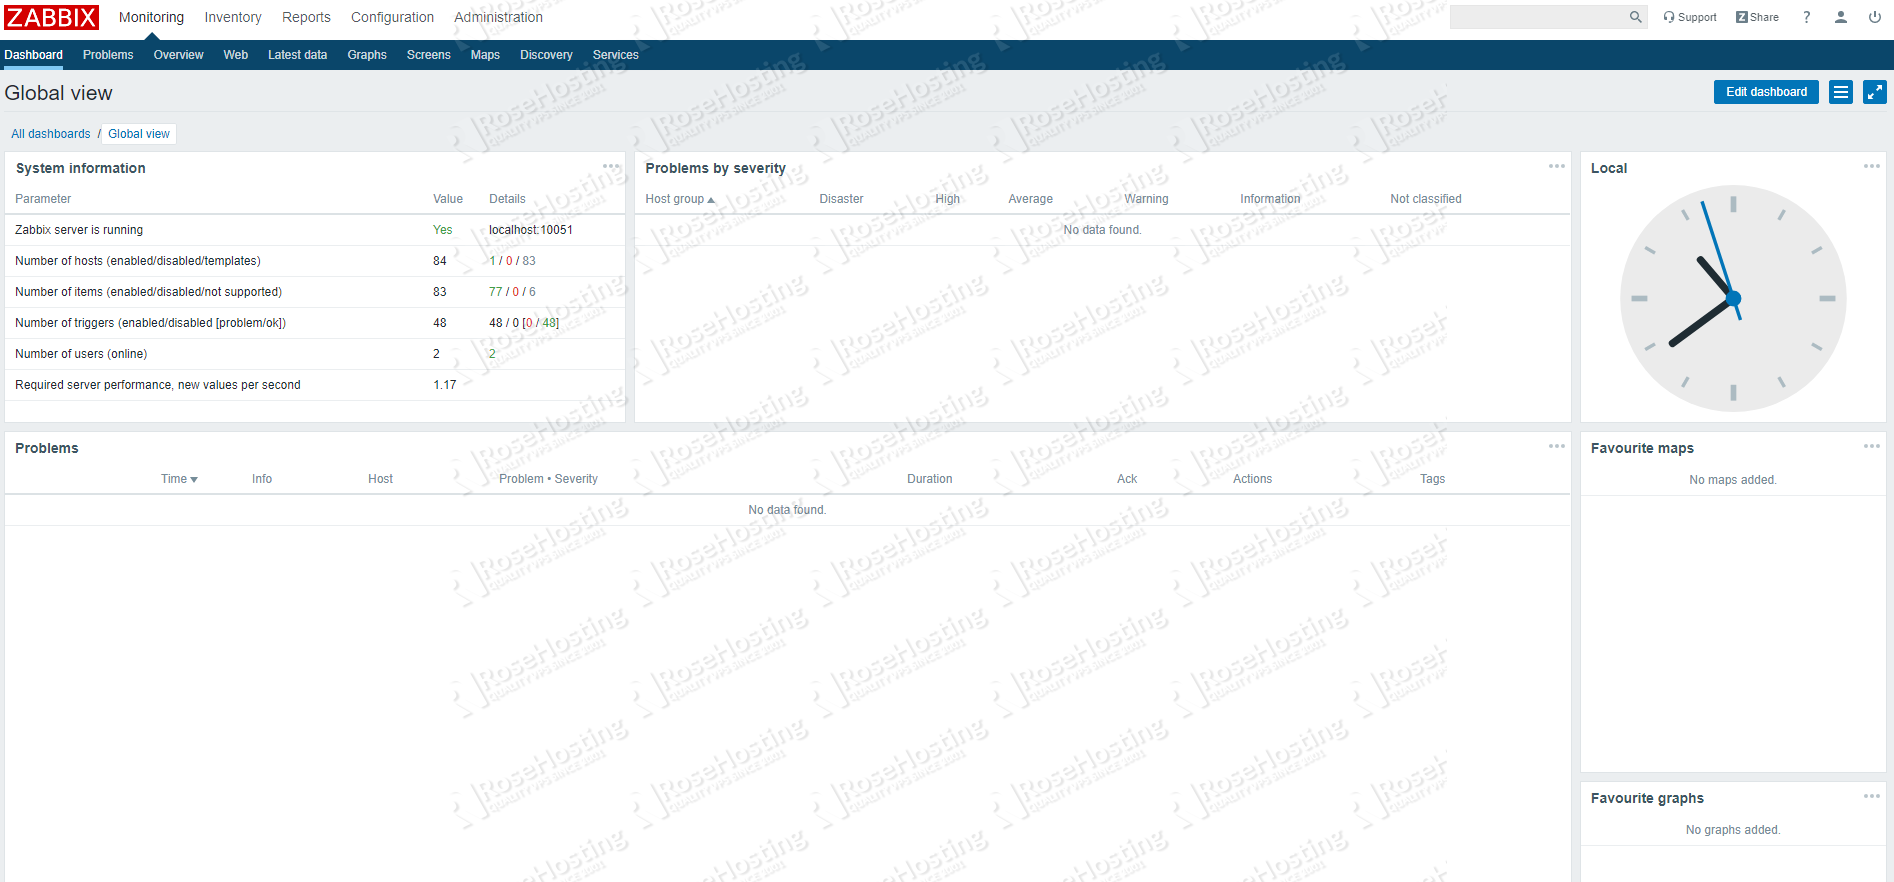
That’s it! Zabbix has been successfully installed on your Debian 9 server. Don’t forget to change the default admin password to something more secure.
![]() Of course, you don’t have to install Zabbix on Debian 9 if you have a Debian VPS with us. You can simply ask our support team to install Zabbix on Debian 9 for you. They are available 24/7 and will be able to help you with the installation.
Of course, you don’t have to install Zabbix on Debian 9 if you have a Debian VPS with us. You can simply ask our support team to install Zabbix on Debian 9 for you. They are available 24/7 and will be able to help you with the installation.
PS. If you found this blog post on how to install Zabbix on Debian 9 helpful, feel free to share it on social networks using the shortcuts below, or simply leave a comment in the comments section. Thanks.