EasyApache is very useful software provided by WHM that can be used to install, modify, update, and validate the Apache web server, PHP, Tomcat, and other components of the web server installed and running on your Linux VPS with WHM/cPanel. In this tutorial we will show you how to to use EasyApache 3 to change the Apache web server or PHP version and install PHP and Apache modules.
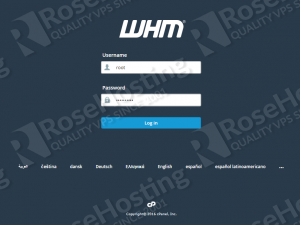
First of all Open your favorite web browser and navigate it to https://yourIP:2087 and login to WHM as user root using your root password.
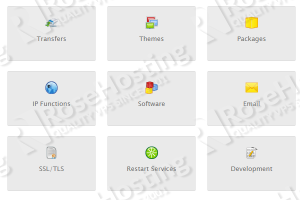
Once you logged in, open the Software section from the WHM home interface. Through the Software section you can manage the software installed on your server, including the Apache web server and PHP.
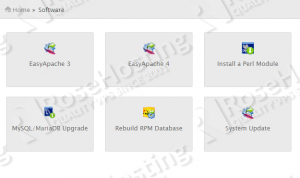
Currently there are two versions of EasyApache, EasyApache 3 and EasyApache 4 which currently is in beta. In this tutorial we will use EasyApache 3. Click on its icon to start the software.
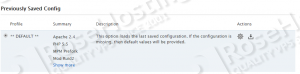
Leave the default profile selected and click the Customize Profile icon (gear icon) to start the customization your web server configuration.
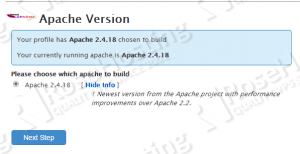
On the next screen you can check the version of Apache that is currently installed on your server, and select the version of Apache that you want to build. In our case we are using the latest version from the Apache project.
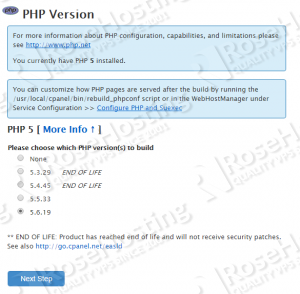
Go to the next step to start customizing the PHP configuration. Select the desired PHP version and go to the next step. It is recommended to use the latest version of PHP 5.6.19 offered by EasyApache 3. But first you should check if all your PHP applications are compatible with this PHP version.
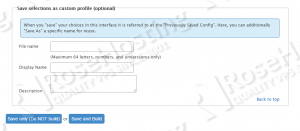
On the next step there are two stages of the EasyApache interface Short Options List and Exhaustive Options List. These stages allow you enable modules that you want to use. PHP provides a lot of built-in modules that allow you to add functionality to your PHP applications or your web server. To list all available PHP modules, click the Exhaustive Options List button and select the PHP modules that you want to build in the new configuration. Once you select all needed modules save the new configuration and buld it.
The rebuild process will start in few seconds and the output will be shown in a status screen. You can also check the output via command line. The rebuild process may take up to 30 minutes, so please be patient and do not close the web browser during the rebuild process.

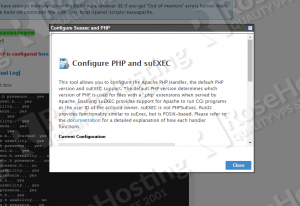
After the rebuild process is completed and the Apache web server and PHP are compiled with the new modules, a new Configure PHP and suEXEC window will pop up. If you do not want to change anything such as the default PHP version, PHP 5 handler or Apache suEXEC, you can simply leave the current configuration by clicking the Close button.
With this step, the rebuild of Apache and PHP is completed. You can check this if everything is compiled by createting a phpinfo page in the document root directory of your domain name, with the following content:
vi info.php
<? phpinfo(); ?>
Once the info.php file is created you can access it at http://yourdomain.com/info.php
Of course you don’t have to do any of this if you use one of our Managed Apache Hosting services, in which case you can simply ask our expert Linux admins to upgrade your Apache or PHP version, or to enable some PHP modules on your server.They are available 24×7 and will take care of your request immediately.
PS. If you liked this post please share it with your friends on the social networks using the buttons on the left or simply leave a reply below. Thanks.